Hodge and Eric showed us over the last few weeks how acorns are a treasured gift among squirrels, but I think the crocheted variety could come in handy for us humans too. Below are some unique and creative ways you might use these acorns. And, as always, here’s the free pattern to make your very own!
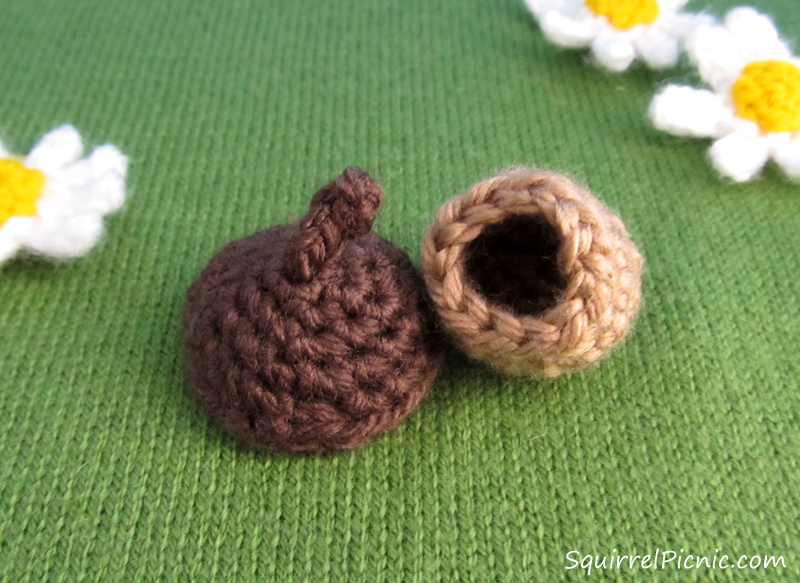
My pattern includes instructions on making a cap and a bottom, which you sew together to form an acorn. If instead you don’t sew the cap to the bottom of the acorn, you’ll have a unique gift box in which to hide a little present.
Add acorns to a fall wreath or mantel display.
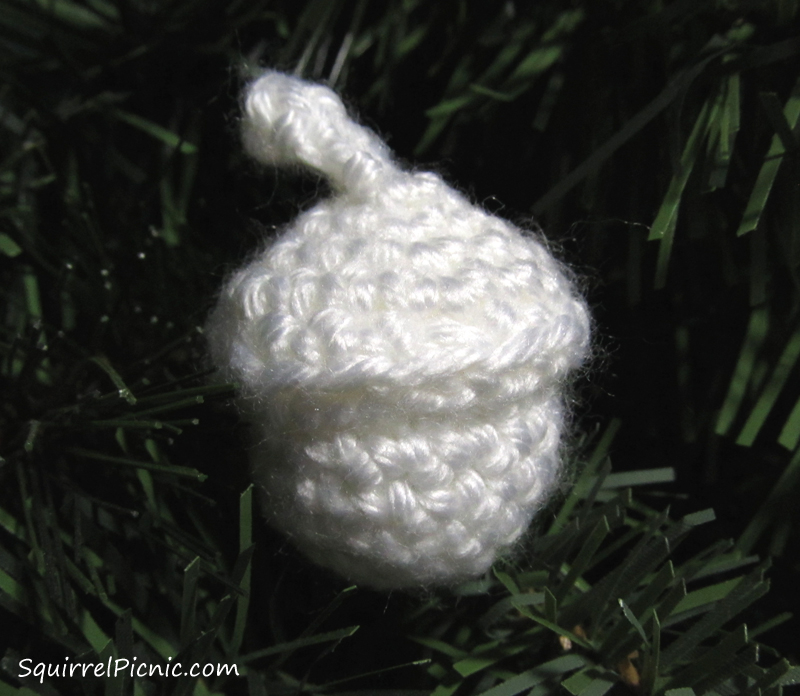
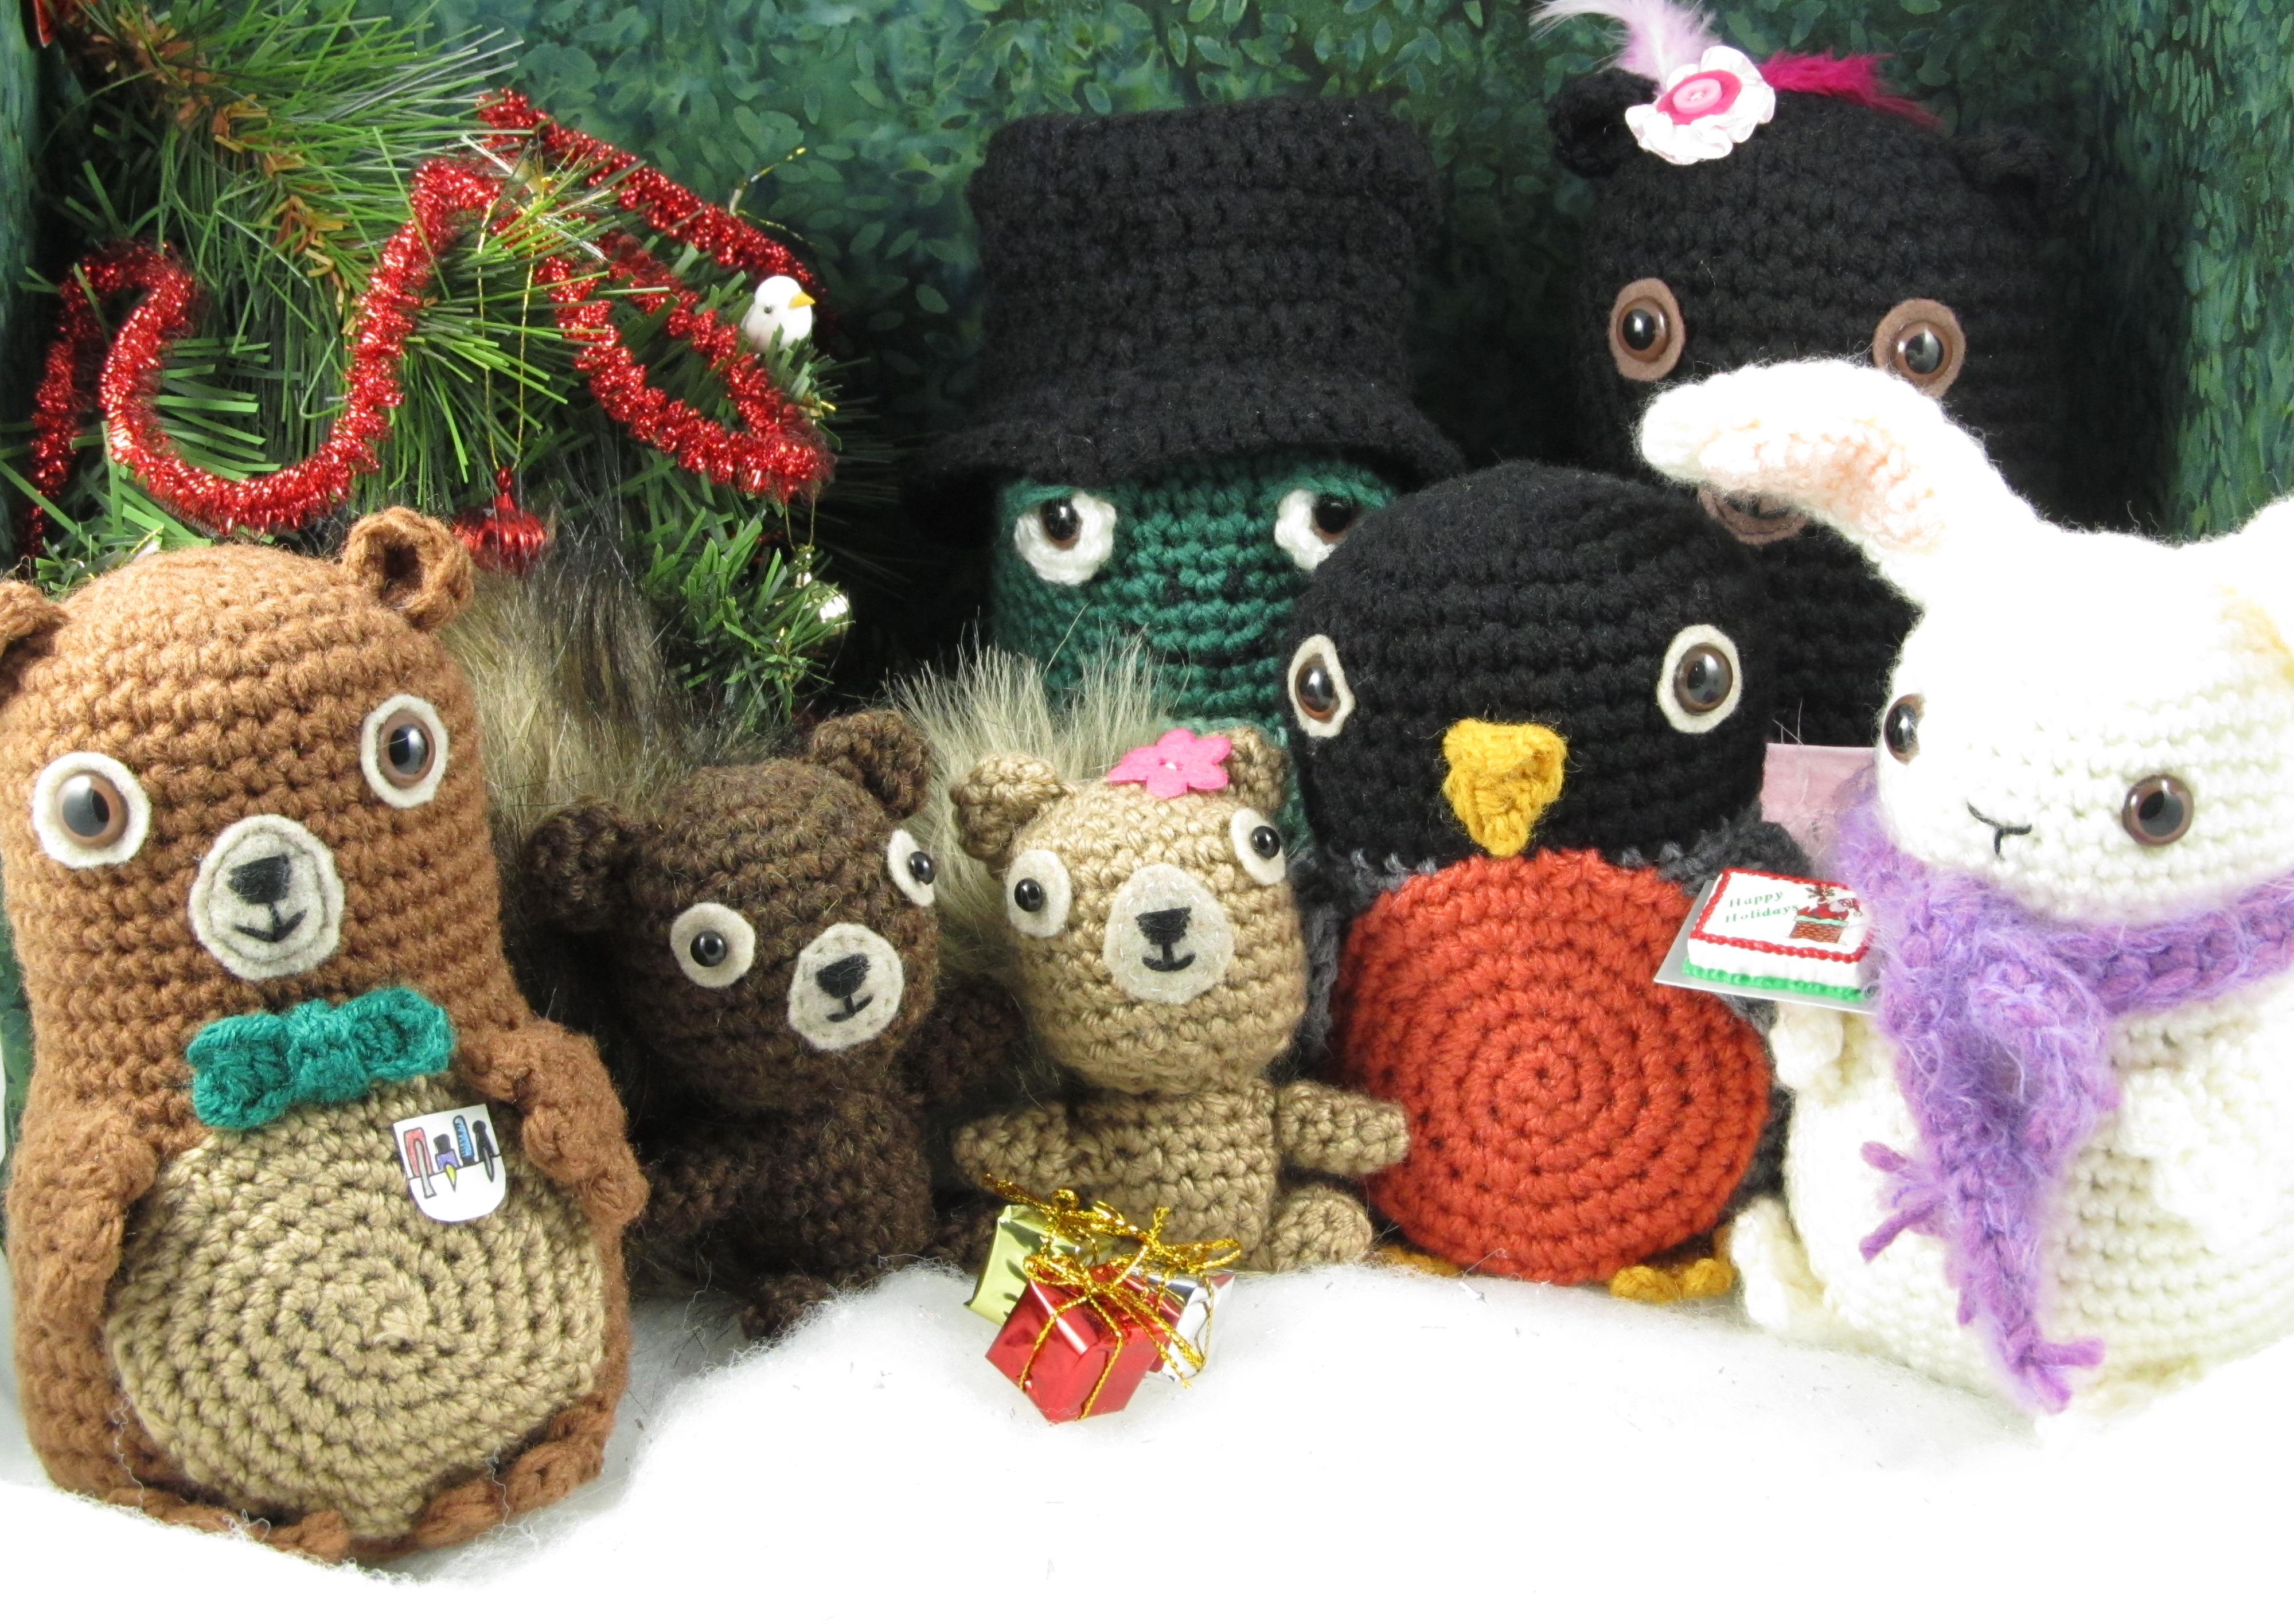
Crochet your acorns in holiday colors or all white and hang them on your tree or display them in a decorative bowl on your coffee table.
String a cord through the stem and wear the acorn as a necklace.
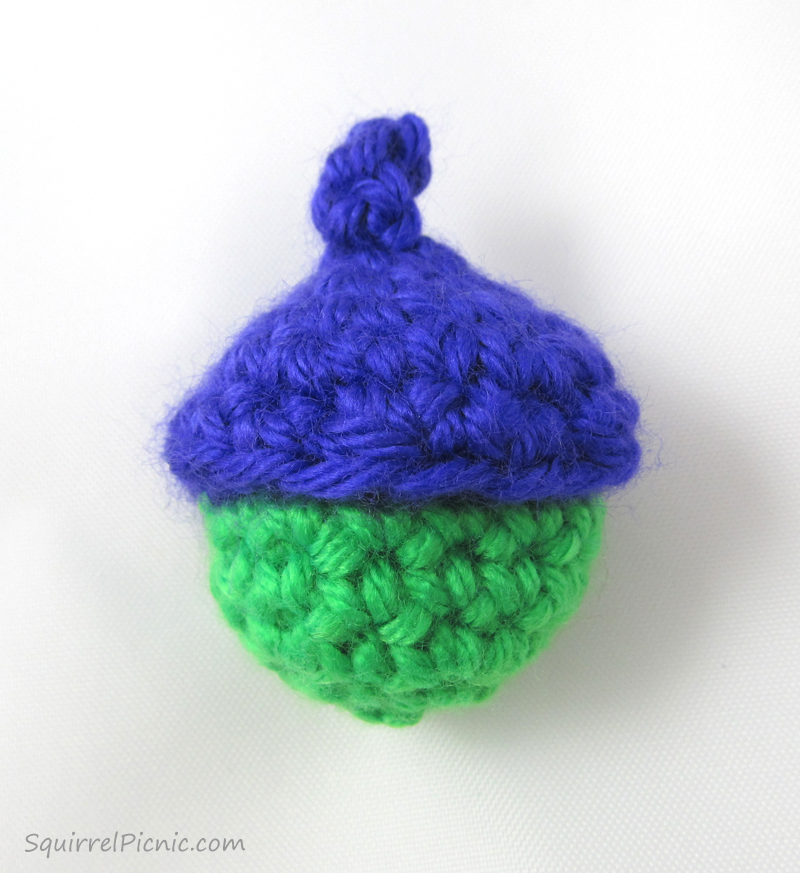
Use bright colors and a crochet hook size H-8 (5.0 mm) or larger to make an acorn like Eric’s bioengineered one. These acorns would make wonderful pincushions, present toppers, or even cat toys.
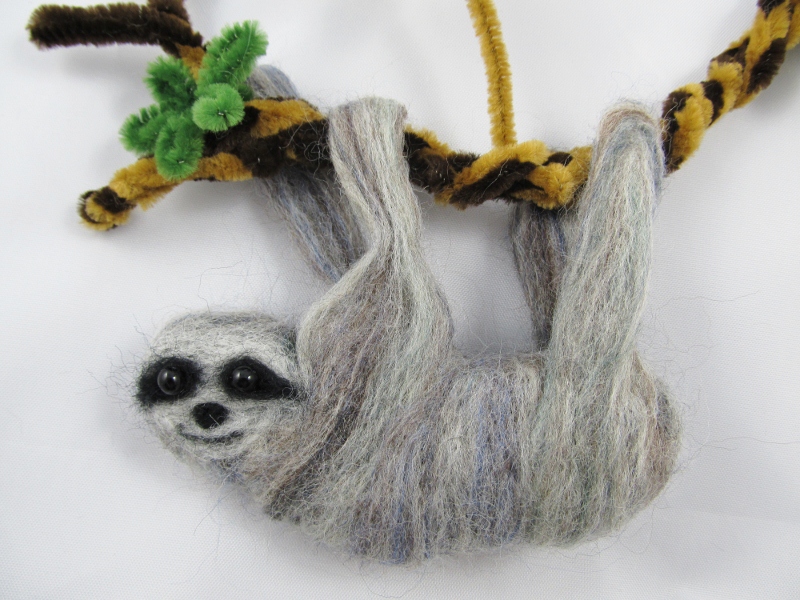
Thanks go out to Alicia Dollieslager for challenging me to make a needle-felted sloth. I had never needle felted before and that made this challenge even more exciting. I learned that needle felting is pretty fun and simple enough that anyone could do it, but because the needles are very sharp, it might not be suitable for young children. I love how Jane Davis puts it in her book Felting: the Complete Guide. She says, “Unfortunately, when starting out in needle felting it is almost inevitable that you will stab yourself with those sharp needles at least once, so have first aid supplies on hand and keep your tetanus shot up to date.” I guess I should feel pretty lucky that I completed this project unscathed.
The basic idea of felting is that when you move your needle in and out of the wool, barbs on the shaft of the needle grab the fibers and tangle them together to create felt. On the subject of needles, the package I purchased came with four types: a 38-gauge star-point needle for felting large areas, a 36-gauge triangle-point needle for fast felting, a 38-gauge triangle-point needle for attaching one item to another, and a 40-gauge triangle-point needle for detail felting and smoothing the surface. After trying them all out, I ended up using the 38-gauge needles for everything except the details on the face and the surface, for which I used the 40-gauge needle.
A foam pad is used as a work surface, both to protect your fingers and to help form the wool into the shape you desire. I started by poking the wool fairly deep to ensure that the center of the figure was felted. Then I switched to the 40-gauge needle to felt the surface. It’s amazing how quickly the wool begins to take shape and how forgiving this medium is.
Use my instructions to make a felted sloth of your own! Continue reading →
This scarf is the answer for those of us who want to give a handmade gift but are running out of time to make something really special. Bulky yarn, large knitting needles, and a very easy stitch allow for this scarf to be whipped up in under 3 hours (at least that’s how long it took me and I’m not a very fast knitter).
What makes this pattern special, though, is that it creates a fun, unique texture that looks intricate. The lucky person who receives this scarf will never suspect you knit it in an afternoon.
Super Comfy, Super Quick Knit Scarf
For this pattern you will need to know basic knitting stitches, including how to do a basic knit cast on, knit a stitch, yarn over, pass a stitch, and bind off. For your convenience, I’ve provided a step-by-step photo tutorial, with links to additional video resources, below the pattern. Enjoy!
Finished Size: 6 inches x 76 inches
Materials
Bernat Roving bulky yarn in Cranberry,
80% acrylic, 20% wool, 3.5 oz (100 g)/120 yds (109 m): 2 balls
Size 35 (19 mm) knitting needles
Note: The yarn is doubled throughout this pattern.
Directions
CO 10 stitches.
Row 1: k1, *yo, k2, pass the yarn over st over both knit sts, repeat from * across to last st, k1.
Repeat row 1 for every row.
BO loosely and weave in ends.
Here’s a tutorial to help you complete your scarf.
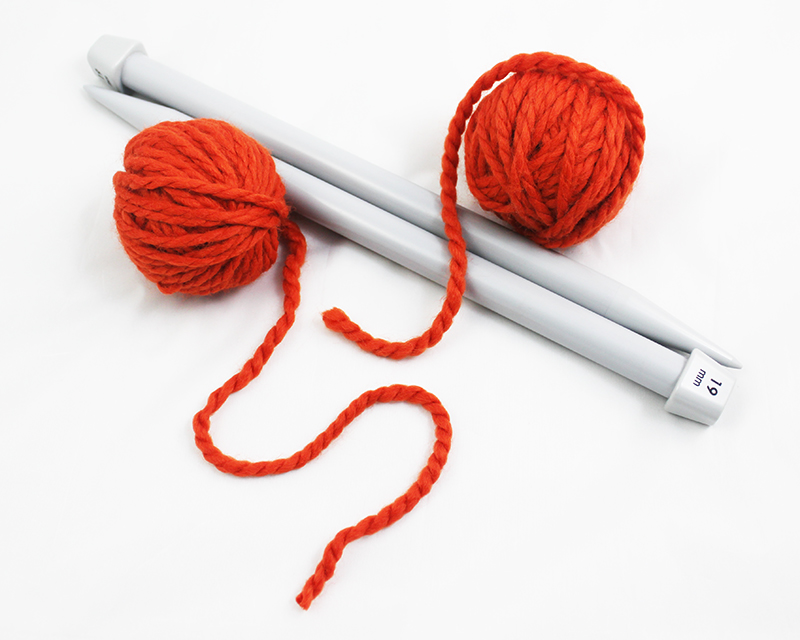
You will need 2 balls of yarn for this project. (Unlike the balls of yarn pictured here, you will use full balls of yarn. See materials above.) You will also need a set of size 35 (19 mm) knitting needles.
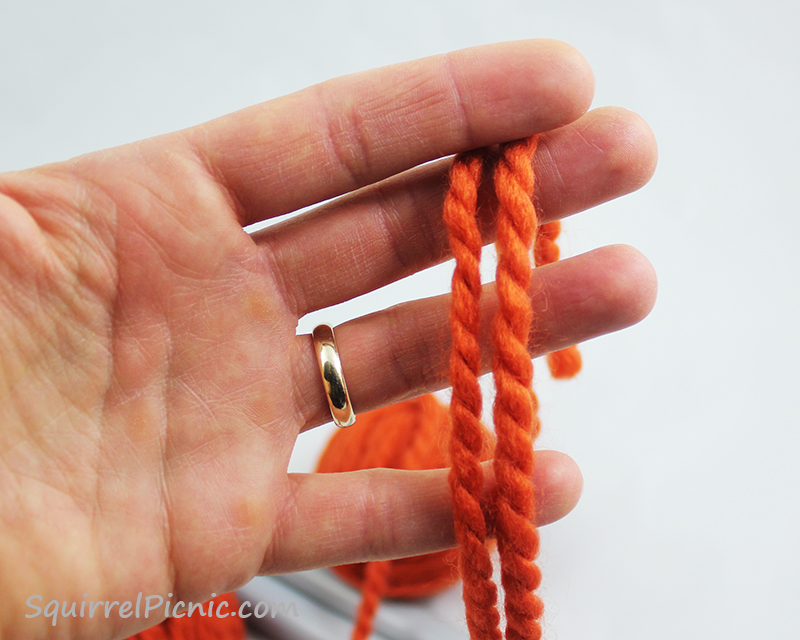
Double up your yarn: one strand from each ball. You will be working with 2 strands at once throughout the pattern.
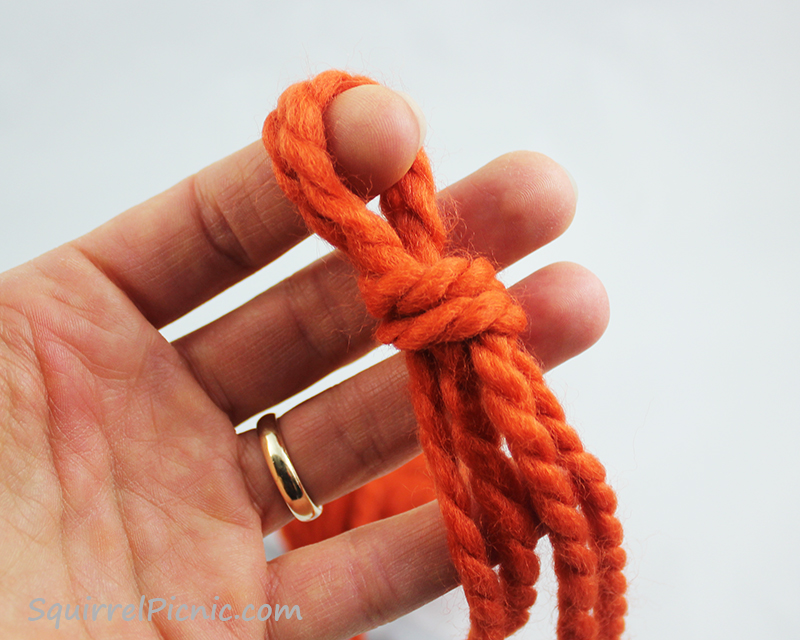
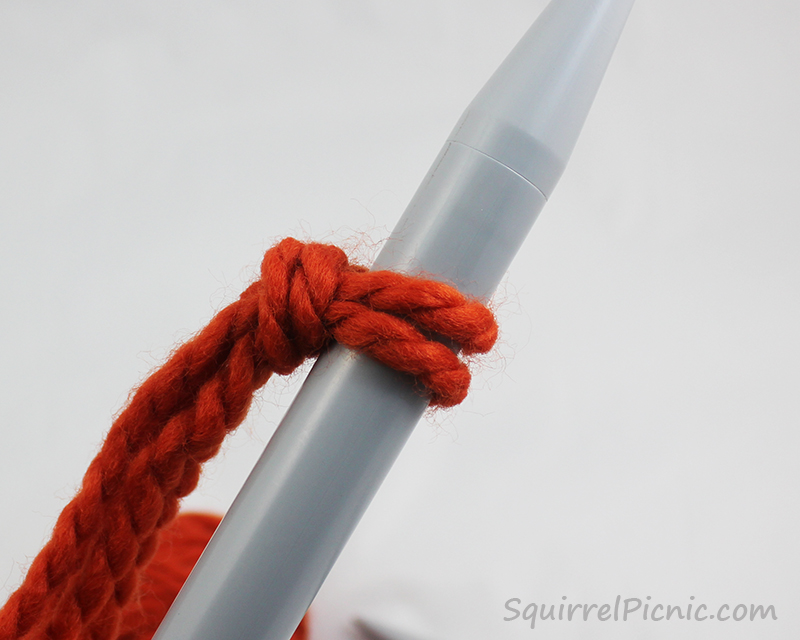
Let’s begin by casting on our stitches. Make a slipknot with your doubled strands of yarn.
Place the slipknot on one knitting needle and hold it in your left hand.
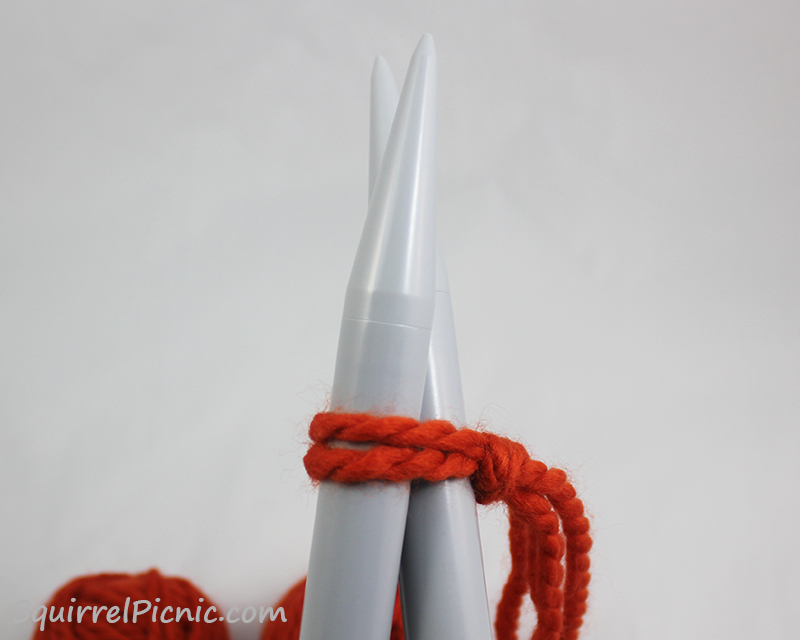
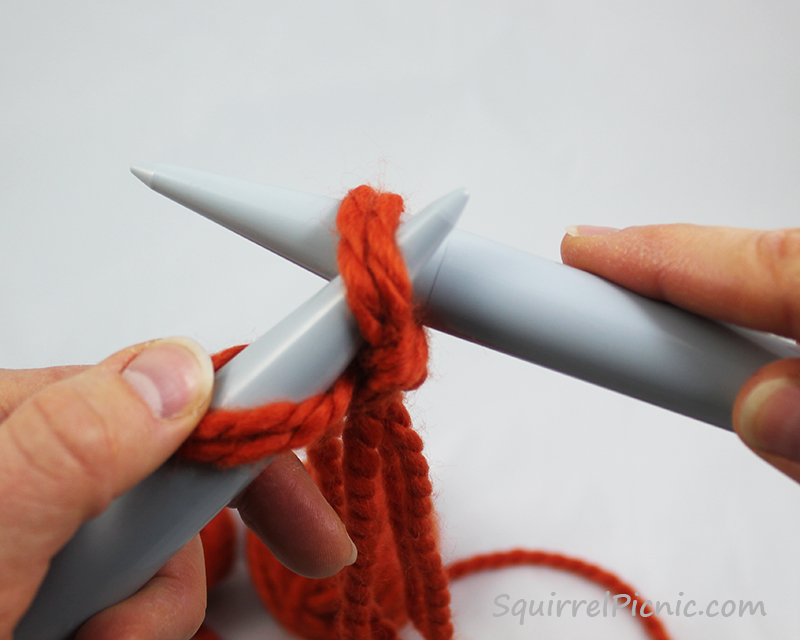
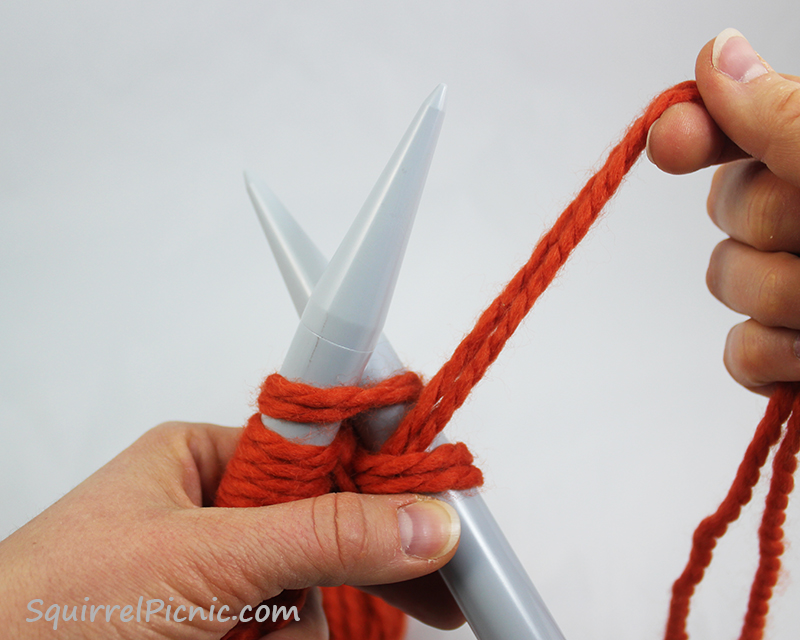
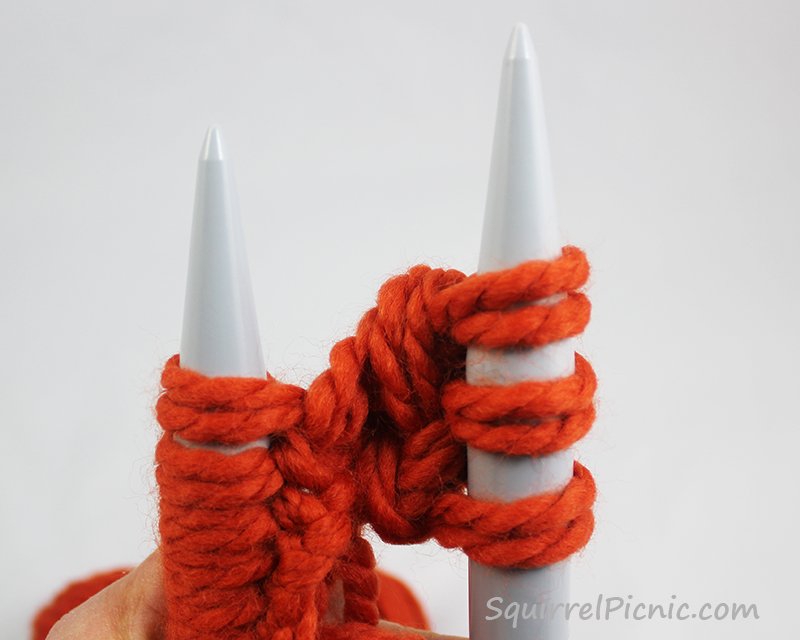
1. Insert the other knitting needle and position it behind the first, as if to knit.
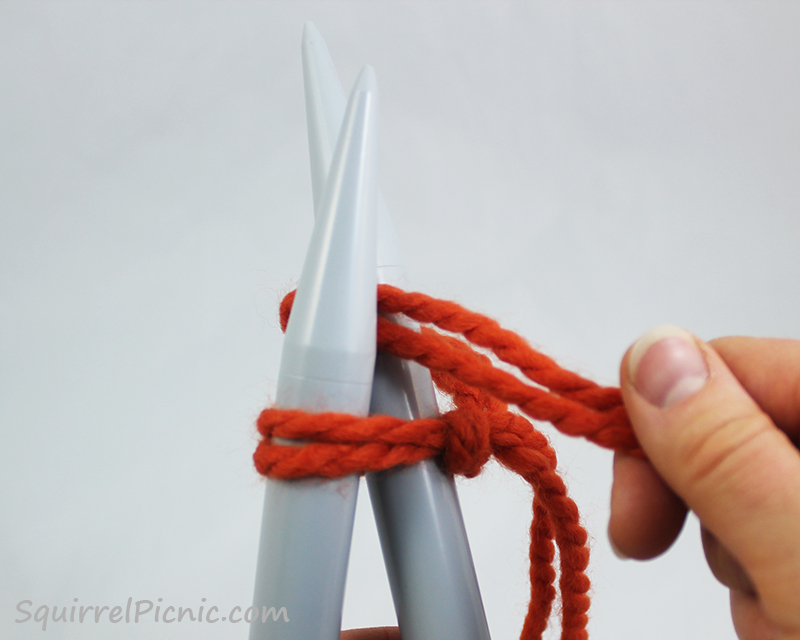
2. Wrap the working yarn around this right-handed needle and bring it to the front. This is a yarn over (yo), which we will use later in the pattern in addition to casting on (CO).
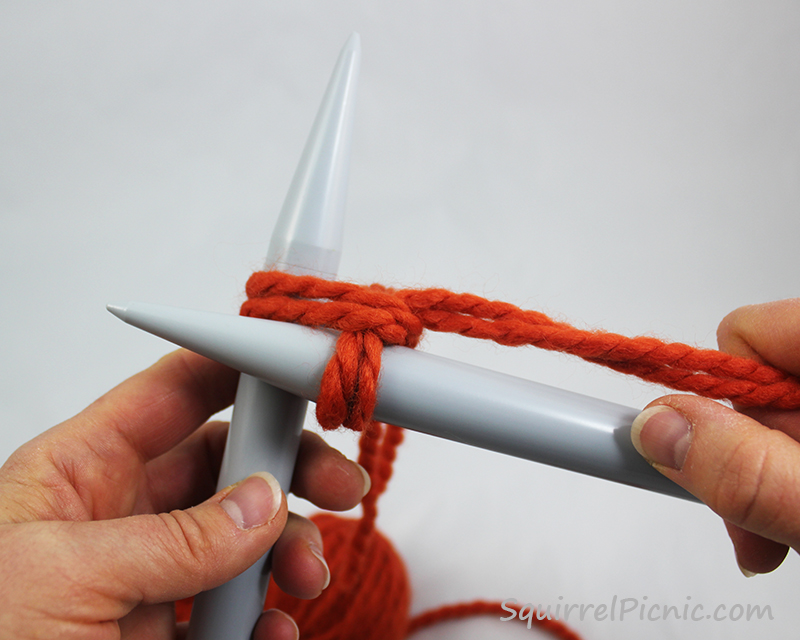
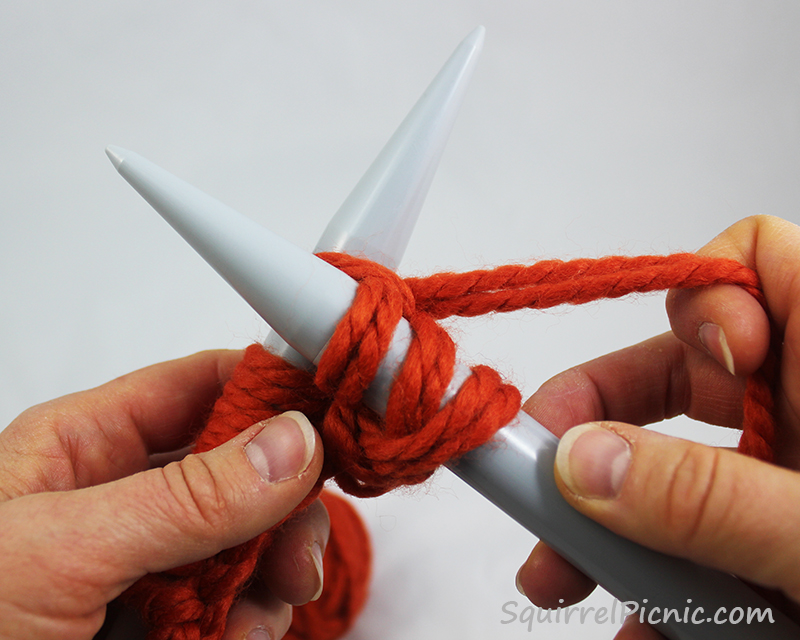
3. Move the tip of your right needle down and to the front, drawing the yarn-over strands down and through the slipknot as you go.
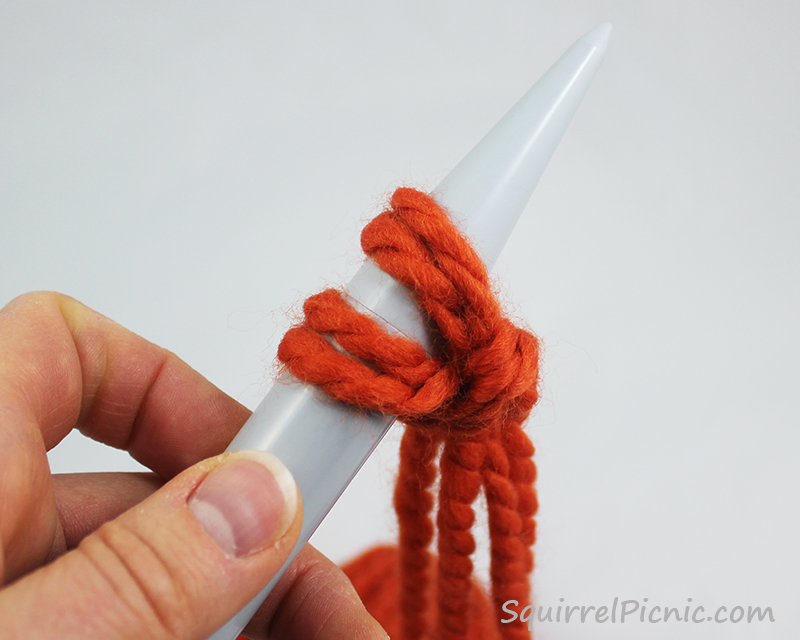
4. Pull this yarn over through and place it on the left handed needle.
Now you have 2 stitches on your needle.
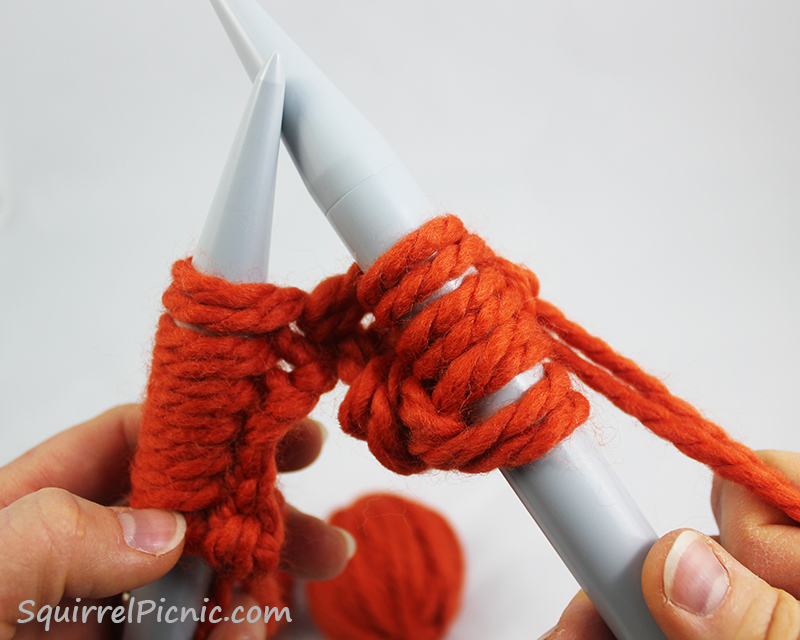
Repeat steps 1-4 until you have 10 stitches on your needle.
Remember, the yarn is doubled, so when you count your stitches, count in pairs.
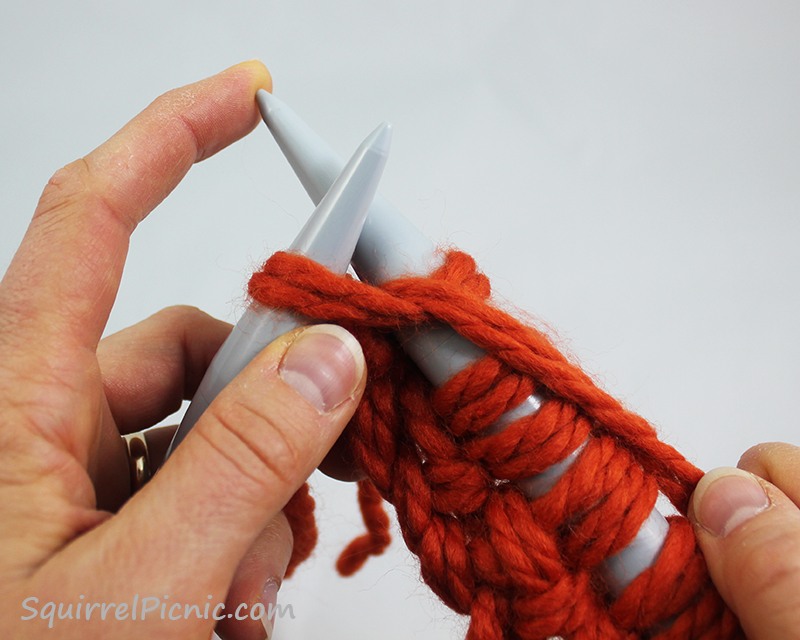
Now let’s work the pattern. Knit the first stitch (k1).
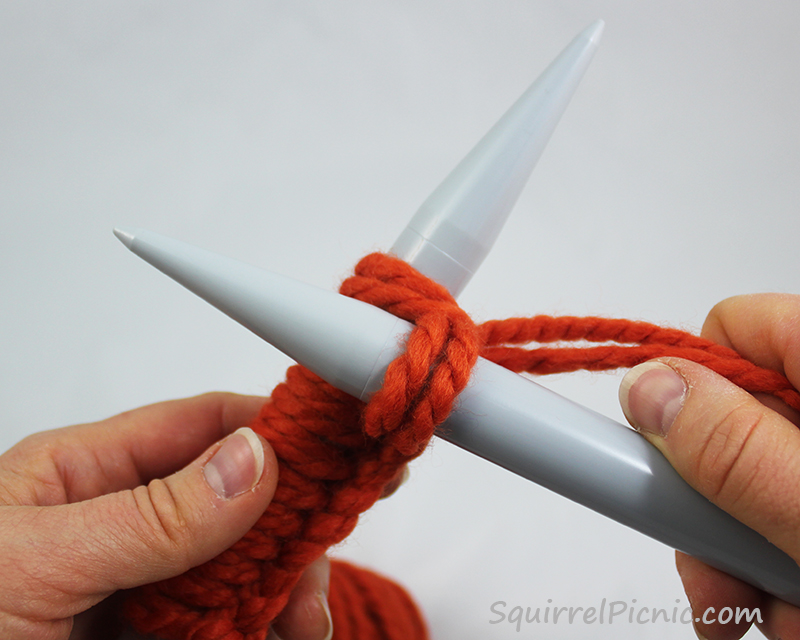
Yarn over (yo).
Knit the next stitch by inserting your needle as you normally would and wrap the working yarn around behind the right-hand needle, between the needles, and to the front.
Complete the stitch as you normally would to knit.
And knit the next stitch as well.
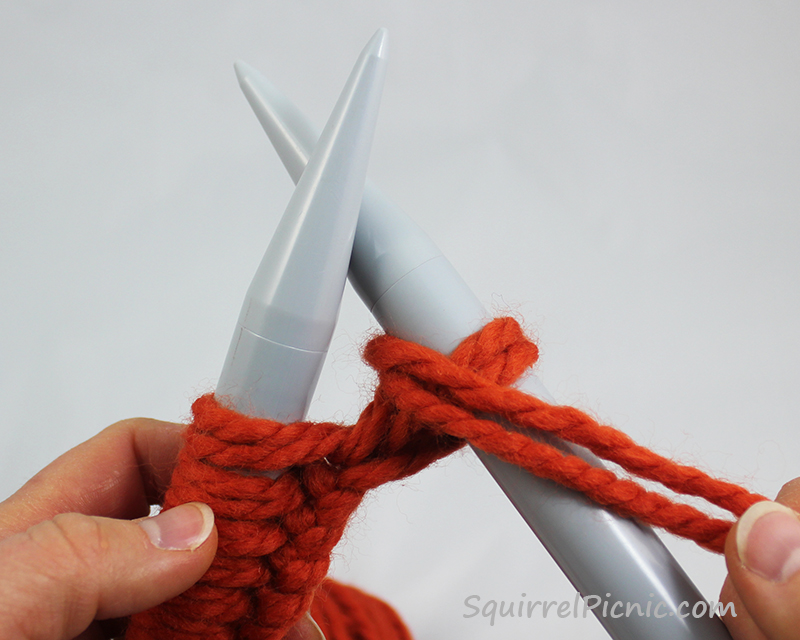
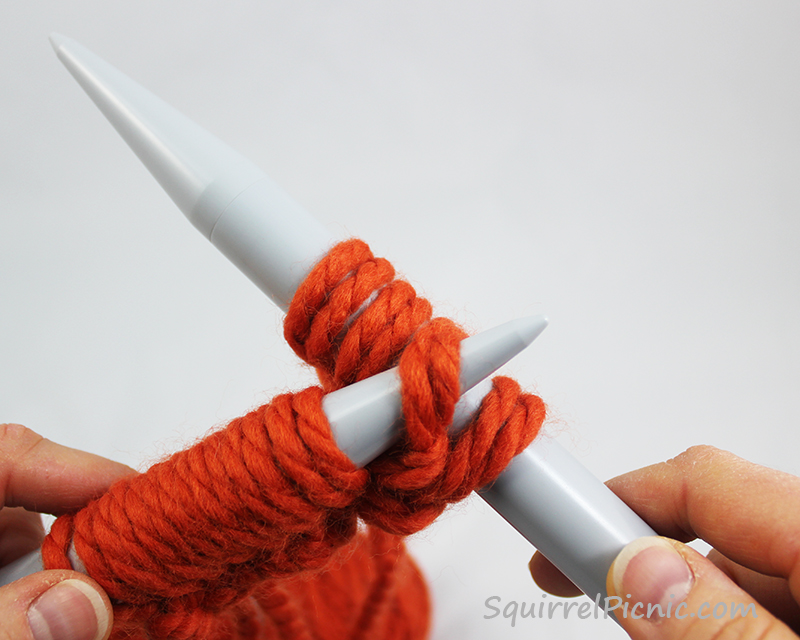
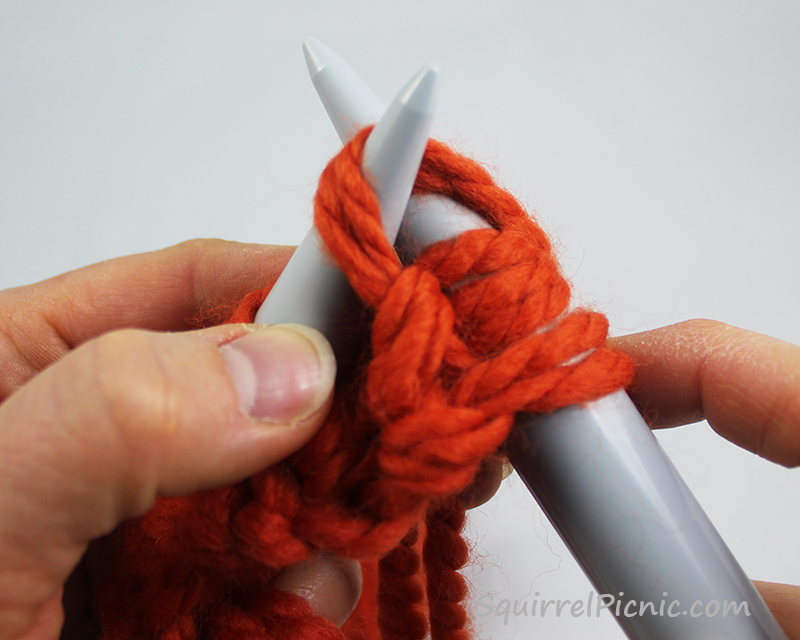
Now to pass the yarn-over stitch, insert your needle into the front of the yarn-over stitch (it’s the third one back on your right needle).
Lift it up and over the two stitches you just knit.
Pull it off your needle and let it go.
Repeat these steps (“yo, k2, pass the yarn over st over both knit sts” in the pattern) until there is only one stitch remaining on your left needle.
Knit the last stitch.
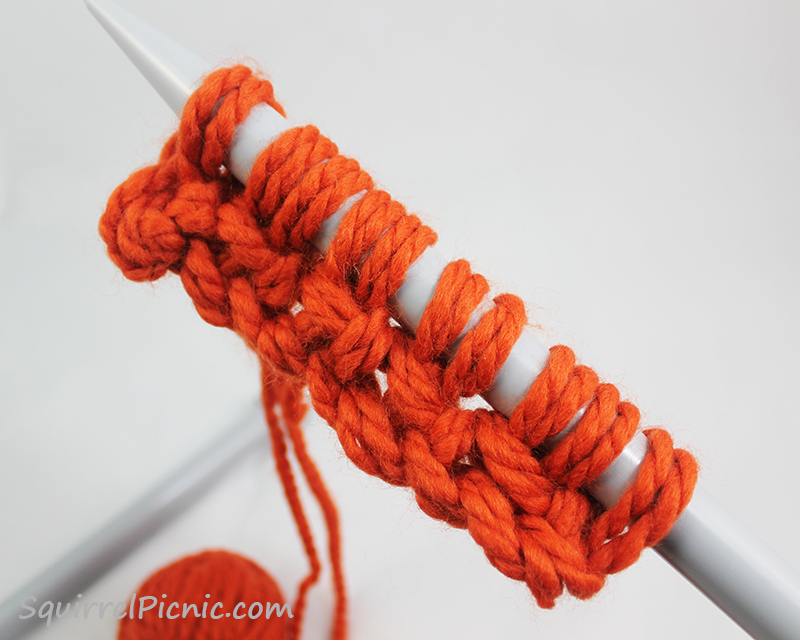
Now you have completed your first row.
Keep repeating the pattern for each row until you run out of yarn. Then BO loosely.
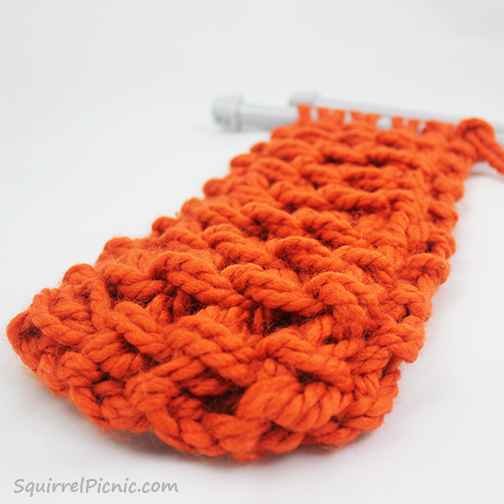
It might seem a little tricky at first, but once you get the hang of it, your needles will start to fly and you’ll have a unique scarf in no time.
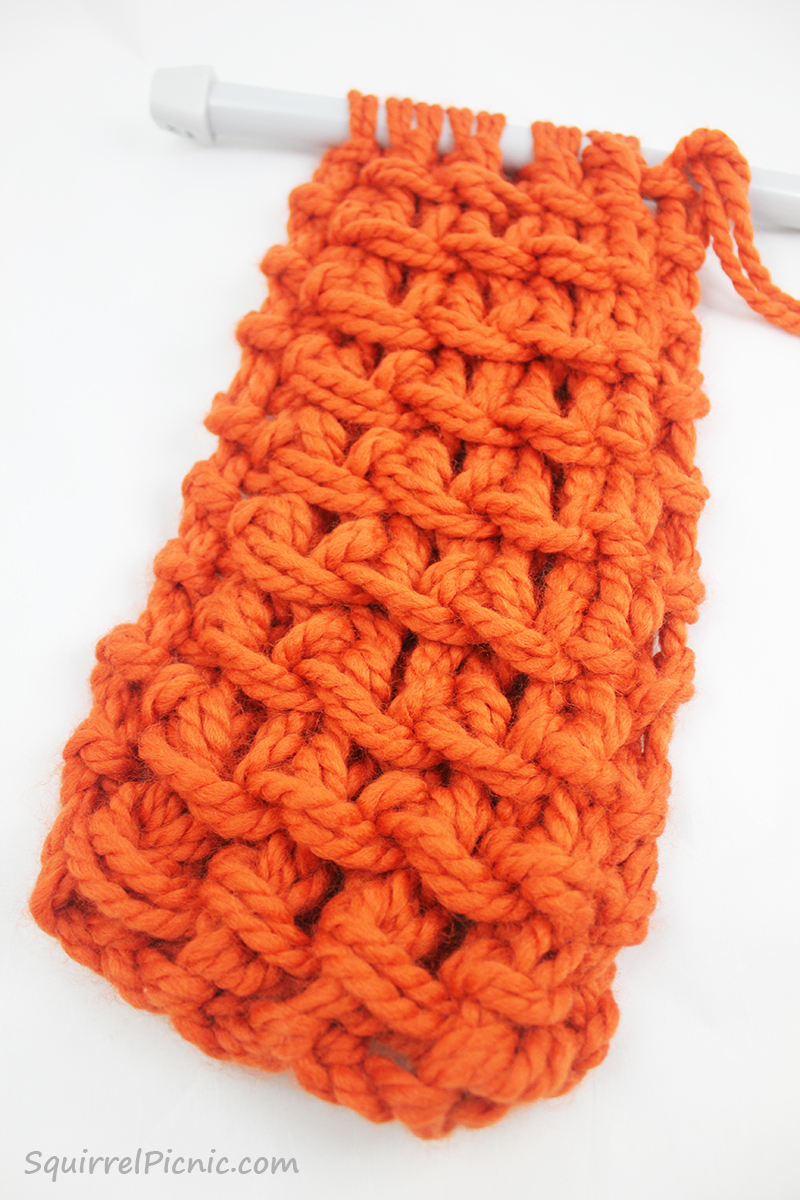
Look at how thick and luxurious it will be!
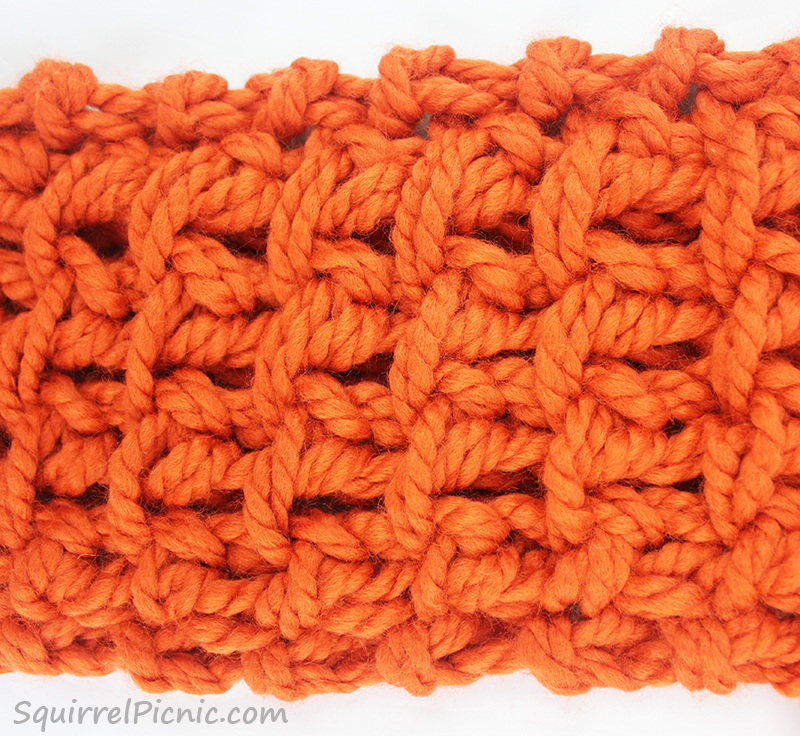
And finally, here is a closeup of the stitches that make up this pattern.
The springerle is an anise-flavored, eggshell-white cookie that is said to have originated from German-speaking parts of Europe. Typically baked for the holidays, this cookie is best known for its beautiful embossed designs.
I have many fond memories of Christmasses spent with family, the adults relishing the springerles my mother had baked while the kids nibbled at less exotic treats. We kids all considered the springerle to be a stuffy, grownup cookie. “An acquired taste,” my mother would say. I remember how at these holiday gatherings the adult conversation would always turn to a debate over the best way to eat the springerles. Some would claim that they are best when they’re less than a week old and still soft. Others would swear that you should never eat them until at least two weeks had passed, until they are rock hard and require dipping in tea or soaking in rum in order to eat them without breaking a tooth. I didn’t care for them as a child, but the first time I tried one as an adult, I was hooked. Anyone who loves the flavor of licorice will love this cookie too. Continue reading →
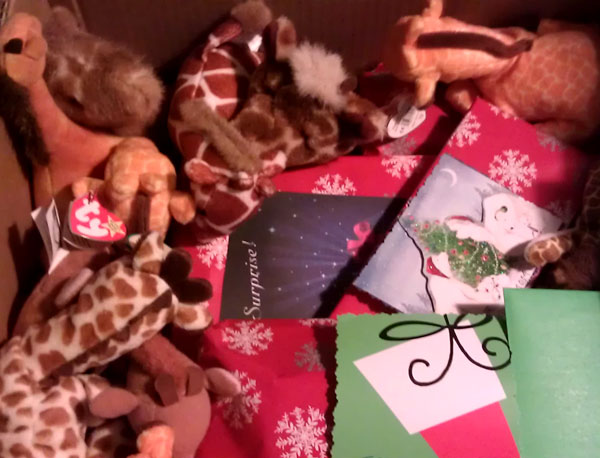
When sending out Christmas packages to your grown children this year, instead of using bubble wrap, use their old stuffed animals. As a friend of mine mentioned, it’s an eco-friendly way to tell your children, “It’s time for you to get your junk out of my house. Mom wants a craft room!”


You must be logged in to post a comment.