 My series on how to add faces to your amigurumi continues with one of my favorites: the sleepy face. It doesn’t require many materials — all you need is yarn, a needle, scissors, and your crochet or knit toy. In just a few quick steps your adorable toy will have an equally adorable face. Let’s begin…
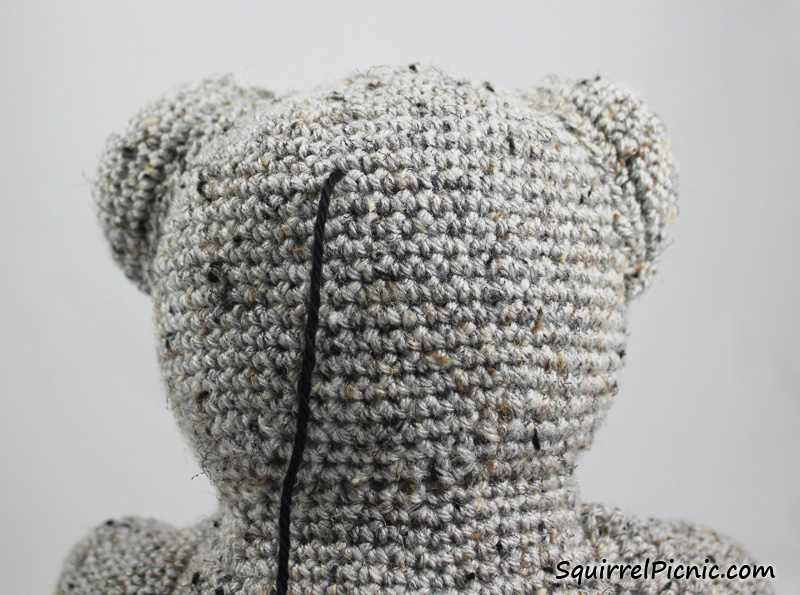
1. Thread your yarn needle and insert it into your amigurumi from the back and exit out the front where you want your eye to start. I find sewing the nose and mouth on first helps with the placement of the eyes.

2. Leave a long tail at the back.
3. Insert your needle where you want the back of your eye to be (on Sleepy Bear, I counted back 7 stitches) and exit on the front, down and to the right of where you began in Step 1 (on Sleepy Bear, this is down 2 rounds and over 3 stitches).
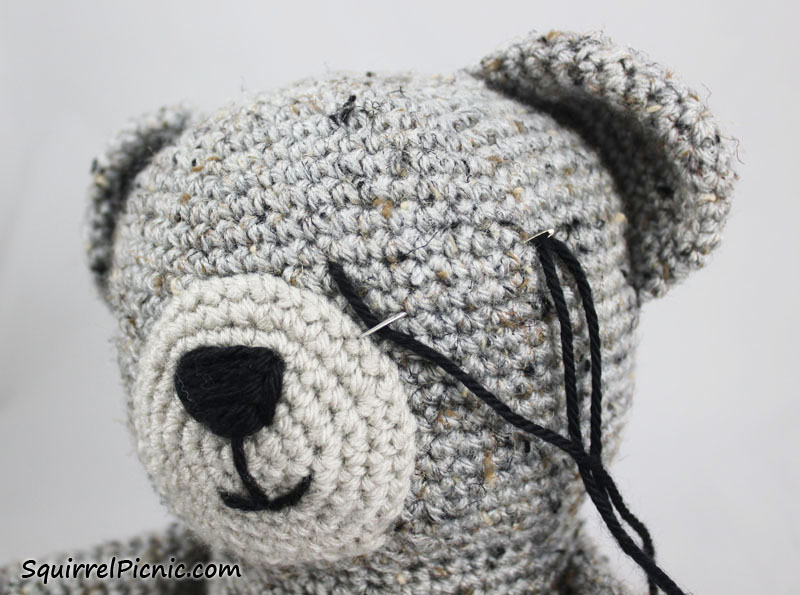
4. Pull the yarn through, leaving a good amount of slack so that the eye droops. Our next stitches will hold this part of the eye in place.

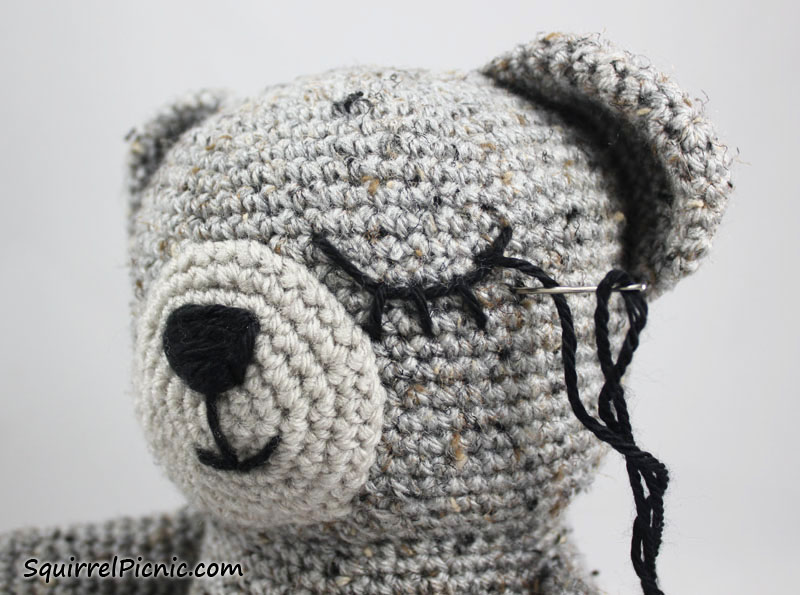
5. Insert the needle below the last exit point where you want your first eyelash to end (on Sleepy Bear, this is 2 rounds down), and exit where you want your next eyelash to begin (on Sleepy Bear, this is 1 stitch over from the first eyelash). Make sure you exit above the drooping yarn.
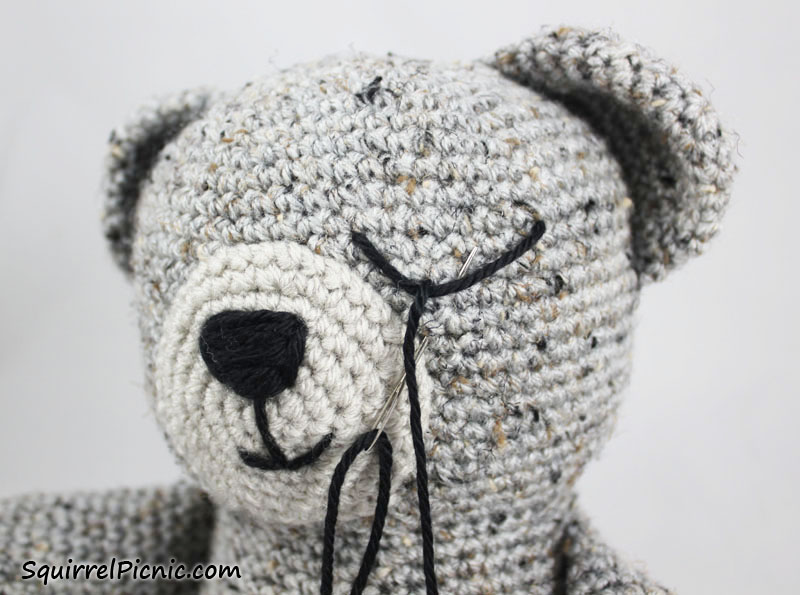
6. Repeat Step 5 for the next eyelash.

7. Repeat Step 5 for another eyelash.
8. Repeat Step 5 for a final eyelash, but this time you will exit on the opposite side of the face, next to the nose, where you want your next eye to begin.
9. Like this.
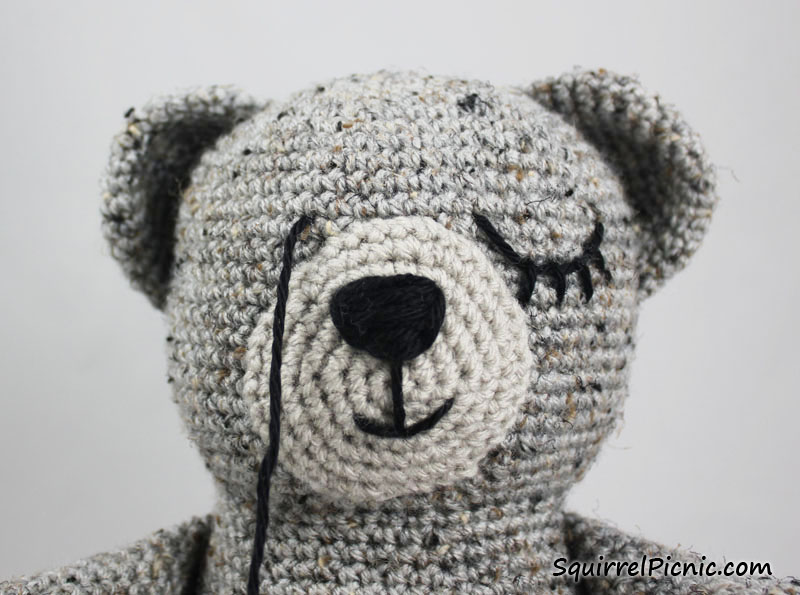
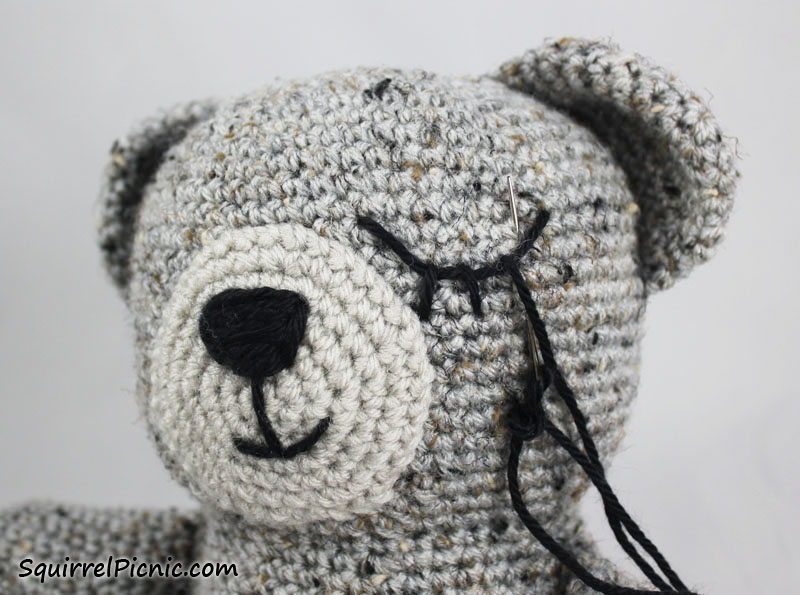
10. Insert your needle where you want the back of your eye to be (on Sleepy Bear, I counted back 7 stitches) and exit on the front, down and to the left of where you began in Step 1 (on Sleepy Bear, this is down 2 rounds and over 3 stitches). Continue to repeat the steps above to create the eye and lashes for this side.
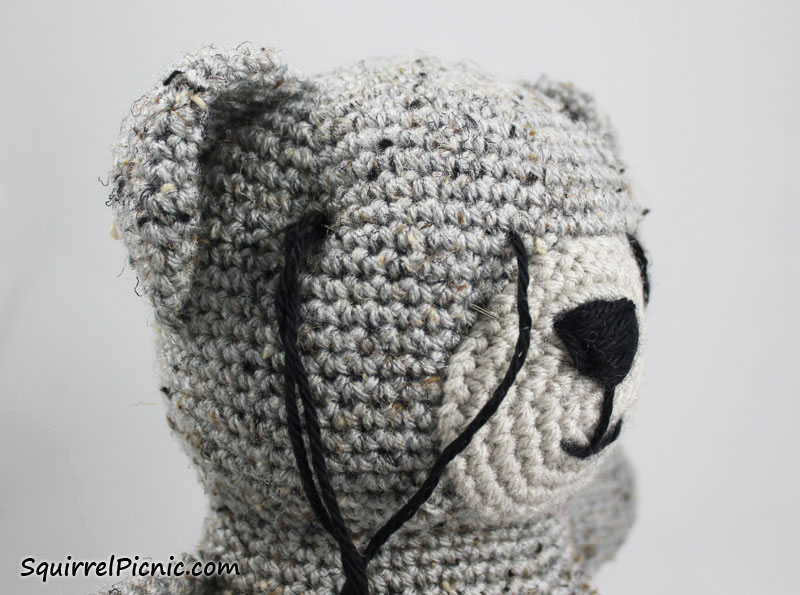
11. On your last eyelash, draw the needle through to the back of the head and exit through the same stitch that you used in Step 1.
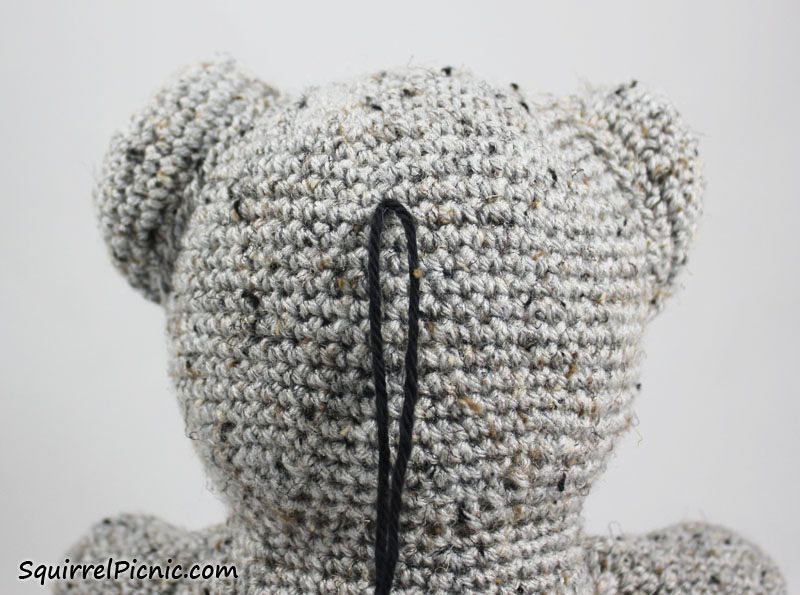
12. I like to tie these two ends together and push them into the amigurumi to hide them.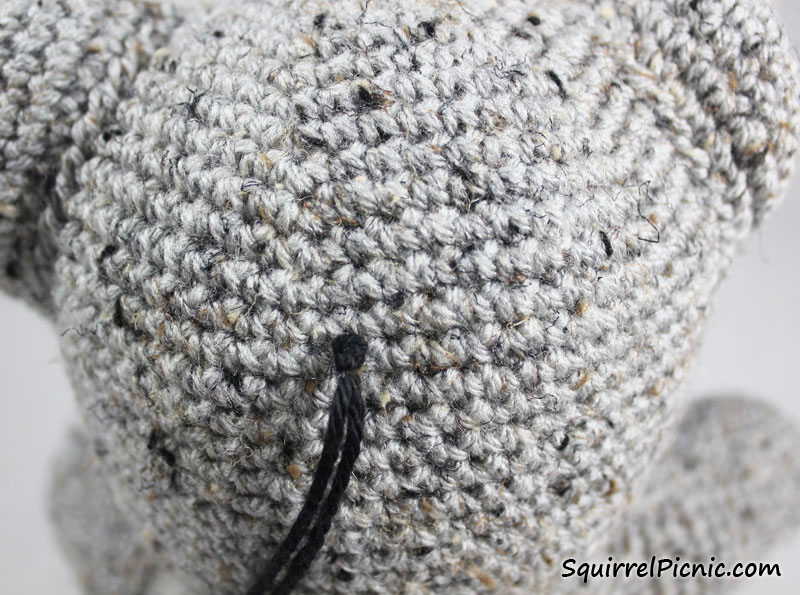
13. And there you go. Now you have a friend who is always ready for bedtime.
Join us next week, when I’ll reveal the free crochet pattern for this lovable Sleepy Bear.
Visit the Resources page for more ways to add faces to your amigurumi.


March 6, 2015 at 4:59 am
Fantastic, I always struggle with where to fasten on and off without getting an ugly knot showing! X
March 6, 2015 at 5:16 am
I’m glad you like my suggestion, Sharon. I struggled with it too, until I picked up this tip somewhere. Since then, I’ve had success just tying it and hiding it in the back. I hope you do too.
March 6, 2015 at 5:22 am
Yes, I’ll definitely be giving it a go!
March 6, 2015 at 5:47 am
thank you so much for this! it is so so so so helpful! I struggled so much putting the face on my bear
March 6, 2015 at 1:03 pm
Thanks, Hayley! I’m really glad I was able to help.
March 6, 2015 at 8:07 am
So cute and really great tutorial. I made a sleepy bear not long ago and wasn’t happy with the way his eyes looked but now I know what to do 😀 Can’t wait for the bear pattern!
March 6, 2015 at 1:02 pm
I’m so glad that I am able to help, Patricia. Looking forward to sharing the pattern with you. 🙂
March 6, 2015 at 8:10 am
Very nice tutorial! I love these eyes and I will sure follow your advices for a sleepy face. Thank you for sharing!!!
March 6, 2015 at 1:01 pm
Thanks, Karin!
March 6, 2015 at 11:53 am
Great tutorial! THANKS.
March 6, 2015 at 12:59 pm
Thanks, Aurian!
March 6, 2015 at 6:01 pm
I adore your tutorials!
March 6, 2015 at 6:04 pm
Thank you, Tajana! You are the best. Hugs!
March 7, 2015 at 8:17 am
Always great instruction! Thank you!
March 8, 2015 at 5:49 am
Yay! I’m so glad you like it, Sandy. 🙂
March 8, 2015 at 3:01 pm
I did!! Thanks for sharing 🙂
Pingback: Crochet Giraffe - Pops de Milk
April 25, 2015 at 1:10 pm
Fabulous tutorial Jennifer. Sorry I come to see it this late (too many private problems and losses lately). Taking time to read and enjoy your missed posts.
Love this one! Thank you.
April 25, 2015 at 4:49 pm
No worries, Vanja! It’s always good to reconnect with you. I hope things are starting to look up. Sending you lots of hugs and love.
Pingback: Foto-tutorial para bordar ojos cerrados – amigurumis y más