Thanks go out to Alicia Dollieslager for challenging me to make a needle-felted sloth. I had never needle felted before and that made this challenge even more exciting. I learned that needle felting is pretty fun and simple enough that anyone could do it, but because the needles are very sharp, it might not be suitable for young children. I love how Jane Davis puts it in her book Felting: the Complete Guide. She says, “Unfortunately, when starting out in needle felting it is almost inevitable that you will stab yourself with those sharp needles at least once, so have first aid supplies on hand and keep your tetanus shot up to date.” I guess I should feel pretty lucky that I completed this project unscathed.
The basic idea of felting is that when you move your needle in and out of the wool, barbs on the shaft of the needle grab the fibers and tangle them together to create felt. On the subject of needles, the package I purchased came with four types: a 38-gauge star-point needle for felting large areas, a 36-gauge triangle-point needle for fast felting, a 38-gauge triangle-point needle for attaching one item to another, and a 40-gauge triangle-point needle for detail felting and smoothing the surface. After trying them all out, I ended up using the 38-gauge needles for everything except the details on the face and the surface, for which I used the 40-gauge needle.
A foam pad is used as a work surface, both to protect your fingers and to help form the wool into the shape you desire. I started by poking the wool fairly deep to ensure that the center of the figure was felted. Then I switched to the 40-gauge needle to felt the surface. It’s amazing how quickly the wool begins to take shape and how forgiving this medium is.
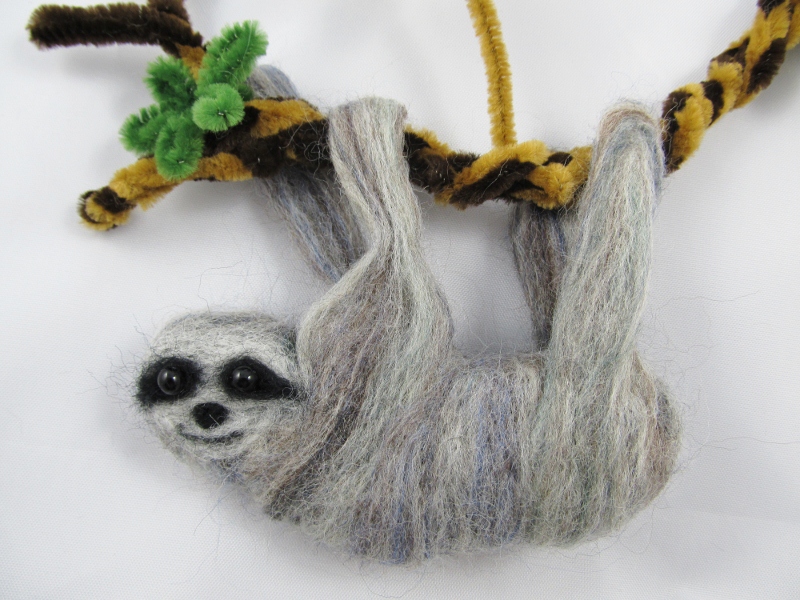
Use my instructions to make a felted sloth of your own!
Needle Felted Sloth
Difficulty Level: Easy
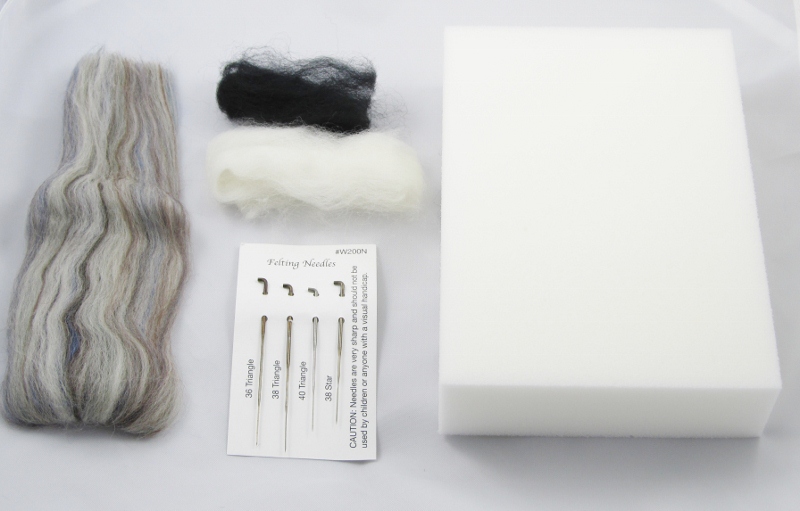
Materials
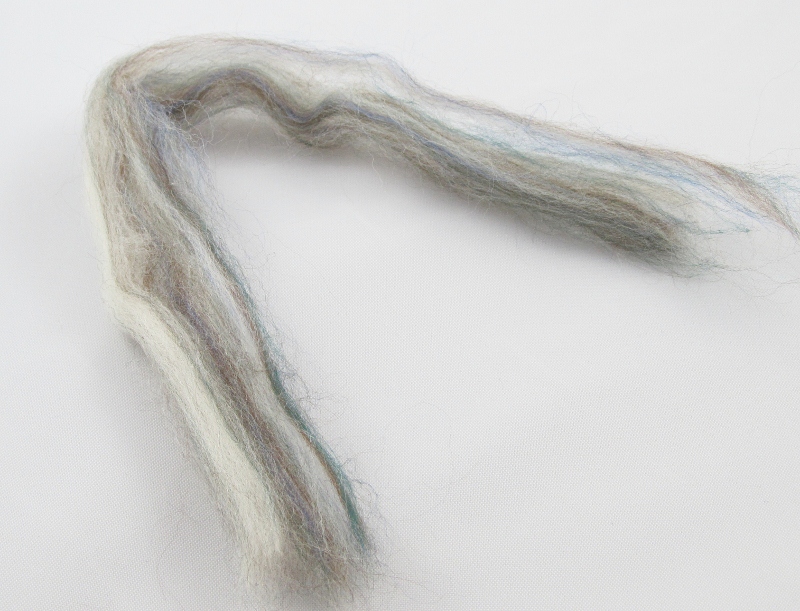
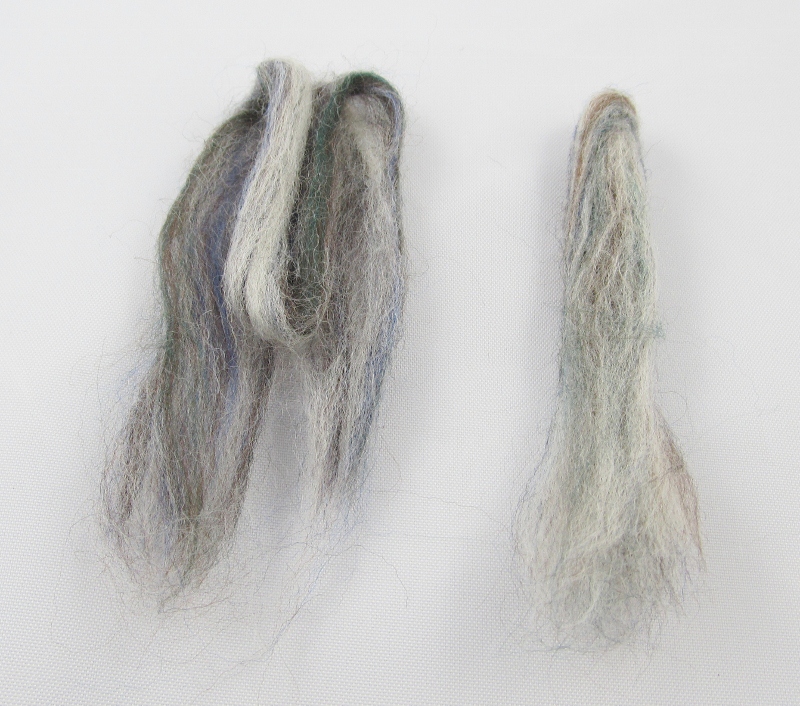
Wisteria Editions 12″ Roving Wool in agate, black, and natural
Felting needles
Foam felting pad
2 black beads (2mm), black thread, and sewing needle for eyes (not pictured)
Pipe cleaners for tree branch: 6 light brown, 4 dark brown, and 3 green (not pictured)

Take a large strip of agate wool and roll it into a sausage shape. Holding it against the foam pad, poke the body in a straight up and down motion with a 38-gauge felting needle. Leave one end of the body unfelted for attaching the head. You know it is ready when it feels spongy when you press it with your finger.
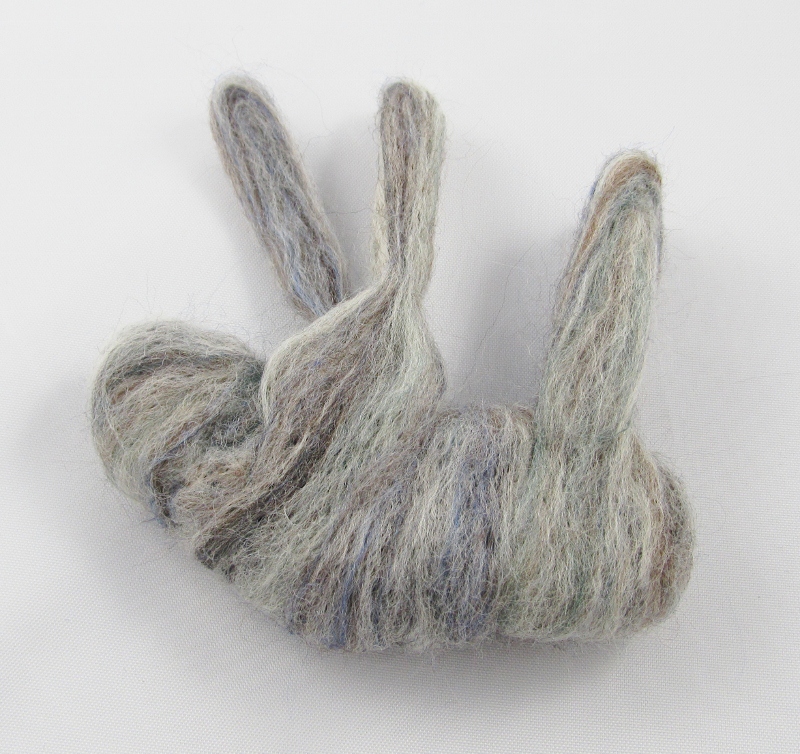
Use a smaller amount of agate wool for the head.

Roll it into a ball. Attach it to the loose end of the body by needling.

Divide the rest of the agate wool in four. These strips are for the limbs.
For the hind legs, which are shorter than the front legs, roll the wool between your palms. Then fold the rolled wool in half and wrap some of the loose wool around it. Needle until it is solid. Leave one end loose, so it can be attached to body.

For the front legs, roll the wool between your palms as you did for the hind legs. Needle repeatedly in the same spot about 2 inches from the end to create the elbow joint. Fold the loose fiber over at the end to create the upper arm and needle in place.

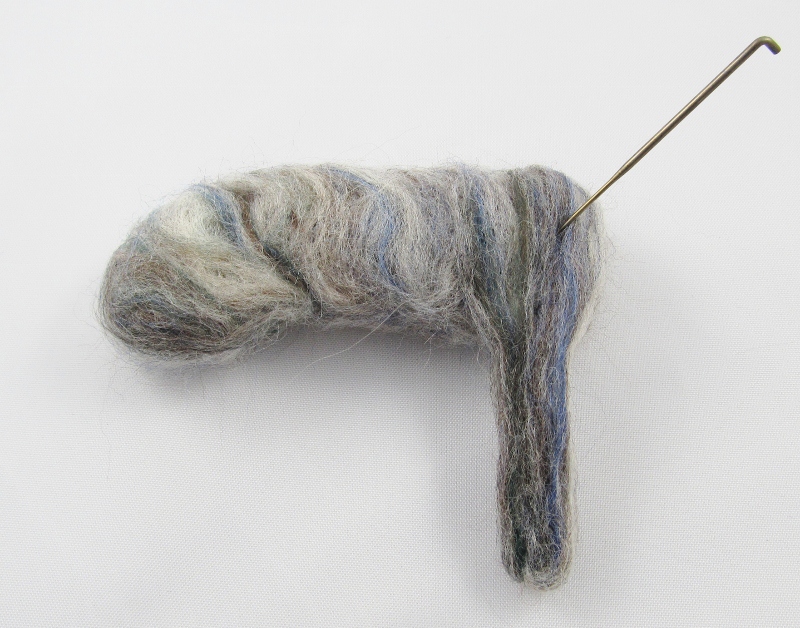
Needle each leg to the body.
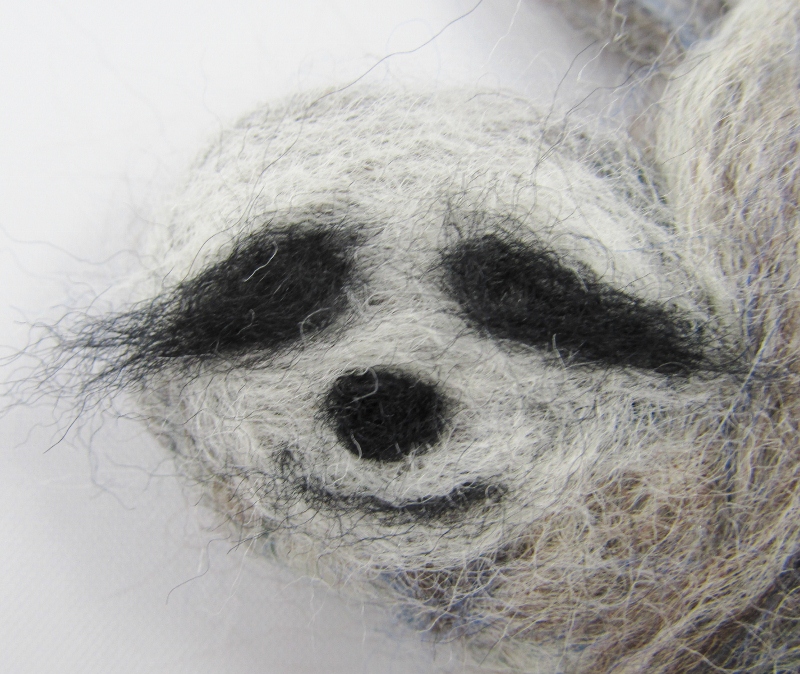
Needle a small amount of natural wool to the face. Use a small amount of black wool for the eye markings and mouth. For the nose, roll a bit of wool into a ball and needle it in place.
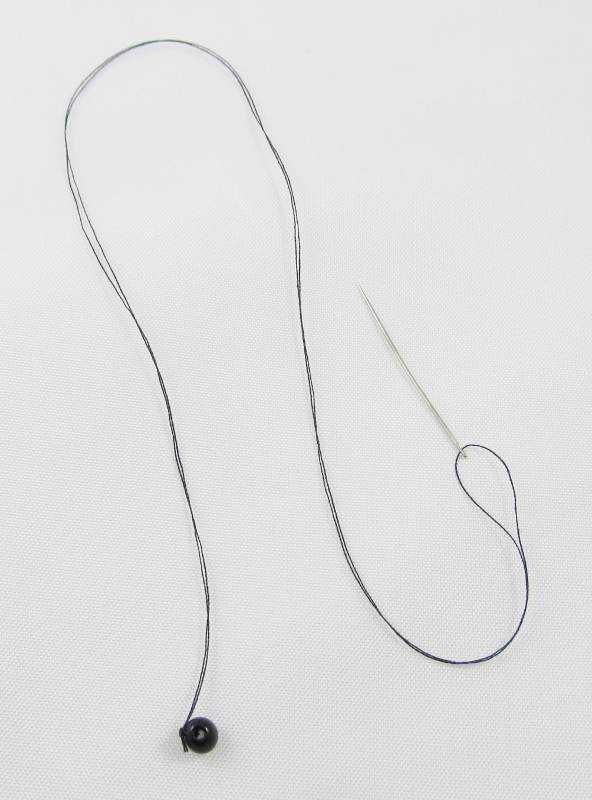
For eyes, tie a black bead onto thread. Push the needle through the eye position on the face to the back of the head. Tie off the thread and cover the knot with loose wool.

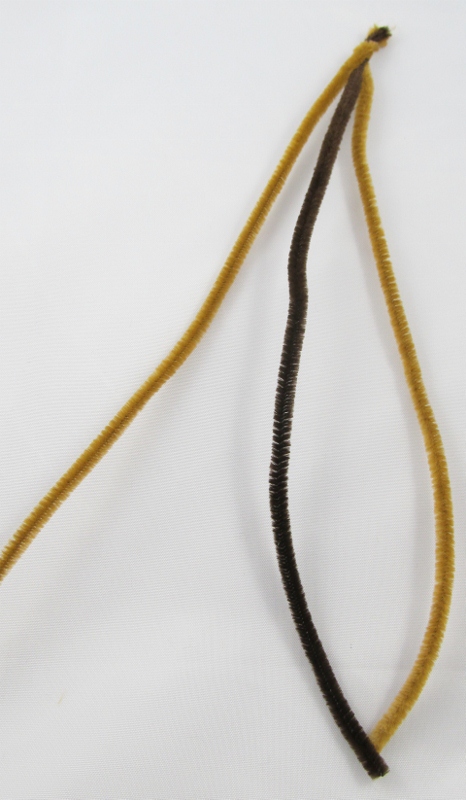
Braid two light brown and one dark brown pipe cleaners together. Repeat so that you have two braids. Twist these two together. For branches twist single pipe cleaners onto the thicker branch. For leaves, fold a green pipe cleaner into 3/4 inch segments. Fan these out into a star shape and attach them to the branch.
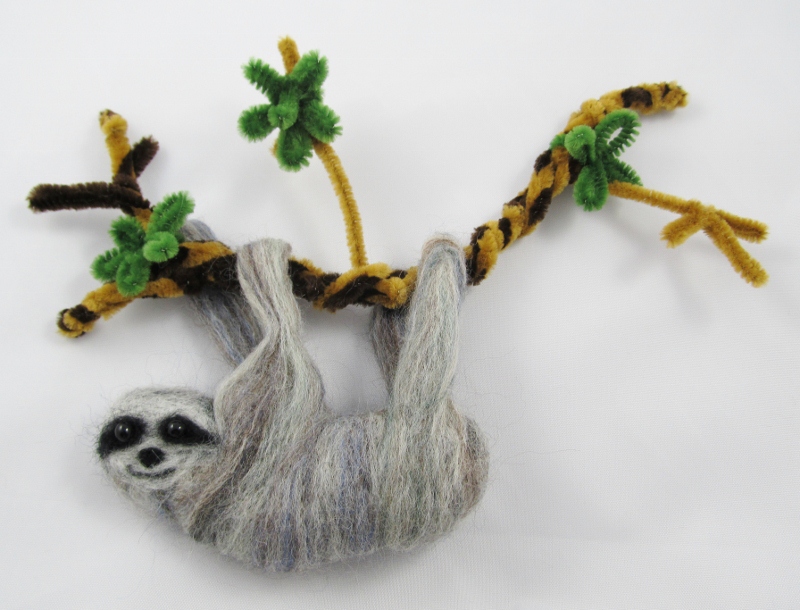
Sew the sloth to the branch through the paws. Hang by the branch on a wall.


January 29, 2013 at 3:11 pm
Wow! This is amazing! Nice blog too! Thanks for stopping by mine. 🙂
March 9, 2013 at 9:15 am
Love your sloth! Thanks for stopping by my blog.
May 10, 2013 at 5:04 pm
So cute!!! Thank you for the tutorial. ^^
Pingback: Sloth DIY Projects: Almost as Adorable as the Real Thing | Servicecan