Sugar skulls and many other forms of calavera are a popular feature of Day of the Dead celebrations throughout the world. Traditionally, these skulls are made of cane sugar that is molded in one piece and then decorated with line art, flowers, and often the name of a deceased loved one as a way of honoring them.
I drew inspiration from these designs to crochet my own version of the sugar skull. The pattern starts out with a fan to create the forehead, then you work on the opposite side to create the eyes, nose, cheeks and teeth. Within the PDF pattern, I’ve included a very detailed step-by-step photo tutorial to guide you along. It’s a lot of fun to embellish these motifs with beads, embroidery, and crochet flowers to really make them look like sugar candy skulls.
Embellished or just plain, I’ve found so many uses for these skulls. I’ve worked them into scarves, using floral motifs in between each skull. I made a small coin purse (pictured above) by sewing the bottom half of two skulls together and adding a lining and metal clasp. They also make fantastic appliques. They look great on just about anything! Sew them to pillows, bags, scarves, hats, mittens, and jeans. Sew them to your pockets for an original and fun look. But by far my favorite use for them has been as elbow patches on hoodies. It’s so easy to do, and it creates a garment that will definitely get people’s attention.
Check out photos of all these projects at the end of this post. And download the free pattern below to give yourself a great head start on your Halloween and Dia de los Muertos preparations.
On a bright Sunday morning, Sylvie, Annie, and I gathered at Erikia’s house for the August Charm Exchange. I couldn’t wait to see what everyone had brought, and our little group delivered handsomely with both well-crafted and gorgeous charms and a delicious potluck brunch. There were breakfast sandwiches and pastries from local shops, a yogurt parfait bar, a homemade raspberry gelatin, fresh fruit, a cheese and bread plate, and mimosas!
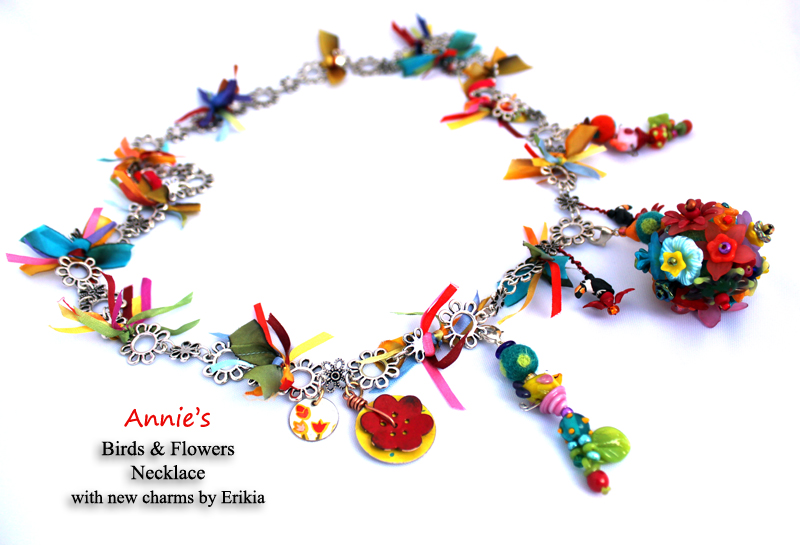
With our plates loaded, we headed to Erikia’s enchanting backyard where she had a table set up for us under her brand-new canopy. She’s very excited about using the new canopy at her booth in the upcoming Salida Fiber Festival, where she will be selling her vintage tin stitch markers. She’s done an amazing job preparing for the festival, punching out the markers from antique tins and then professionally finishing and stamping them. She used similar techniques to create her charms for Annie’s Birds & Flowers necklace. The red flower is made of copper, which she shaped into a curve before enameling it with powders and a torch to give it its vibrant color.
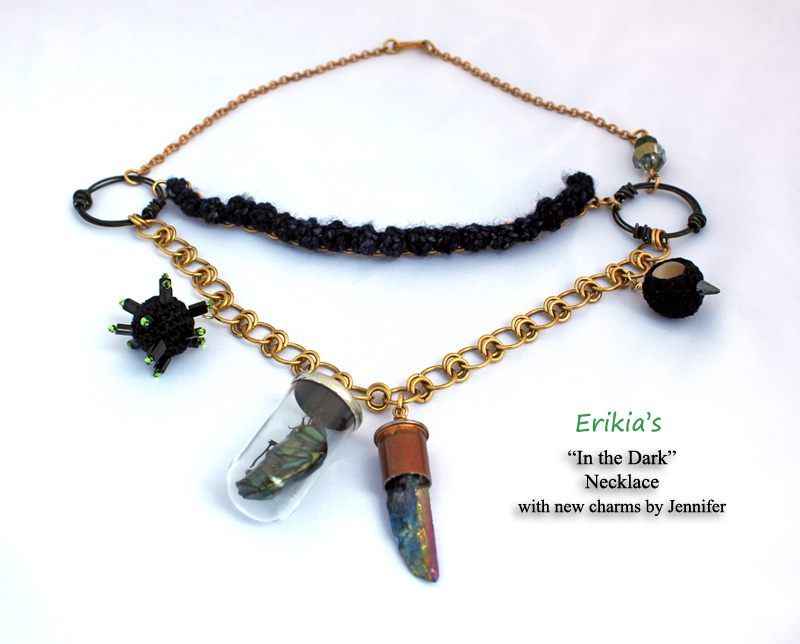
I crocheted my charms for Erikia’s In the Dark necklace using No. 10 crochet thread and a size 11 steel crochet hook. Working in this small scale presented a huge challenge for me. It took me several tries to get it right. For my first attempt, I crocheted the spider from the book Itty Bitty Crocheted Critters, but I didn’t really take the legs into account when I was working on the body. Although the body was only about an inch long, the legs made the whole thing over three inches! Then I tried just crocheting small balls to see what I could come up with. Stuffing these balls with Fiberfill revealed that I would need something sturdier inside to preserve their shape. I finally found some bronze-colored Bakelite beads in my stash that I thought would be a good fit both in size and color for Erikia’s necklace. I crocheted around the first bead and fastened off before it was completely covered, allowing the bead to show through. For the other bead, I ended up enclosing it completely and then sewing on small black and green beads to give it a spiky texture.
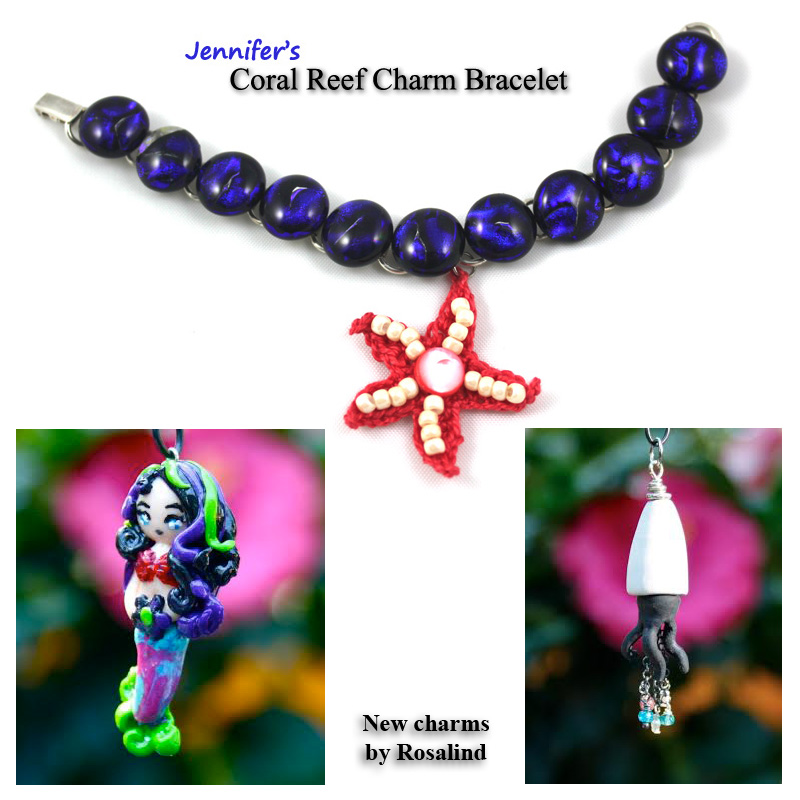
Rosalind used polymer clay to sculpt a mermaid charm and a squid charm for my Coral Reef bracelet. In the squid, she also added oxidized sterling silver chain and some gemstones. Even though she also found that working in this scale has its difficulties, I’m so impressed by all the detail she has managed to include in these charms. Keep in mind that they are under an inch long!
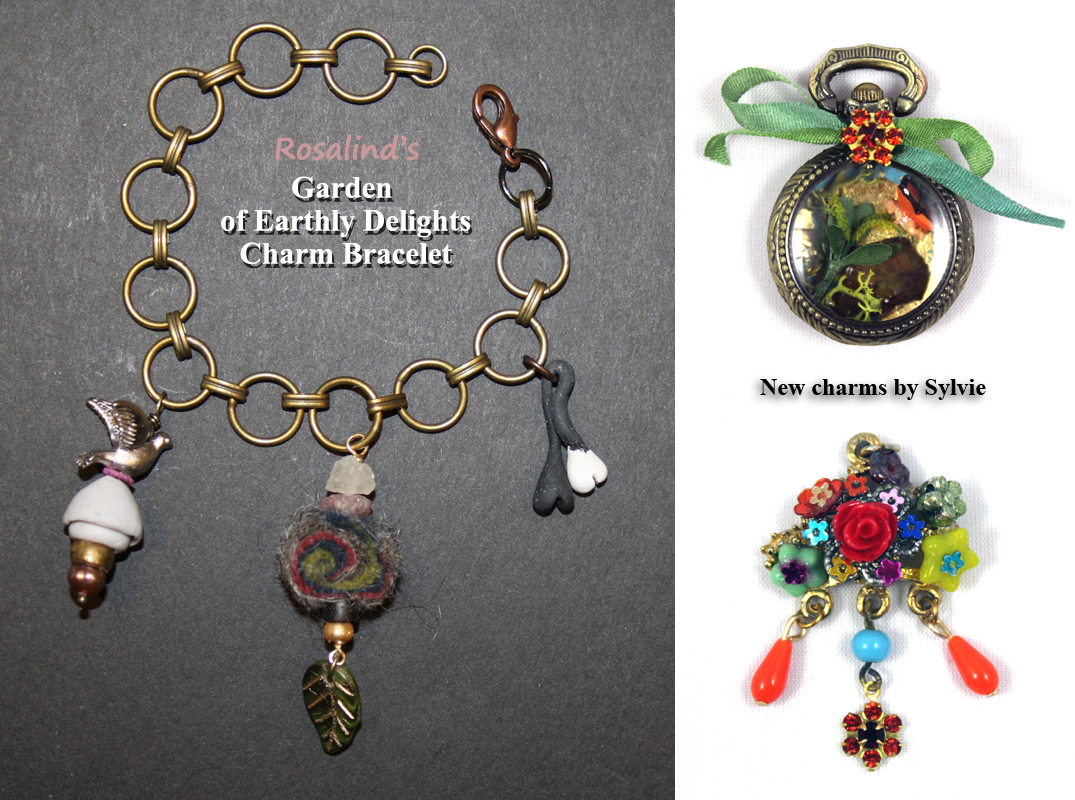
Sylvie created a tiny diorama inside a mini pocket watch for one of her charms for Rosalind’s Garden of Earthly Delights bracelet. It features a teeny baby with Monarch butterfly wings amid the moss of a forest floor. For her second charm, she brought new life to a piece of broken jewelry with the addition of colorful vintage floral beads.
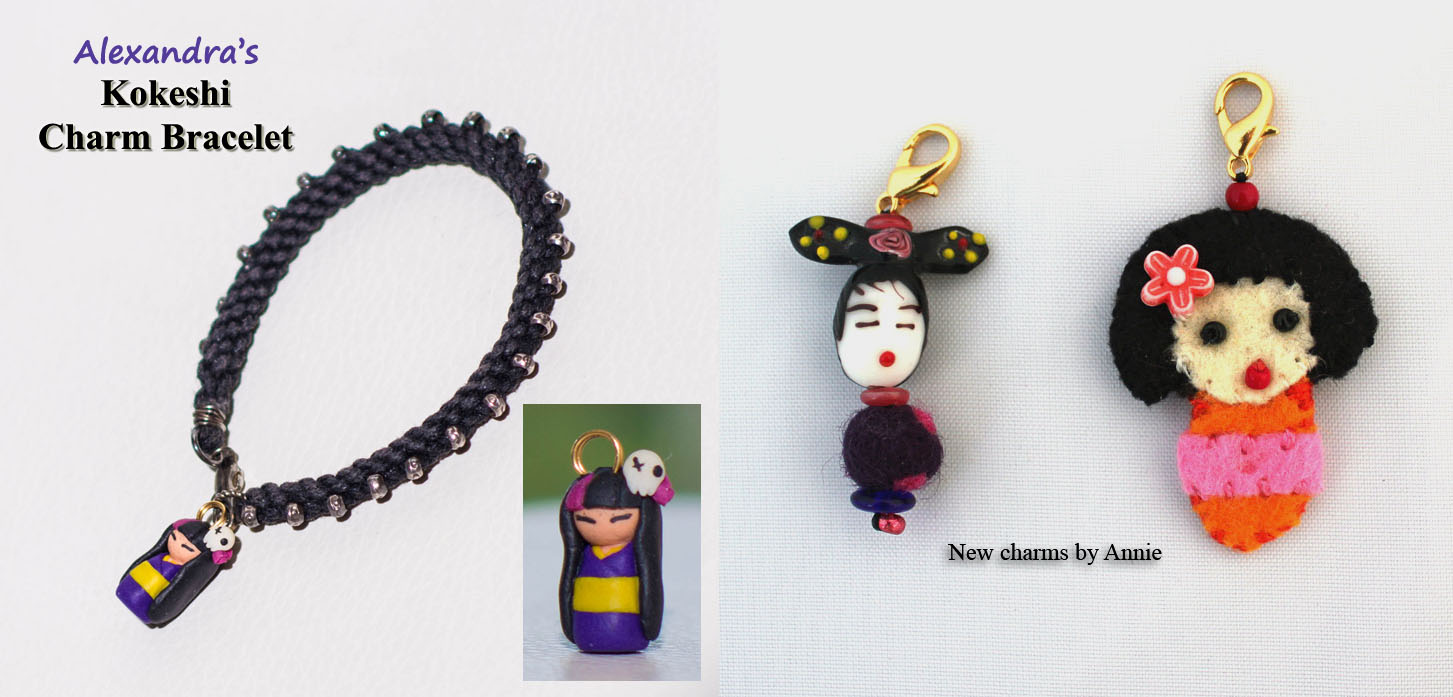
Rosalind and I weren’t alone in our struggle with scale. Annie agrees that making charms this tiny poses a challenge, but I think she succeeded handily with her felt and bead charms for Alexandra’s Kokeshi Doll bracelet. All of the stitching is painstakingly done by hand, and as always, Annie’s eye for color shines through.
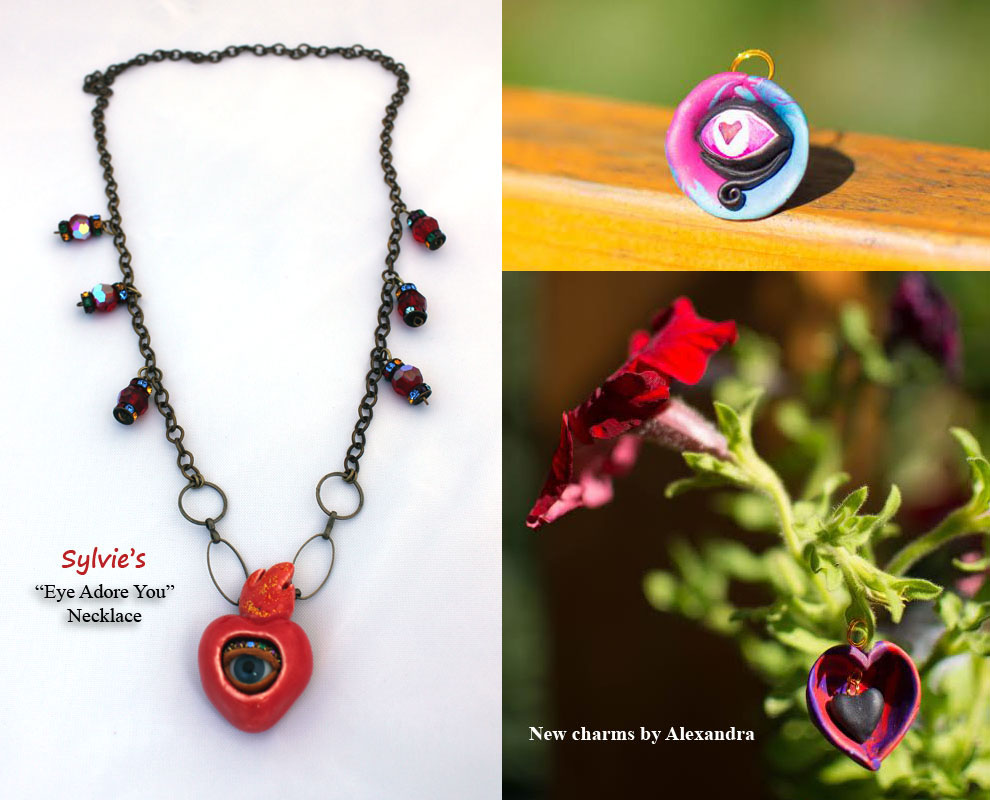
Alexandra sculpted her charms for Sylvie’s Eye Adore You necklace in fimo. Most of her experience is with sculpting people or animals, so working with this subject matter was a challenge for her. It forced her to think outside the box, but it also left her inspired to start on the next set of charms right away!
These ladies have inspired me too. I can’t wait to get started on my charms for Annie’s Birds & Flowers necklace. We’ll be meeting again in October, and until then I think I will try working with lighter thread and a smaller hook to see what I can come up with. I might need to invest in a magnifying glass.
Thanks to everyone for crocheting Squirrel Picnic stuff and sharing your photos with me. Seeing your pictures really makes what I do worthwhile. Hodge and Podge are raising their tiny paws to salute you! We are especially thankful to the following awesome people: FrlBig, Grace W., Jenna W., Kate Z., Margie, MollyBean, purpledragoncrafts, Sharon, Sheila, and Tajana.
If there’s anyone I missed, I’m really sorry and I’d like to make it up to you in a future installment of You Made This! Please send a photo of your project to squirrelpicnic{at}gmail{dot}com.
And with summer winding down, I’d also like to share with you some of the fantastic yarn-bombing that has been done using croshades. Lois and Susan — you ladies are hilarious! Thank you so much for making croshades and using them to add a bit of silliness to your world.
A special thanks goes out to Sylvie and Becky for sporting croshades with me in the Venus de Miles bike race through Longmont last weekend. We had a blast and are looking forward to an even bigger Sunnies team next year.
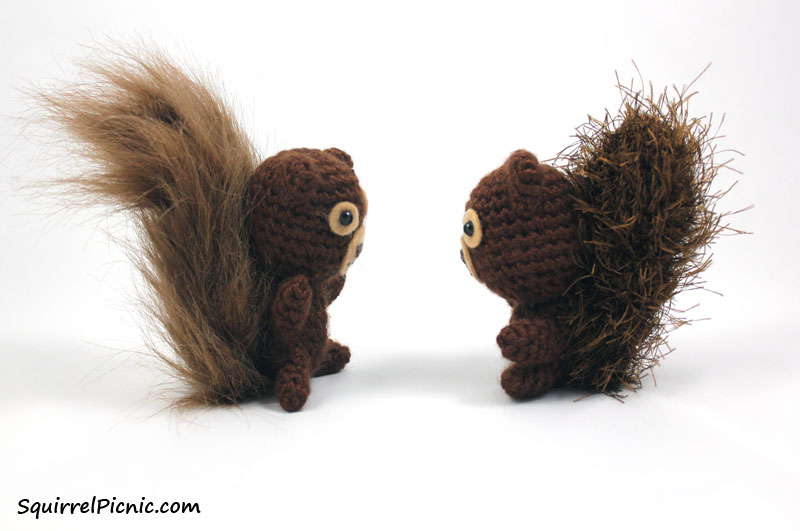
The choice is yours! Would you like your squirrel with a crochet tail or a faux fur one? Now the pattern includes instructions for both.
The biggest dilemma in Squirrel Picnic’s history has finally been solved! With my new and improved crochet squirrel pattern, we can dress our squirrel friends up in fancy costumes and clothing without their pesky tails getting in the way. Now we can all sleep at night. Continue reading →
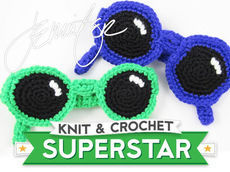
I’m so excited to tell you that I’m being featured as the Knit and Crochet Superstar on Cut Out + Keep this week. Each day they will release one of my original patterns for their fun-loving community to enjoy. I’m not sure they are quite aware of the extreme cuteness that is in store for them!
Cut Out + Keep is an online community of over 180,000 members who share free step-by-step crafting tutorials. I’ve had a wonderful time exploring some of the 69,000 projects available in a variety of craft categories like jewelry making, sewing, baking, even home décor and beauty.
As I mentioned, I was asked to select 7 of my patterns to be featured throughout this upcoming week. Boy was it hard! Trying to choose these patterns gave me the opportunity to think about what this blog means to me. At the end of the day, I really hope that I’ve added a touch of joy, and maybe a little silliness, to the world. My favorite patterns are the ones that continue to make me smile — so those are the ones I chose for their feature. I hope that being a member of Cut Out + Keep will help me make a few more people smile too.
Be sure to check out my interview and the super-kooky photograph I provided with Hodge and Podge. If you’d like to look around Cut Out + Keep, I recommend typing your favorite item (for me, it was robots) into their search engine. You’ll be amazed by what the members of their community have been up to. And of course, if you like what you see, you should become a member too!
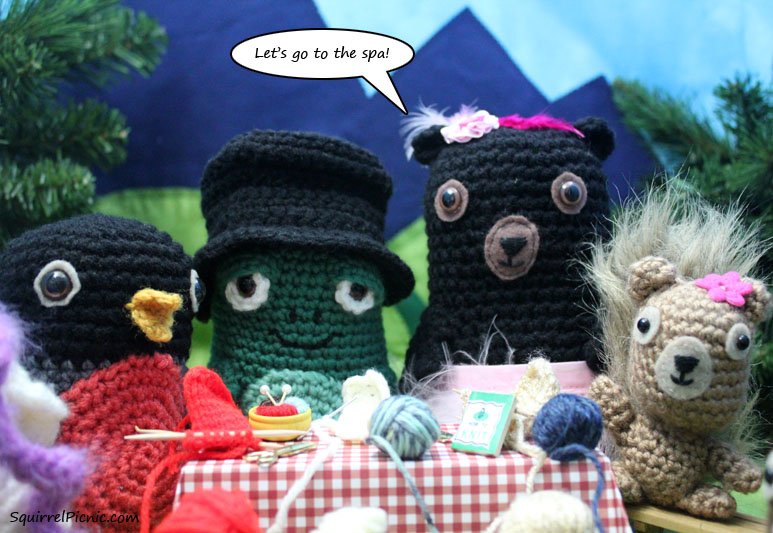
So they checked into the spa and spent the day getting all the kinks worked out. Jelly Belly Bunny enjoyed having her ears rubbed. Rosa Robin got a seaweed wrap, which she ended up eating instead. Tina developed a crush on her masseur and bought a fifty-visit punch card on her way out. Hodge and Podge received paraffin paw treatments and now they’re ready to crochet up a storm.
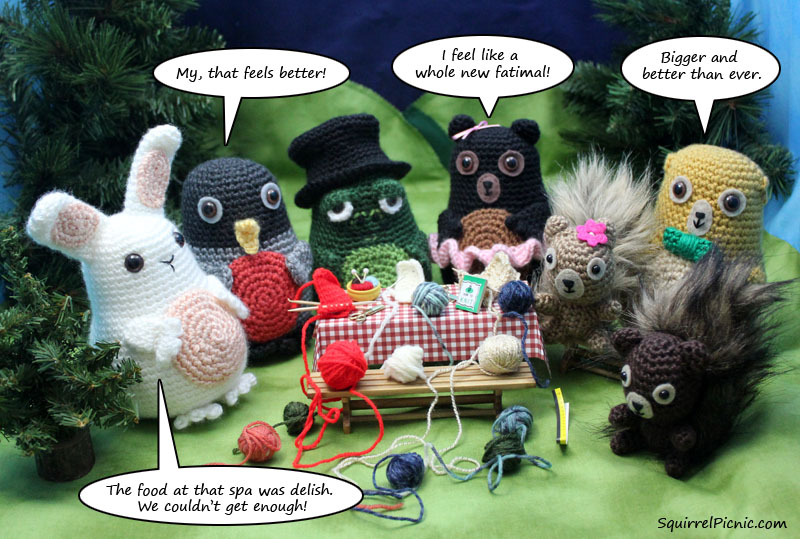
Welcome the new and improved cast of Squirrel Picnic! They’re bigger and better. Can you tell the difference?
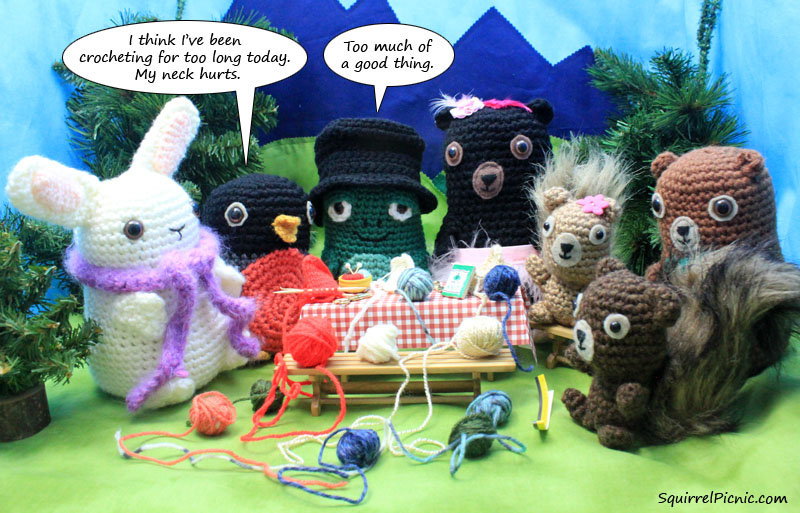
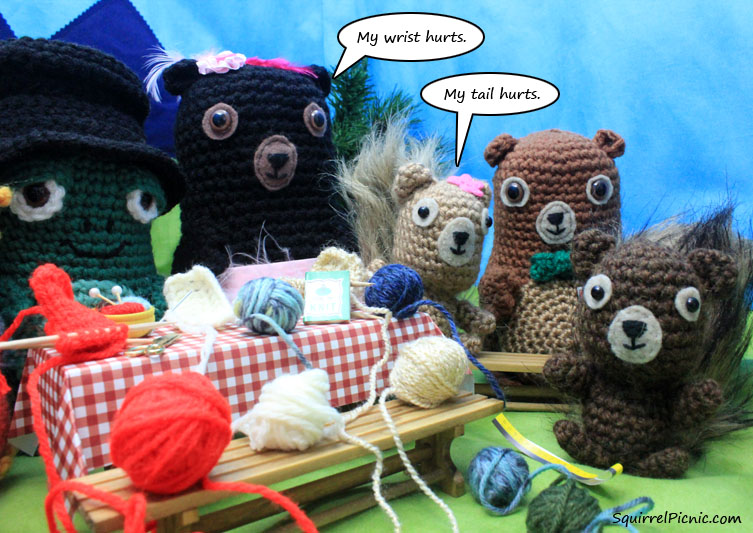
What do you do when your muscles ache from an overindulgence in needle crafting? Do you relax with a heat pad or get a massage? Try a different style of hook or needles? Do you take time off and explore another medium? If you’re suffering from a needle-crafting injury, I’m sending you soothing thoughts and some good wishes to get you back to your craft soon again…
Because next week, I’ll release the pattern for Tina Ballerina Bear and I know you’ll want to try this!

 Embellished or just plain, I’ve found so many uses for these skulls. I’ve worked them into scarves, using floral motifs in between each skull. I made a small coin purse (pictured above) by sewing the bottom half of two skulls together and adding a lining and metal clasp. They also make fantastic appliques. They look great on just about anything! Sew them to pillows, bags, scarves, hats, mittens, and jeans. Sew them to your pockets for an original and fun look. But by far my favorite use for them has been as elbow patches on hoodies. It’s so easy to do, and it creates a garment that will definitely get people’s attention.


You must be logged in to post a comment.