 It’s time to learn another technique for adding faces to your amigurumi. I think you’ll enjoy this one — it’s probably the easiest to do.
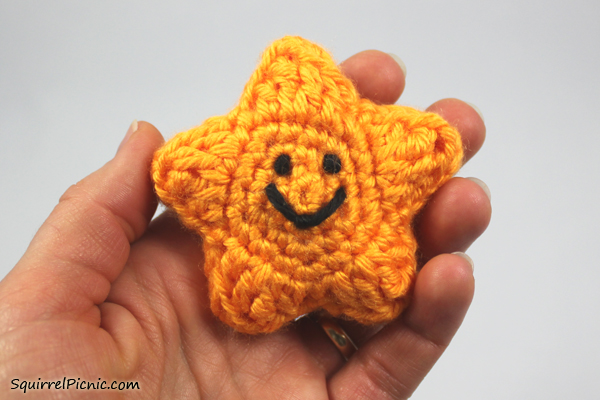
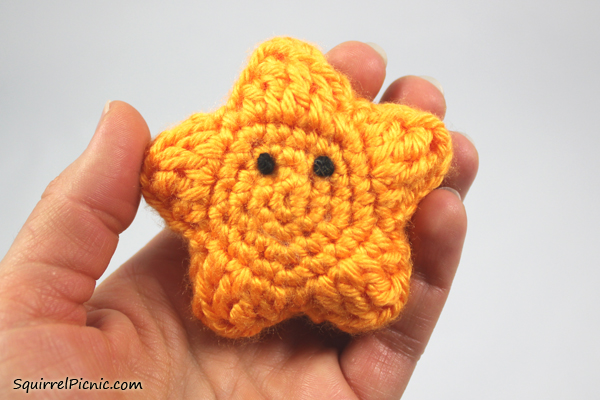
Whenever you are making a toy for a small child or pet or you’ve run out of safety eyes or you’re just looking to try something different, a simple smiley face might be just the look you’re after. The following tutorial will show you how to use French knots for the eyes and a simple technique called a detached chain for the smile. There’s no reason to be intimidated by French knots. Just give them a try and remember that a little practice makes perfect. Well, actually, I don’t think my eyes are ever perfect, but I just tell myself that’s what gives an amigurumi its personality.
So grab your amigurumi, yarn needle, and yarn and let’s begin…
First, let’s start with the eyes.
1. Thread your yarn needle and insert it into your amigurumi from the back and out the front where you want your eye to be.

2. Leave a long tail at the back.
3. Wrap the yarn at the front around the needle 2-3 times. Generally the more wraps, the larger the knot will be, but if you really want to make the eyes bigger, it would be easier to use a thicker yarn.
4. Insert the needle back down through the same hole (or a hole nearby), pinching the wrapped yarn between your thumb and forefinger. It helps to hold the free yarn (the end closest to your wraps) taut in your other fingers.
5. Push the needle down through the wraps and out the back of the amigurumi. Pull the yarn through, continuing to pinch the wraps slightly to keep them together.

6. One eye is complete.

7. Insert your needle through the same hole you came out of in the back.

8. Come up in the front through the hole where you want your next eye to be.

9. Repeat steps 3-5 for the next eye.
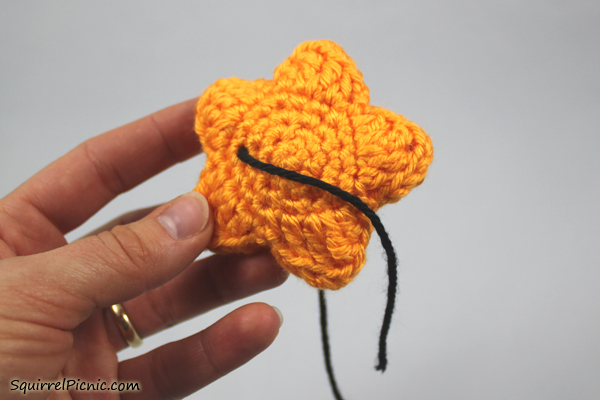
10. For the smile, come back up through the same hole you just came out of to the front just below an eye.

11. Go back down just below the other eye, leaving the yarn on the front loose.
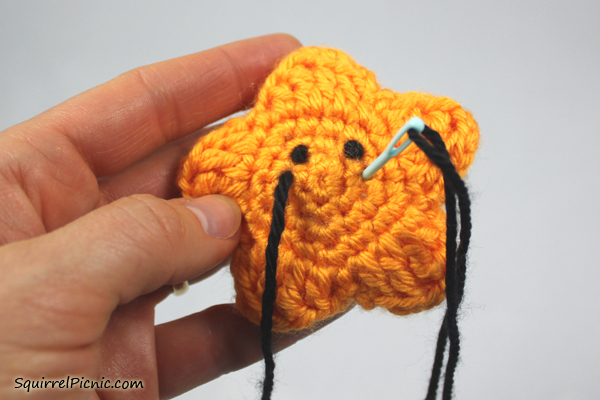
12. Ah, how cute.

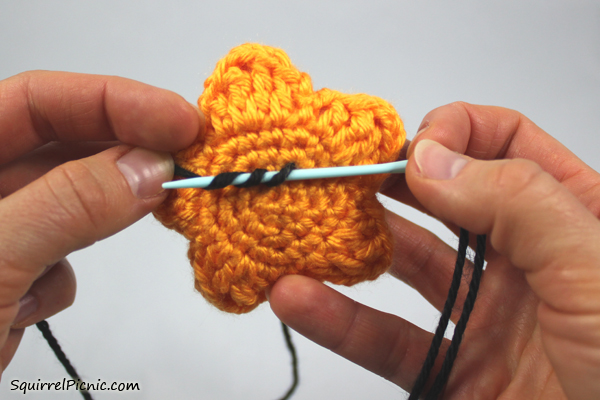
13. To hold the smile in place, come back up through the same hole you just came out of to the front where you want the bottom of your smile to be.

14. From above the smile, go back down through the same hole.
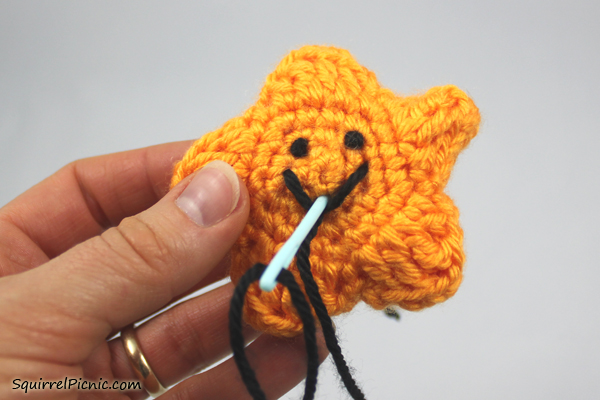
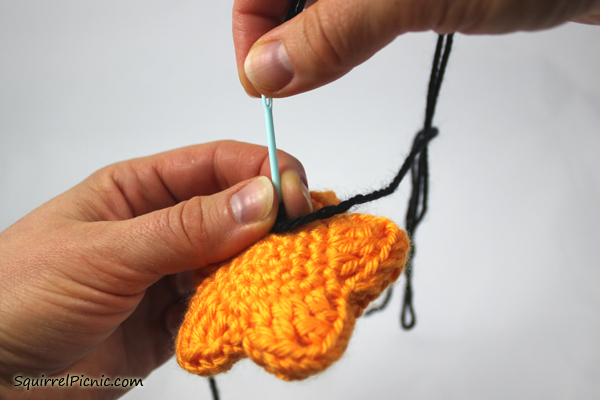
15. Come out through the hole in the back where you started.
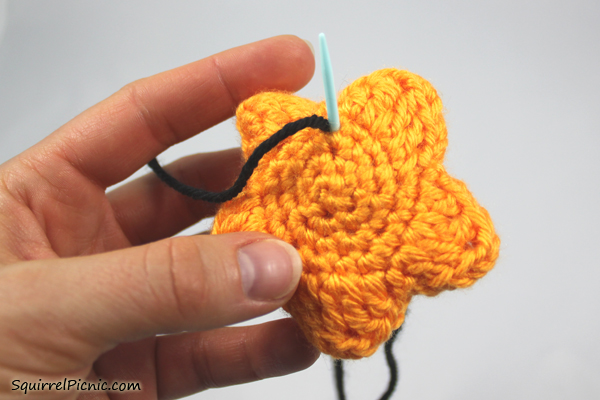
16. I like to tie these two ends together and push them into the amigurumi to hide them.

17. Smile. You did a good job!


September 11, 2014 at 5:23 am
Super Mario approves of this invincibility star! 🙂
September 11, 2014 at 7:31 am
Yay! Power up!
September 11, 2014 at 8:13 am
French knots always send me into a mild panic so I like to make sure I always have safety eyes BUT I really should get over my fear and make a few of these knots…safety eyes get expensive after a while haha. Thanks for making this tutorial, I feel inspired to make French knots now 🙂
September 11, 2014 at 12:18 pm
I know what you mean. But there is hope! The more I practice, the better I am getting. You too can master the dreaded French knot! 🙂
I love safety eyes, but I keep hearing about how they really aren’t considered safe for kids under 3 years of age (or for pets who chew like toddlers). This series is forcing me to develop my embroidery skills and discover other alternatives. You’re right, it will also be less expensive!
September 11, 2014 at 6:18 pm
Great tute, Very handy for pets and Little kids. That reminds me, my friends staffy needs a new toy. 🙂
September 13, 2014 at 5:54 am
Thanks! And I look forward to seeing what toy you make. 🙂
September 11, 2014 at 9:46 pm
Thank you for this great tutorial, like always very clear instructions and good photos!
September 13, 2014 at 5:53 am
You’re welcome! I’m so glad you like it.
September 16, 2014 at 4:30 am
I missed this post!!! It is great one! Thank you for making time to take photos and share this tutorials with us. No matter how easy it might seem for some of us, it is always greatly appreciated. Specially when you make show and explain. I always feel like learning something new! Seriously!
Thank you!
September 17, 2014 at 12:29 pm
Thanks Vanja! It’s a good learning experience for me as well. 🙂
January 10, 2015 at 9:59 pm
Ah! So this is how it’s done. Thanks for sharing a picture tutorial on this. I have trouble with amigurumi, especially faces! Will put this to the test on my little tiny eye-less puffer fish. Thanks so much!
January 11, 2015 at 9:44 am
Awesome, Kendra! I’m so glad I could help. Enjoy your smiley puffer fish. 🙂