Squirrel Picnic

Handmade with Love and Stuff


2 Comments

Calling All Crafters! You Could Be Featured on Squirrel Picnic

Susan's Croshades

Susan uses croshades to turn urban sculptures into funny characters.

Margie's Mr. Potato Head

Margie’s Mr. Potato Head is amazing. She even crocheted the facial features!

Have you made a pair of croshades and used them to yarnbomb your neighborhood? Have you made a Batman mask, a Mr. Potato Head, or a Bowser sweater for your turtle? Do you have a Squirrel Picnic character that you’re proud to call your own? If so, I’d love to see it.

I’m in the process of putting together a roundup of crocheted awesomeness by fantastic picnickers like you. If you’ve had fun using one of my patterns, send a photo of what you made to squirrelpicnic{at}gmail{dot}com by August 22, and I’ll include it in the roundup.

I can’t wait to see what you’ve been up to!


10 Comments

How to Add Faces to Your Amigurumi: Safety Eyes with Embroidered Nose and Mouth

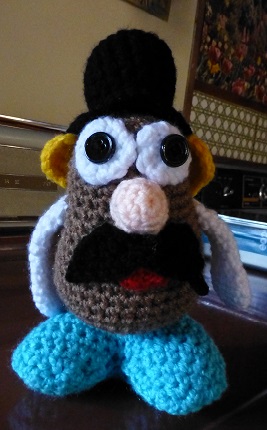
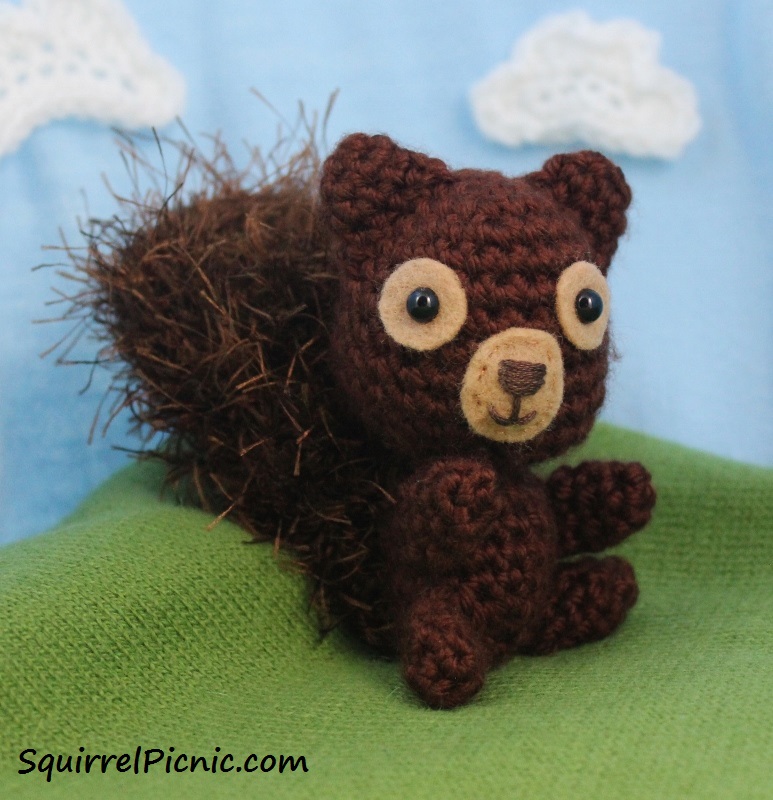
This is the technique I use to add faces to my crocheted squirrels. I find it is easier to embroider on felt than directly onto the crochet fabric and safety eyes pop on in a snap. With this method, your amigurumi will have a face in no time flat.

How to Embroider a Squirrel Face Tutorial

Materials

Beige felt
Scissors
A pair of 4.5 mm black safety eyes with lock washers
Thread to match the felt
Brown or black embroidery floss
Chenille needle
Sewing needle

Instructions

Eyes

Note: Safety eyes can really only be added before you close up the head of the amigurumi, usually when 12 to 18 stitches remain. Sometimes it helps to stuff the head in order to position the eyes, then take the stuffing out to put on the lock washers.

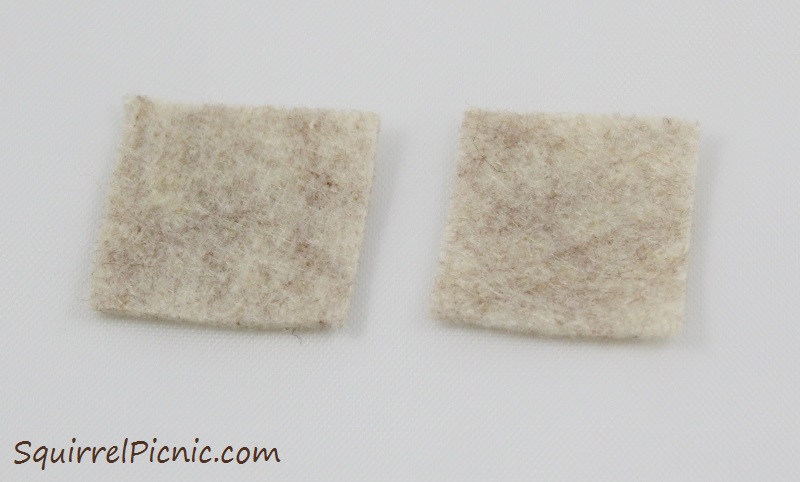
Step 1: Cut 2 squares out of beige felt approximately 1” by 1”.

How to embroider a face for squirrel amigurumi tutorial by Squirrel Picnic.

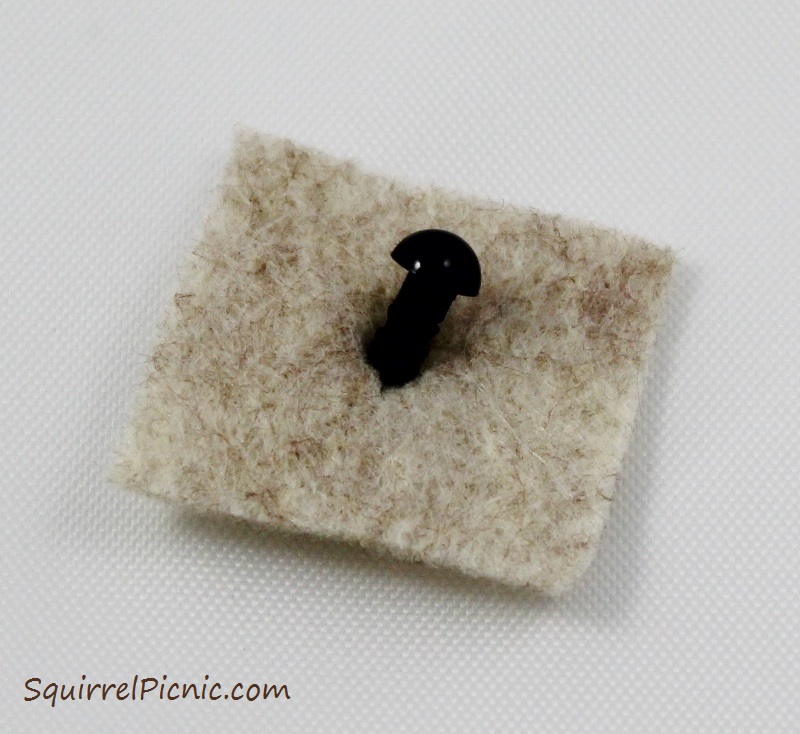
Step 2: Fold a square in half and snip a hole into the center with a pair of scissors.

How to embroider a face for squirrel amigurumi tutorial by Squirrel Picnic.

Step 3: Unfold and insert the shank of a safety eye into the hole.

How to embroider a face for squirrel amigurumi tutorial by Squirrel Picnic.

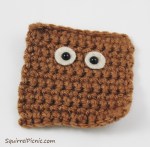
Step 4: Using the eye as a guide, cut the felt into a circle, approximately 1/8” – 1/4” wider than the eye.

How to embroider a face for squirrel amigurumi tutorial by Squirrel Picnic.

Step 5: Insert the shank of the eye into your amigurumi and press the washer onto the shank until it clicks to lock it in place. This can’t be undone, so it’s important to check the placement of your eyes before you pop on the back. For instance, check to see that the eyes are in the same row or round. The washers have 3-6 little points on one side, which grab the fabric. Make sure that these points are facing toward the fabric when you pop them on.

Repeat steps 2-5 for the other eye.

Nose and Mouth

Step 1: Cut a square out of felt approximately 3/4” by 3/4”.

How to embroider a face for squirrel amigurumi tutorial by Squirrel Picnic.

Step 2: Cut this into a circle by rounding out the corners. Or use a fabric pencil to trace onto the felt around a US penny (or another coin that is 3/4” in diameter). Then cut along the line.

How to embroider a face for squirrel amigurumi tutorial by Squirrel Picnic.

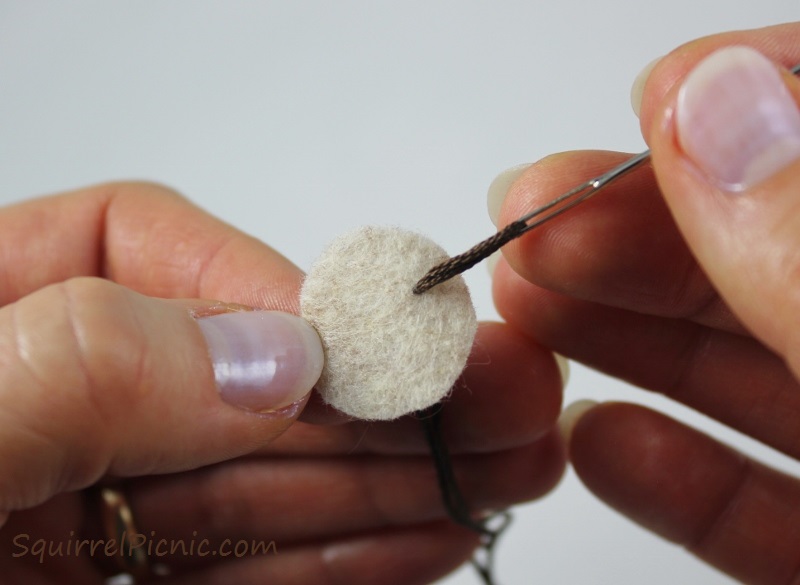
Step 3: Thread brown floss onto the chenille needle (or any needle that has a sharp point and an eyehole large enough to accommodate the floss).

How to embroider a face for squirrel amigurumi tutorial by Squirrel Picnic.

Step 4: Tie a knot on the end.

How to embroider a face for squirrel amigurumi tutorial by Squirrel Picnic.

Step 5: Work the needle up through the felt from the back, just above the middle of the circle and about 1/4” from one edge.

How to embroider a face for squirrel amigurumi tutorial by Squirrel Picnic.

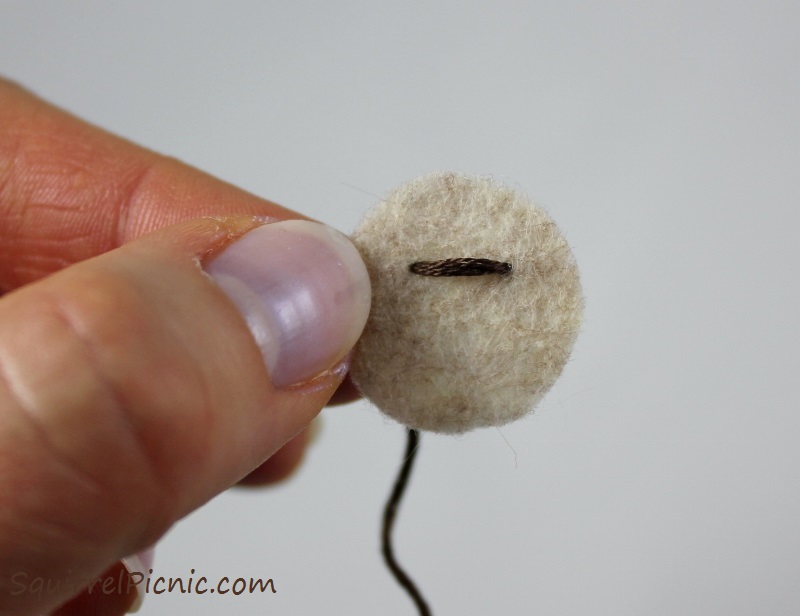
Step 6: Push the needle back down about 1/4” from the other side.

How to embroider a face for squirrel amigurumi tutorial by Squirrel Picnic.

Step 7: Come back up through the felt just below the stitch you made and push the needle back down on the other side ever so slightly below the last stitch.

How to embroider a face for squirrel amigurumi tutorial by Squirrel Picnic.

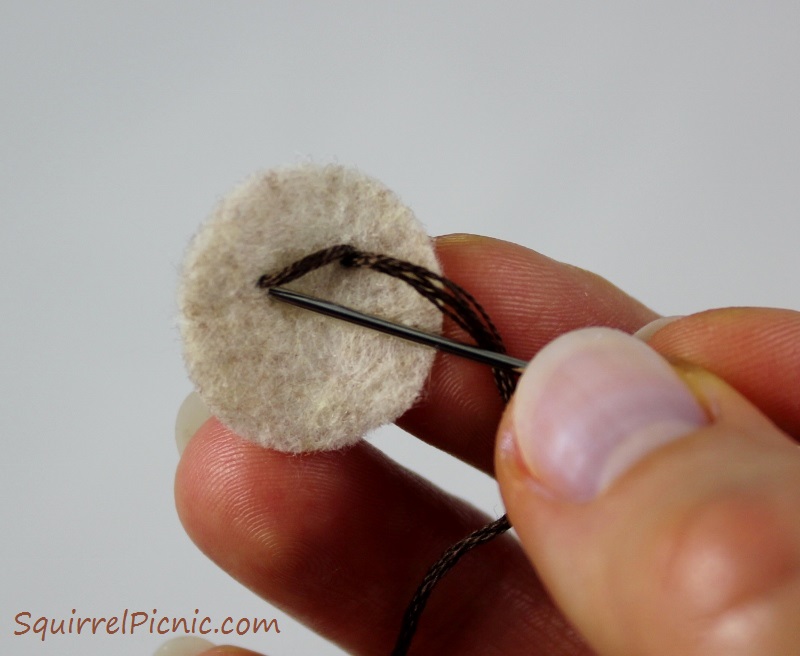
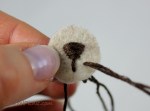
Step 8: Repeat Steps 6 and 7, each time coming in a tiny bit more from the edge to create an upside-down triangle shape to the nose. End with the needle at the back of the work.

How to embroider a face for squirrel amigurumi tutorial by Squirrel Picnic.

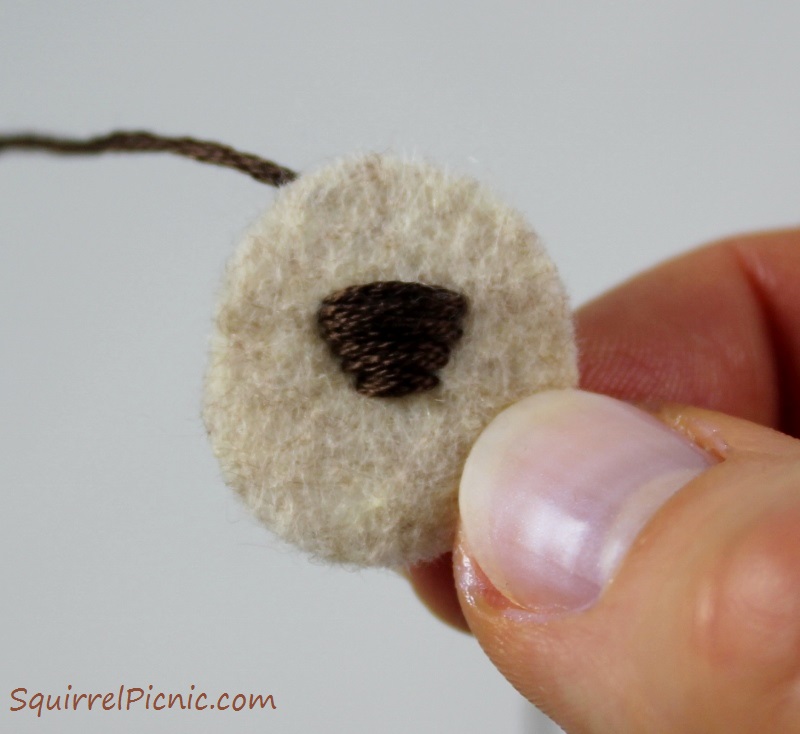
Step 9: Come up from behind the last stitch, pulling the needle out from below the stitch.

How to embroider a face for squirrel amigurumi tutorial by Squirrel Picnic.

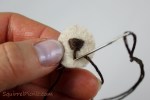
Step 10: Go back down about 1/4” below.

How to embroider a face for squirrel amigurumi tutorial by Squirrel Picnic.

Step 11: Come back up to the right of this. Go back down through the same entry point as in Step 10.

Step 12: Come back up to the left. Go back down through the same entry point as Step 10.

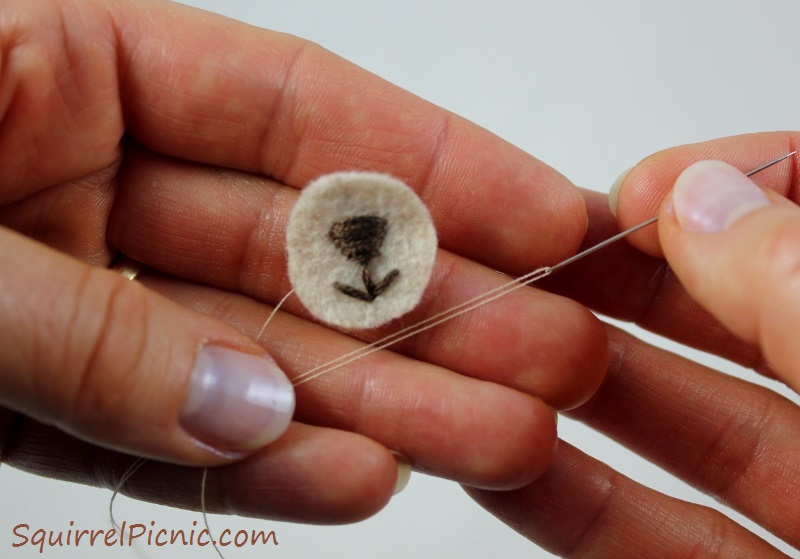
Step 13: Tie off your thread and trim the ends of the floss.

Sew on the Nose and Mouth

Note: Because the nose and mouth are sewn on, this can be done after you have stuffed and closed up the amigurumi’s head.

Step 1: Thread your standard sewing needle with thread to match the beige felt.

How to embroider a face for squirrel amigurumi tutorial by Squirrel Picnic.

Step 2: To secure the thread, I like to tie it to the floss in the back, but you could use a knot if you prefer.

How to embroider a face for squirrel amigurumi tutorial by Squirrel Picnic.

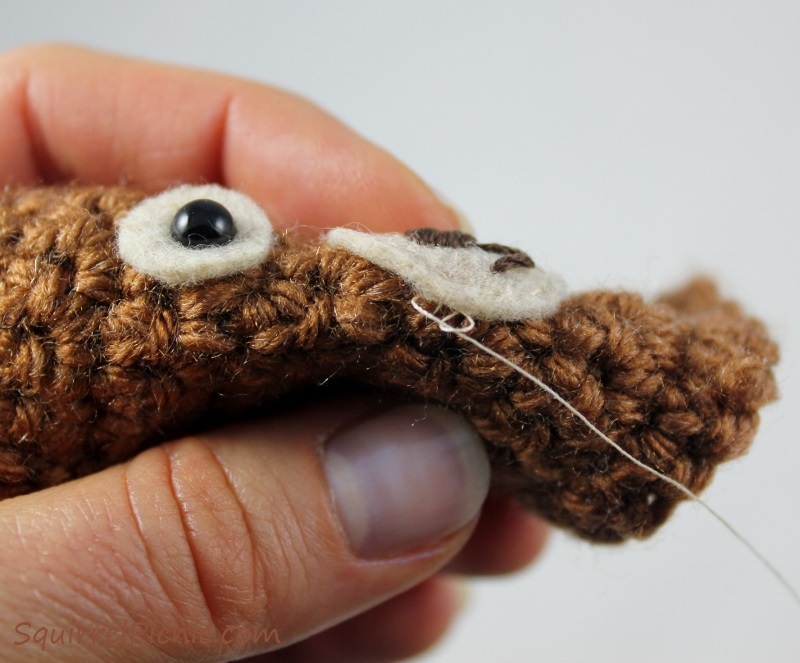
Step 3: Using a running stitch of about 1/8” per stitch, sew the felt nose and mouth to the amigurumi doll.

Step 4: End by coming out from under the felt and tie off your thread.

How to embroider a face for squirrel amigurumi tutorial by Squirrel Picnic.

Step 5: Pass the needle and thread through the head of your amigurumi, coming out the back. Trim off your thread close to the back of the head and the thread should disappear into the head.

How to embroider a face for squirrel amigurumi tutorial by Squirrel Picnic.


16 Comments

SQUIRREL PICNIC (the comic): Beatrix’s Perfume

Previous Episode: The Mystery of the Rainbow Chicken

 A very sweet skunk named Beatrix came all the way from Florida to visit Squirrel Picnic.
Naturally, we threw her a welcome party.

Squirrel Picnic Comic 1Squirrel Picnic Comic 2Squirrel Picnic Comic 3Squirrel Picnic Comic 4Squirrel Picnic Comic 5Squirrel Picnic Comic 6Squirrel Picnic Comic 7Squirrel Picnic Comic 8Squirrel Picnic Comic 9Squirrel Picnic Comic 10Squirrel Picnic Comic 11Squirrel Picnic Comic 12Squirrel Picnic Comic 13

A special thanks to Grace for crocheting Beatrix, telling me her story, and sending her to visit Squirrel Picnic. We all had a wonderful time together, and she’s welcome to come back anytime!


27 Comments

Make It! Challenge #9: Mr. Potato Head VIP (Very Important Potato) Edition Crochet Pattern

For Make It! Challenge #9, Daniel requested I crochet him a Mr. Potato Head doll. He was kind enough to let me decide on the accessories. I had a ton of fun thinking up new parts and facial features to make!

It is interesting to see all the different parts that Hasbro has come up with for Mr. Potato Head since he was invented in 1952. The first Mr. Potato Head kits came with ears, eyes (two pairs), facial hair (eight pieces of felt), feet, hands, hats (three), mouths (two), noses (four), and a pipe. Today, any Mr. Potato Head fanatic could show you an elaborate collection of accessories. Some of my favorites include party hats, pierced ears, handcuffs, bare feet, a pirate’s peg leg and eye patch, and a hockey player’s gap-toothed grin.

But with all the characters Hasbro has made into potatoes, I think there are a few opportunities they missed. What they need is a VIP (Very Important Potato) line of celebrity potatoes. Just picture it: Tiger Spuds, Morgan Fryman, Spuddy Holly, Elisabeth Shue-string Fry, Oprah French Fry, Vladimir Poutine, Mashton Kutcher, James Hashbrowns, to name a few (thanks to Becky for many of these ideas!). In the end, for this challenge, I decided on making Channing Potatum, Tater Swift, and Barack Au Gratin for my real-life celebrity potatoes. And then I threw in Harry Potater, because, well, Harry Potter’s name just screams make me into a potato.

Unfortunately due to licensing concerns, the pattern to make Mr. Potato Head: VIP Edition is no longer available. My apologies for any inconvenience this causes.


19 Comments

A Squirrel’s New Tail

Crochet Squirrel by Squirrel PicnicDoesn’t this squirrel look dapper with his new crocheted tail?

It seems my squirrel amigurumi pattern is a work in progress. You may remember before the Super Bowl this year, I cut the tails off of Hodge and Podge and added Velcro so that I could dress them in football jerseys I had crocheted for them. Well, I admit that wasn’t the best solution. Over time, the Velcro really tore up the backs of the squirrels. (Don’t worry. Luckily it’s their backs, so they haven’t noticed yet.) It was time to find another solution.

Squirrel Amigurumi by Squirrel PicnicFor a while now, I’ve been wanting to add instructions for a crochet tail to the pattern. This way people who don’t sew or don’t want to use faux fur will be able to crochet a squirrel friend too. I’d like to thank Grace and Tajana for all the ideas and inspiration that led to the new tail. You both rock!

The next step will be to create another detachable tail so that we can make lots of outfits and costumes for our squirrels. I’m experimenting with buttons and snaps at the moment. If you have any other ideas for how I can create a tail that can be easily taken on and off, I’d love to hear them!

Thanks to everyone for bearing with me on this pattern. I sincerely hope that these changes are improvements that will result in happy crocheters and even cuter squirrels for everyone.