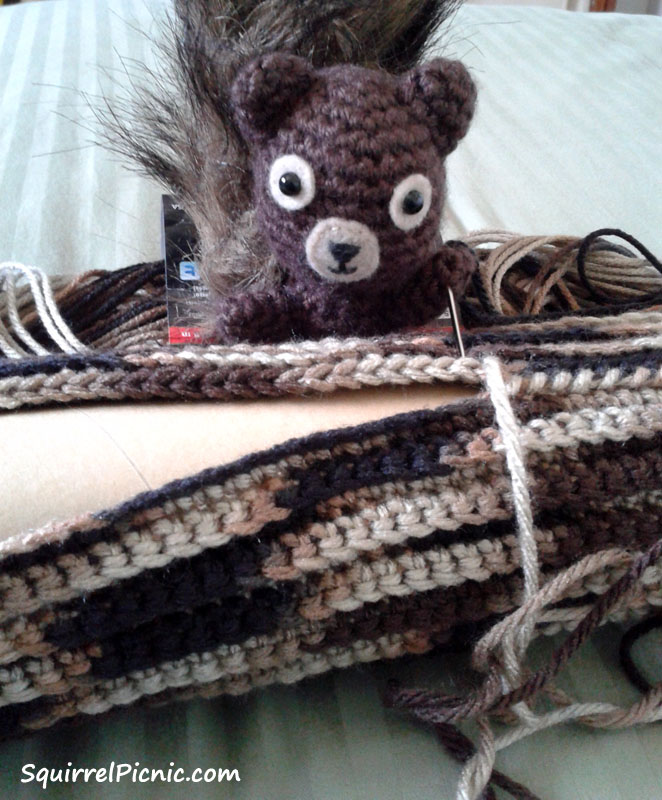
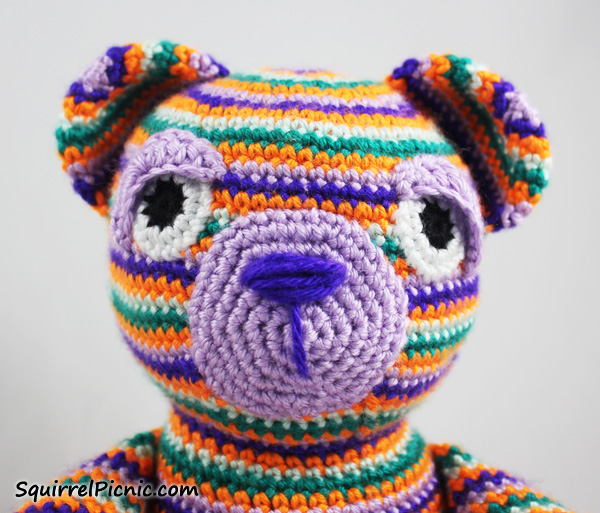
 I’d like to introduce you to a friend of mine. His name is Sleepy Bear.
“Hey, Sleepy Bear, wake up. There’s someone here who would like to meet you. Sleepy Bear?”
Well, you’ll have to excuse him. He’s a really sound sleeper. Since he can’t be disturbed, I’ll just tell you all about him.
I’ve been working on this pattern for almost a year now. I don’t think I’ve ever fiddled with a pattern that long! And I’ve made almost a dozen bears in the process. The first one I ever made I gave to a friend who had been hit by a car while riding his bike to work. He said the bear, which he named Buster, brought him a lot of comfort while he was recovering. I made another for my cousin’s first child and another for a friend out of yarn she had given me. The rest I plan to donate to the Children’s Hospital of Denver where they can bring some comfort to the patients.
This bear pattern is unique in one key way: the head and body are crocheted together. I have trouble sewing on heads, especially on larger animals like this one. It’s really hard to get them on perfectly straight. Do you have that trouble too? So with this pattern, you crochet the head, do a round in the front loops only to create the neck and then continue with the body. I think you’ll really like this detail.
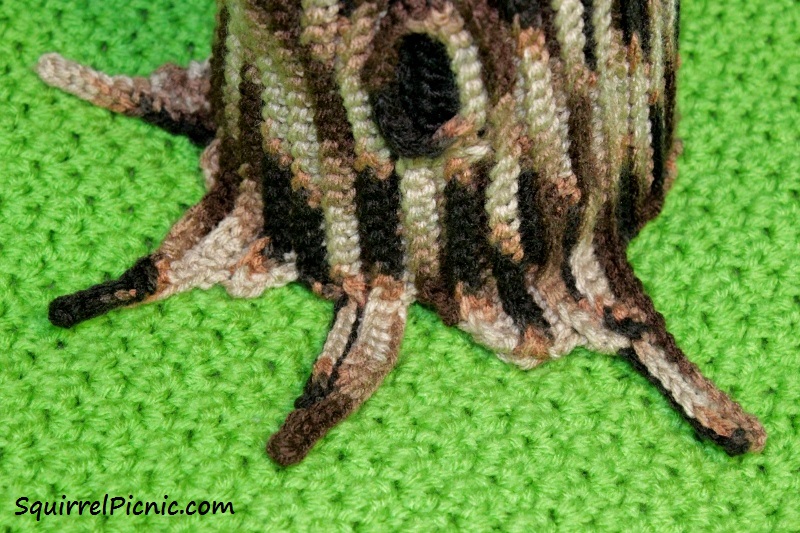
Another distinguishing feature of this pattern is the way the appendages are sewn on. Each includes instructions to close up the end. By crocheting the arms and legs and ears closed, you are able to sew them on through that row of single crochet loops. It’s easy! I like for my bears arms and legs to face forward when they are sitting down, so I sew the legs on at an angle on the bottom and the arms on the sides so that they point forward. I’ve included photos to show this placement in case you want to make your bear like mine, but feel free to play around with the placement to find the positioning you like best.
Curious how Sleepy Bear comes together?
Watch this one-minute time-lapse video showing the bear from the first stitch to the finished face: https://youtube.com/shorts/sjijXju9SRo
Update: This Sleepy Bear pattern has been carefully revised and expanded into a complete PDF pattern. The updated version includes the original bear plus the naptime accessories, along with clearer instructions, embroidery photo tutorials, and a C2C color chart. You can find the updated pattern here: https://jenniferolivarez.com/sleepy-bear
This slideshow requires JavaScript.
Sleepy Bear’s Naptime Accessories
Any nap just wouldn’t be complete without a nightcap and blanky.
Check out these new free crochet patterns for Sleepy Bear accessories.

Sleepy Bear Crochet Pattern
 Continue reading →
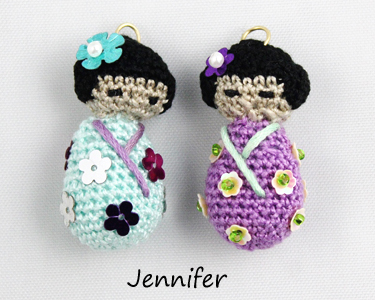 Charm exchanges are a blast! I had never even heard of a charm exchange before Sylvie approached me to be a part of hers. And I’m so glad that she did. It introduced me to a whole new world: I got to try mini-crochet for the first time, expand my jewelry-making skills, and meet a bunch of really great artists whom I can now call my friends.
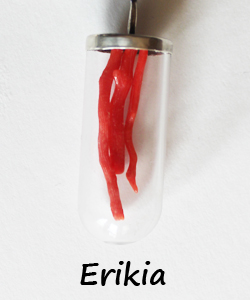 This being the charm exchange finale, I thought we might accomplish two things: (1) show off our final jewelry pieces to the world and (2) answer all your questions and provide advice on how you can start an exchange of your own, because seriously, you really should try this! Continue reading


You must be logged in to post a comment.