

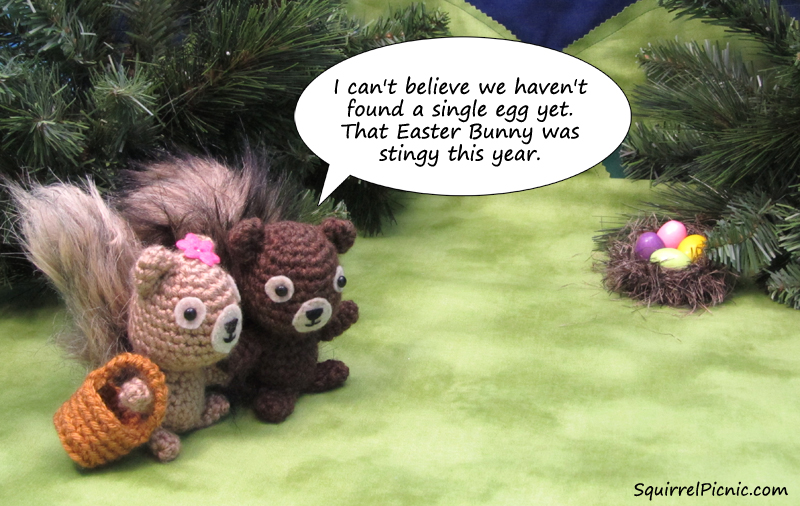
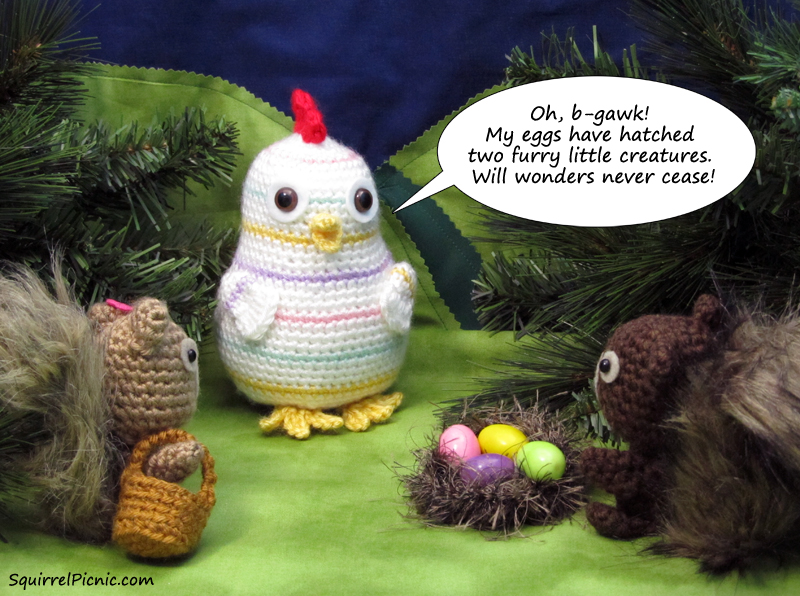
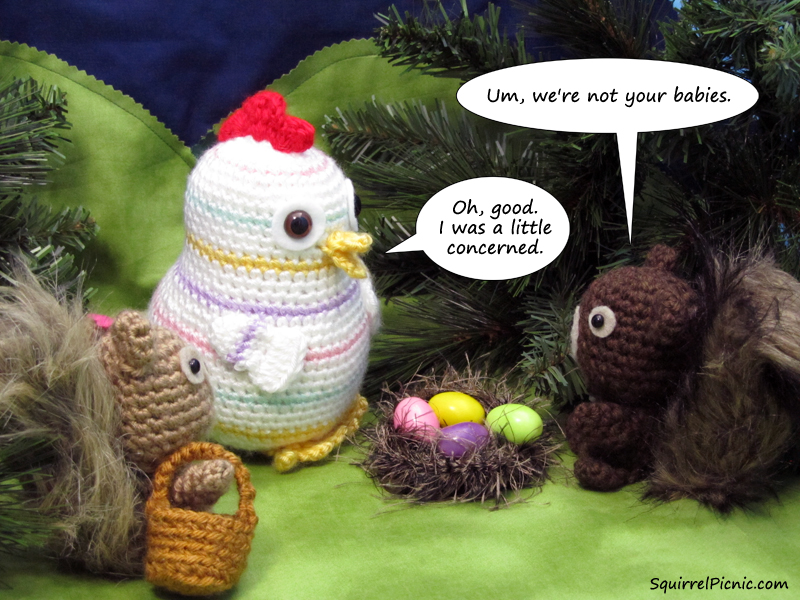
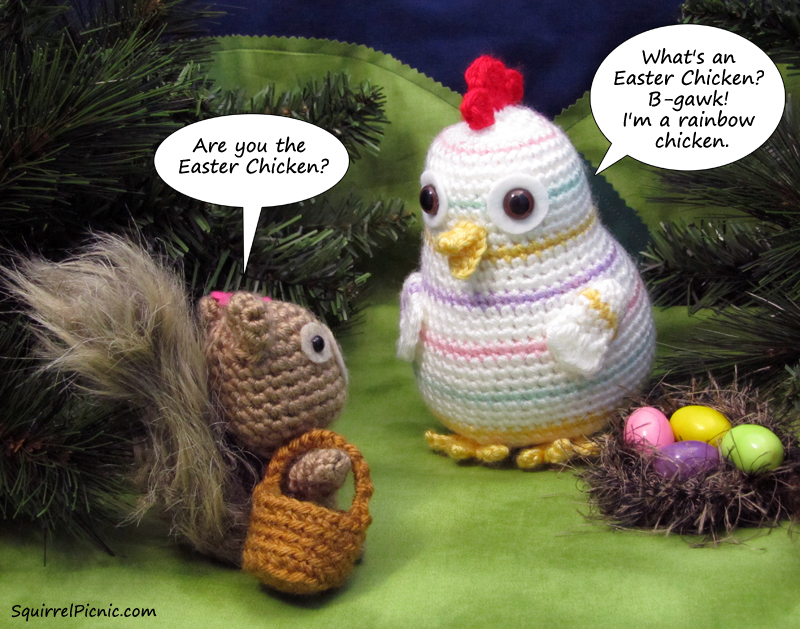
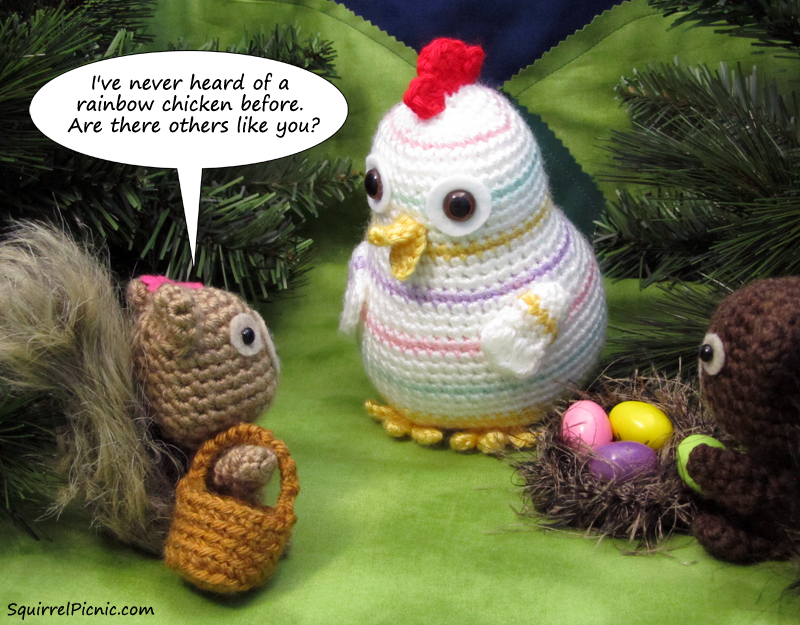
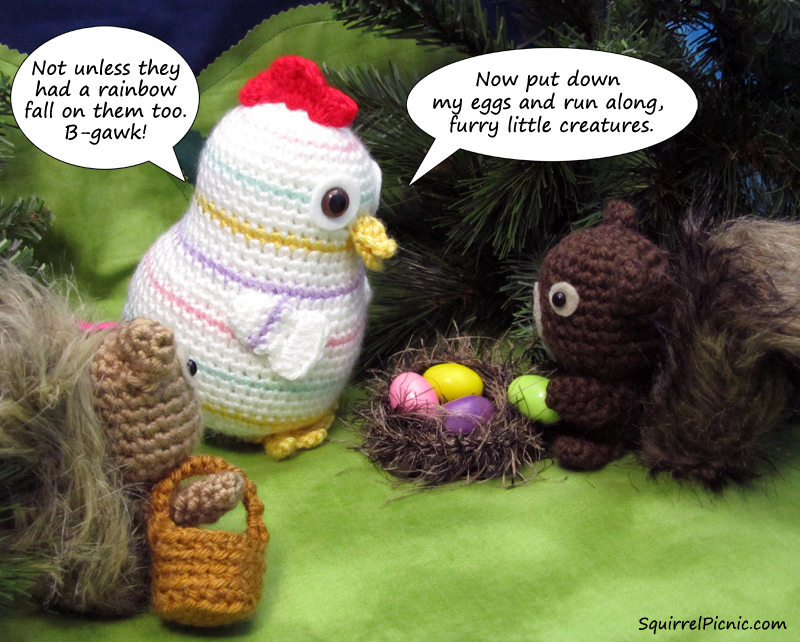
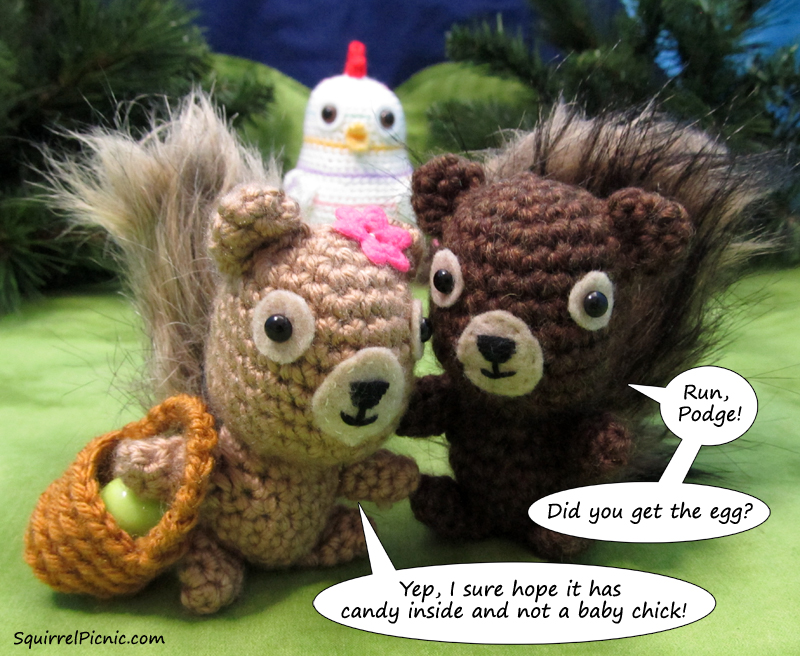
Just a little something to make you smile today. I’m hoping to make this a weekly thing (I mean, who couldn’t use more smiles on a Monday?). Let me know what you think and if I should keep the smiles coming.

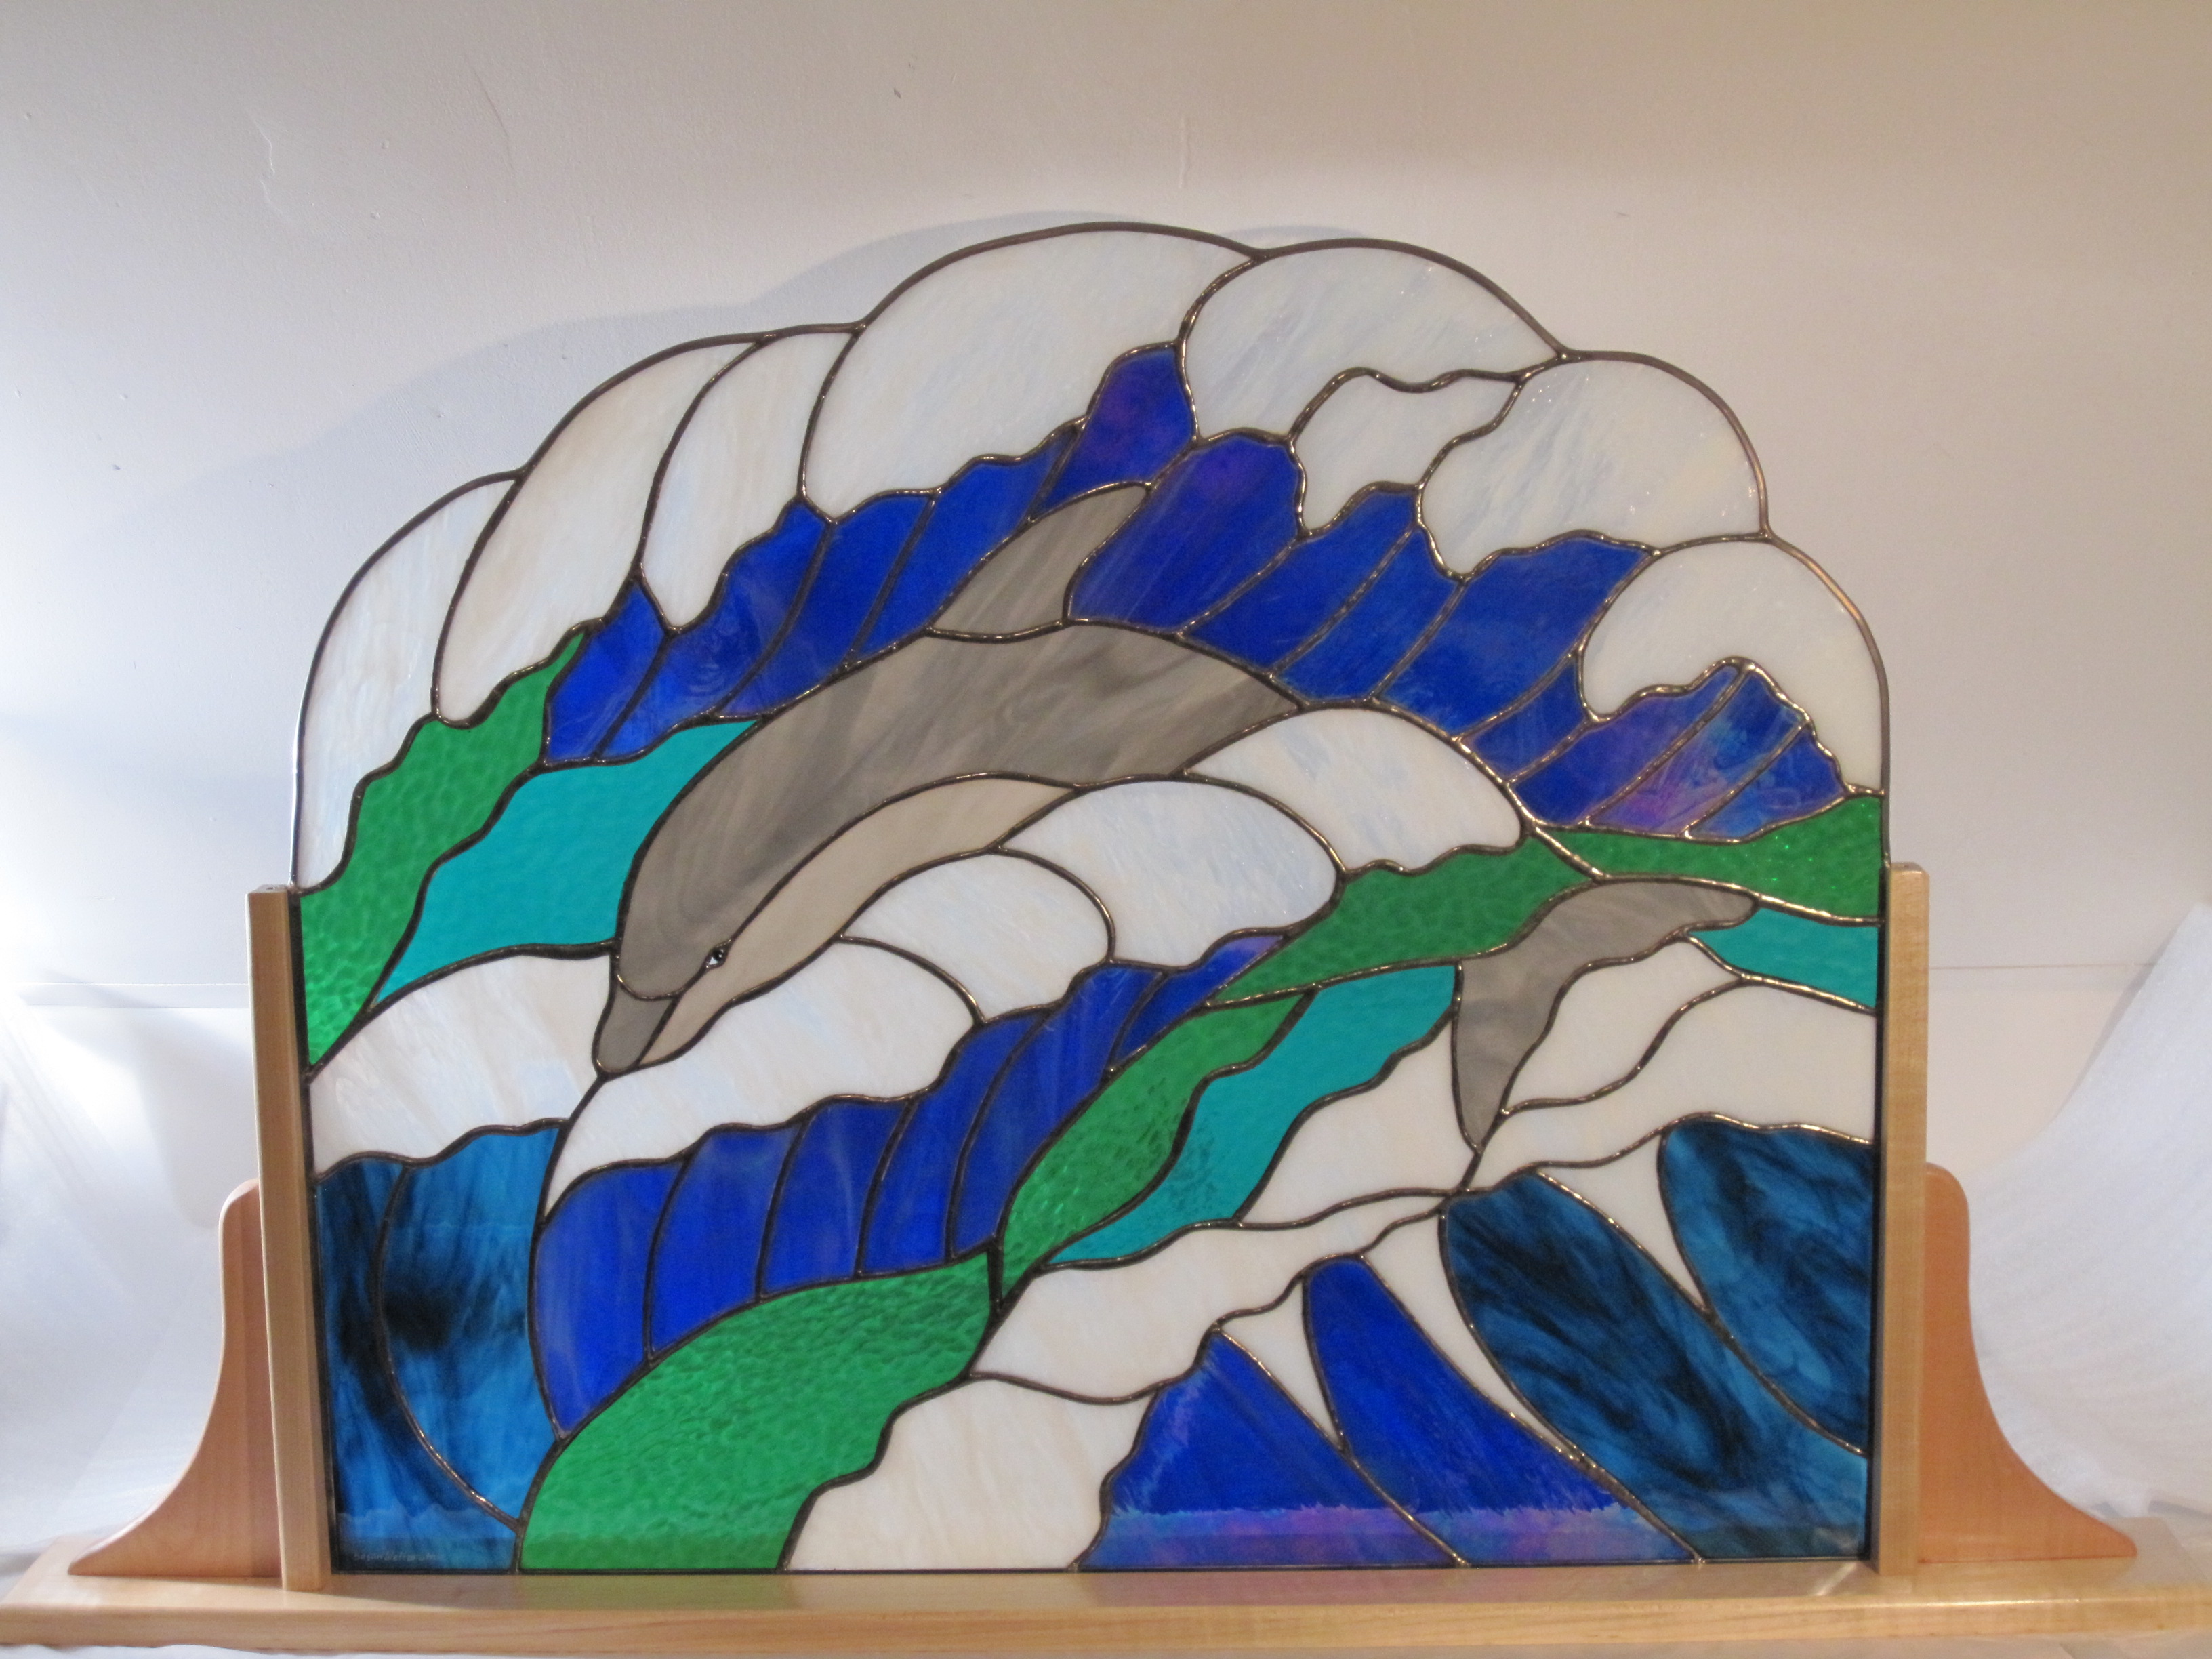
Susan creates custom stained glass windows.
While I’m busy crocheting Zs this week for the Sleepyz Blanket, I thought you might like to see what Hodge, Podge, and Deca Podge (Podge’s mom) have been up to. They had a blast learning how stained glass art is created thanks to Susan Welteroth of Eyecatchers Glass Originals in Yorktown, Virginia.
Longtime readers may recognize that name because Susan is my mom. I consider myself to be a pretty lucky gal. Growing up, my mom taught me just about every craft under the sun. Some of my fondest memories are of summer days filled with arts and crafts projects like painting animals on rocks, weaving potholders, and learning to knit. And, of course, she also taught my brother and me the ins and outs of stained glass. In addition to the usual chores around the house, we “copper-foiled” for a weekly allowance. Don’t get me wrong, I loved it! I became a champion copper-foiler.
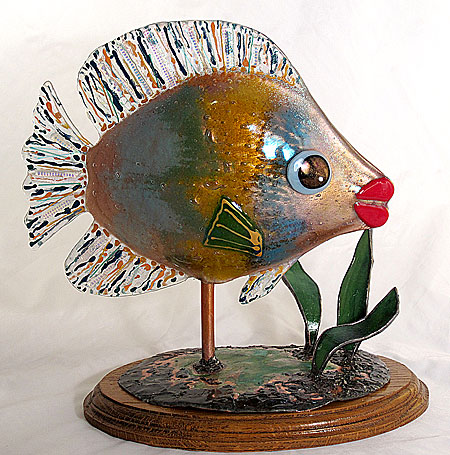
Of all her gift items, I love Susan’s fused glass fish the most. Those big lips are adorable!
Eyecatchers Glass Originals was founded in 1983 when Susan was commissioned to design windows for a home builder. Today she continues to design and create custom windows, in addition to stained glass gifts, awards, and fine art. Wedding invitations custom framed in stained glass with pressed wildflowers are one of her most popular gift items. She is also frequently commissioned to create awards for several of the military divisions stationed in Hampton Roads. Over the years, she’s returned to her fine art roots with works in warm glass and painting on glass as well.
I asked her to talk a little about what inspires her and what she enjoys most about her work.
“All my life I’ve enjoyed creating with my hands. Also, I enjoy a challenge, which has led me to working with glass; it’s always a challenge. I particularly enjoy depicting nature in glass.
“What pleases me most is the success I’ve had in matching a client’s requests and tastes to the design that I create in glass. This process seems to come easy for me. It gives me a lot of pleasure to add beauty to their lives.
“(I also have to admit that I could be a bit ‘addicted’ to soldering! It’s mesmerizing!!)”
Read on to see Susan get her soldering fix as she shows the squirrels how to make a stained glass acorn sun catcher!
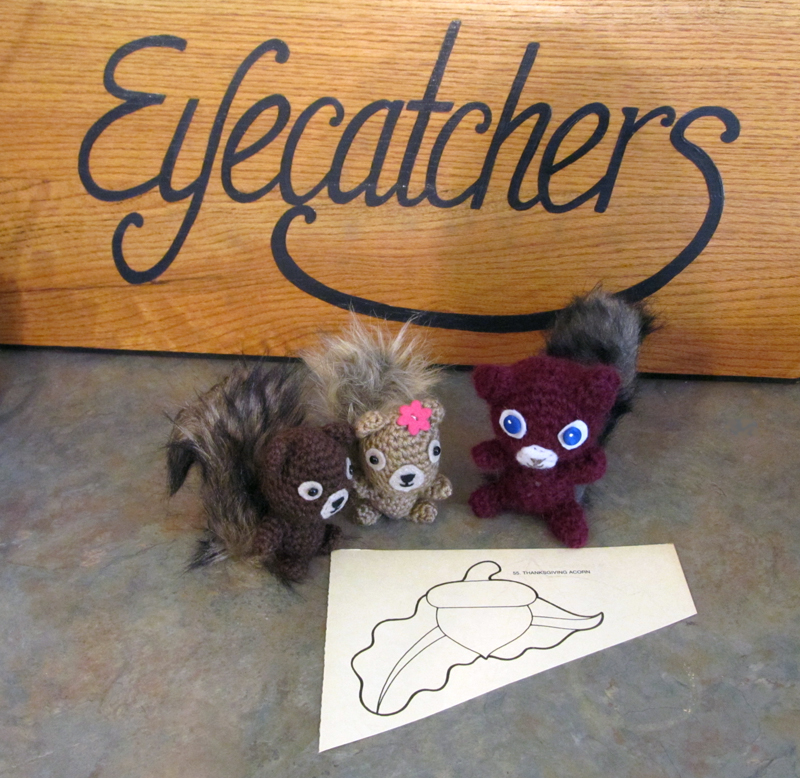
Hodge, Podge, and Deca Podge pick out the design for their acorn sun catcher.

When I last left you I had just figured out how to crochet a Z. It seems I was so excited about sharing how I made a Z that I totally forgot to tell you about all the fun I had winding up the yarn. I must’ve been super sleepy that day. I hope you don’t mind if I backtrack a bit.
Winding yarn is one of my favorite things to do. It ranks right up there with popping bubble wrap and watching videos of baby animals. So one morning, as soon as hubby was gone and the coast was clear, I whipped out my ball winder and swift and set to work winding up ball after ball of my beautiful new cotton.
It’s not that I don’t want Shelby around. He doesn’t mind my taking up the entire kitchen table with yarn. In fact, he’s very helpful. Last time I had a lot to wind, he noticed how I held the yarn to help feed it onto the ball winder. He offered to hook me up with something that would do that for me. I looked at him like he was crazy and said, “But you don’t understand, that’s the best part. I get to feel the yarn as it winds into a ball. It’s so soft and luxurious, and I can just imagine what fun it will be to work with it and turn it into something wonderful!” He, understandably, looked at me like I was crazy.
I’ve decided, I guess, that people are welcome to watch, but I’m finding it’s more of a thrill if I just wind my balls in private. For those who have never tried it, here’s how the process works. Often the yarn you purchase is in skeins. That just means that it is looped around and around in one big coil (like a garden hose). This isn’t much fun to work with as is. It’s easier to use if it’s in a ball. I used to use the back of a chair to hold the yarn and wind it up by hand. But now that I have my handy-dandy swift and ball winder, it is much easier. You load the skein onto the swift and thread a loose end of the yarn through the guide on the ball winder and into the slot on the top of the post around which it wraps. Then you just turn the crank on the ball winder and the swift gets to going, feeding the yarn to the ball winder. You can get them to go really fast! (I guess that’s the thrilling part.) Before you know it, you have a ball of yarn that feeds from the center. That’s the best kind, in my opinion.
Well, time to get back to crocheting those Zs. I hope that when we meet again I have lots of Sleepy Zs to show you.


Introducing the Sleepyz Blanket

 I usually do things the hard way. Remembering this whenever I am struggling with a design has often helped me to stop and look for an easier solution. Still, it usually takes many attempts and a significant amount of frustration before I see the easier path open up before me.
There are a few things in particular I strive for when creating a pattern: (1) I really do try to make it as easy as possible, (2) I hate having to cut and reattach yarn and weave in ends, so I try really hard to limit the number of FOs there are in a pattern, and (3) I also hate having to sew things together, mostly because it creates more ends to weave in, so I try to create designs that can be crocheted in one piece.
Taking all that into consideration, here is the process I went through to create the Z-motif pattern for the Sleepyz Blanket. I was really perplexed by this task for some reason. It took me a whole day to figure it out. It didn’t seem to matter what angle I approached it from, it just wasn’t working. But one of the great things about crochet is that there are usually several ways to achieve any one look. It all depends on the approach. If one thing isn’t working , just try something else.
So I looked at the Z from several different angles. I started off thinking of the shape as a “7” with a leg on the bottom. I started with a chain and single crocheted about three quarters of the way up the chain, put 3 single crochets in one stitch to turn around the corner, and then single crocheted in each chain along the top. But that meant I would have to go around and back down to create the other leg and that would give the legs an uneven thickness. Plus I was having trouble wrapping my brain around how to do an interior bend (the opposite of the 3-scs-in-1 stitch). So I gave that up pretty quickly.
Next I thought of the shape as 2 Vs that connect at the center. I found a pattern in one of my books that made a V by doing a decrease that skips one st in the center. First you insert your hook and pull up a loop, sk 1 sc, pull up a loop in the next sc, yo and pull through the 3 loops on your hook, and ta-da, you have a V! This created a nice V, but putting them together to form a Z was really silly. I even felt the need to sew them together with a contrasting yarn, thinking that maybe it could double as the Z’s mouth… and eyes!


Finally my husband came home and saw what a mess I had made with these Zs and said, “Why can’t you just make it one piece?” I started to answer, “Because I can’t do the corner the same way on both sides… wait — Eureka!!! I learned how to do both turns today, I just hadn’t put it all together until now!”
So I ran into the other room, pulled out my graph paper and drew out the Z, with 3-sc-in-1 turns at the top and decreases that sk 1 in the center at the bottom. After that, the pattern just came right together. After making a few more Zs I discovered that changing the decrease at the bottom to “pull up 1 loop in ea of the next 3, sk, pull up 1 loop” creates a tighter angle that does a better job of holding the lower leg perpendicular.
And that’s how I came up with my Z. I can’t believe that it took me so long to come to such a simple conclusion, but I told you… I always have to do things the hard way first.
Stay tuned and I’ll reveal the Z pattern when I publish the complete Sleepyz Blanket pattern in April.
Introducing the Sleepyz Blanket


You must be logged in to post a comment.