Squirrel Picnic

Handmade with Love and Stuff


2 Comments

A Charm Exchange: Make Jewelry, Make Friends

Charm ExchangeLast week I promised to tell you a bit more about the charm exchange I’m involved in and how it works. A charm exchange is a great opportunity to make jewelry, hone your skills and try out new techniques, learn from your fellow artists, and make new friends. I bet you’ll want to start an exchange too!

Here’s how it works. Everyone chooses a theme for their bracelet or necklace, and over the course of the year, each artist will make two charms for each person based on their themes.

Maybe it will make more sense if I use myself as an example. I chose the theme coral reefs, so to start it off, I crocheted a starfish and attached it to my bracelet. At the first meeting, Annie worked up the exchange list (alphabetically ordered) and we all exchanged our necklaces and bracelets with each other. Now over the next two months, Rosalind will work on my bracelet, while I crochet charms for Erikia’s necklace. Erikia will work on Annie’s, Annie will work on Alexandra’s, Alexandra will work on Sylvie’s, and Sylvie will work on Rosalind’s. It’s a really good thing we have Annie to keep it all straight.

It will be so much fun to see how each piece progresses from beginning to end as we all add a bit of our handiwork. And I’m excited to be able to share our progress here with you. Are you excited to see what we’ve done so far? Here are some photos of everyone’s pieces at the start of the exchange.

Sylvie's Charm NecklaceSylvie is really into eyes and hearts, which led her to create the clever theme “Eye Adore You” for her necklace.

Annie's Charm Necklace
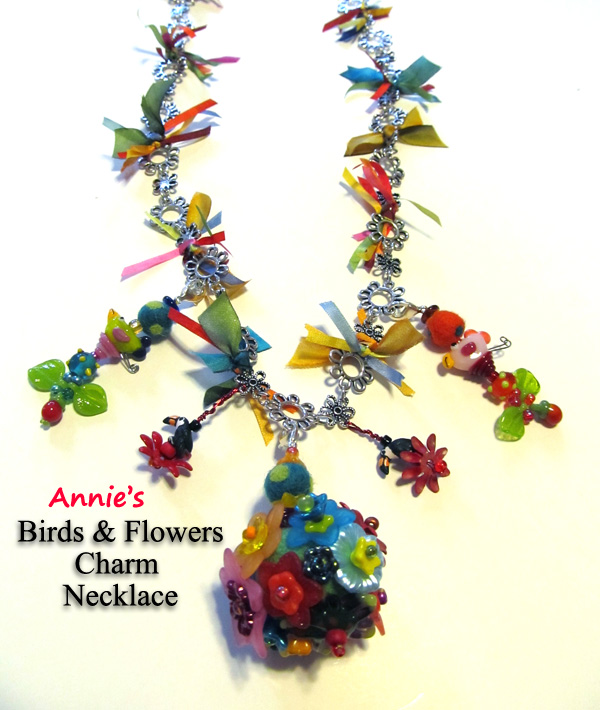
Annie’s theme is birds and flowers. Can you spot all the birds and flowers she’s added so far?

Erikia's Charm Necklace
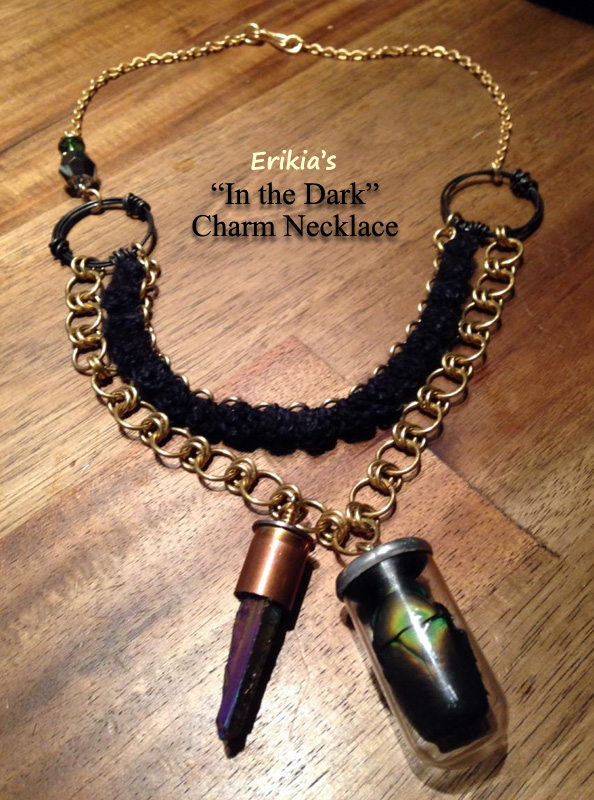
Erikia’s theme is “In the Dark.” The charms Erikia created to start off her necklace include a bullet casing with an opal-colored glass crystal and a mini test tube with an iridescent green beetle inside.

Rosalind's Charm Bracelet
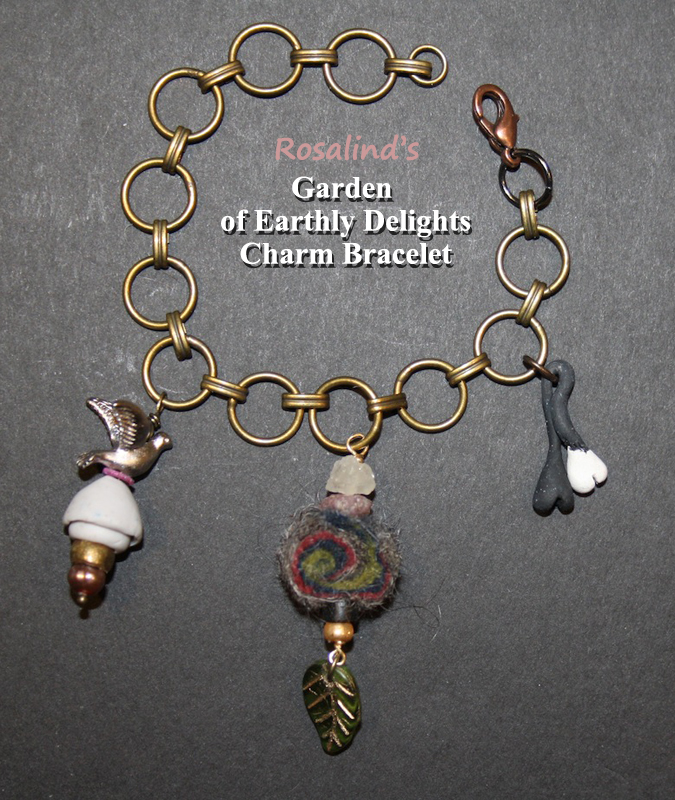
Rosalind’s theme is “The Garden of Earthly Delights.” Bosch’s masterpiece will provide plenty of inspiration.

Alexandra's Charm Bracelet
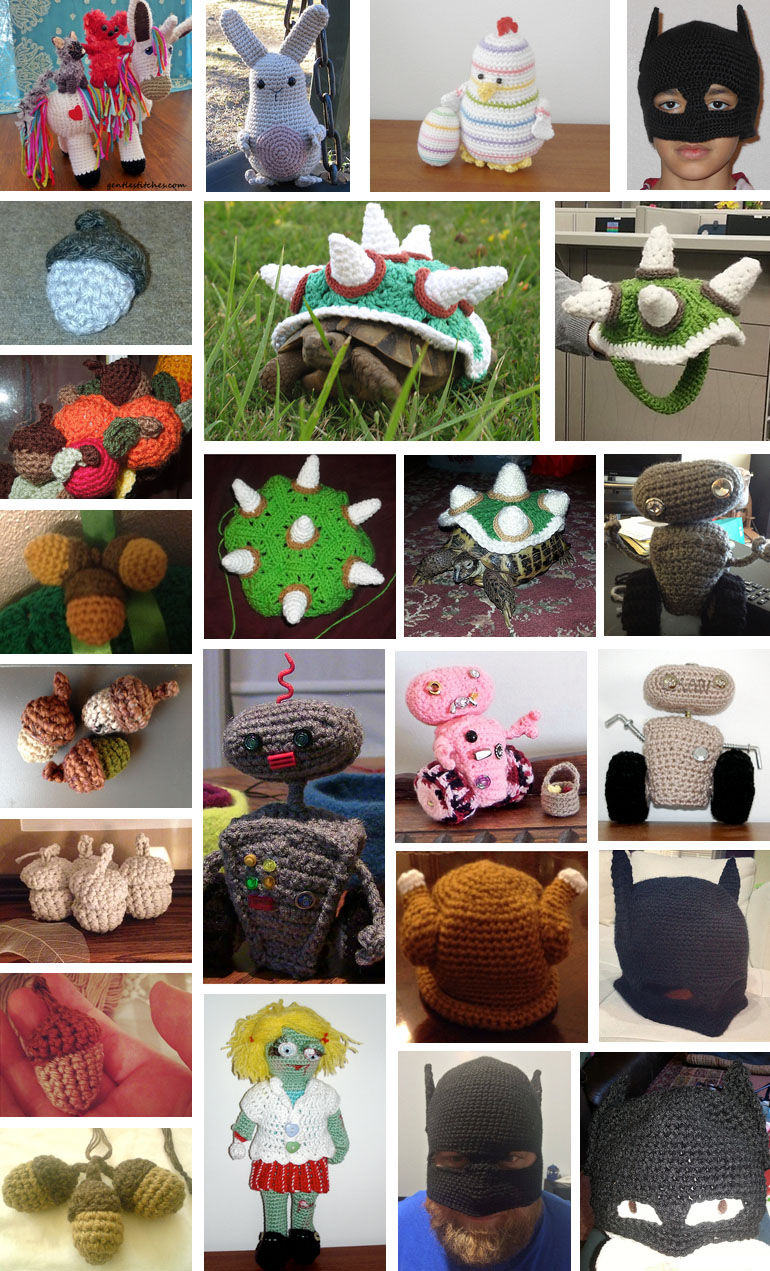
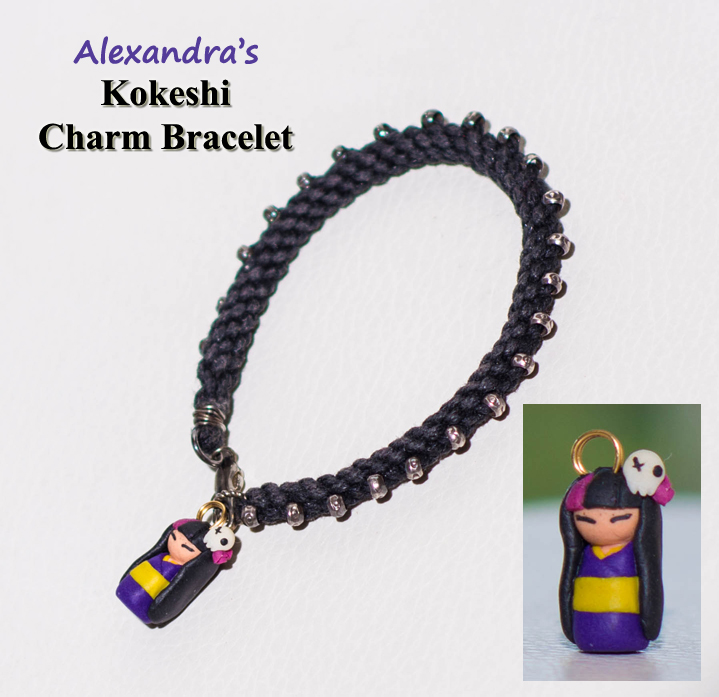
Alexandra’s theme is Japanese Kokeshi dolls.

Jennifer's Coral Reef Charm Bracelet
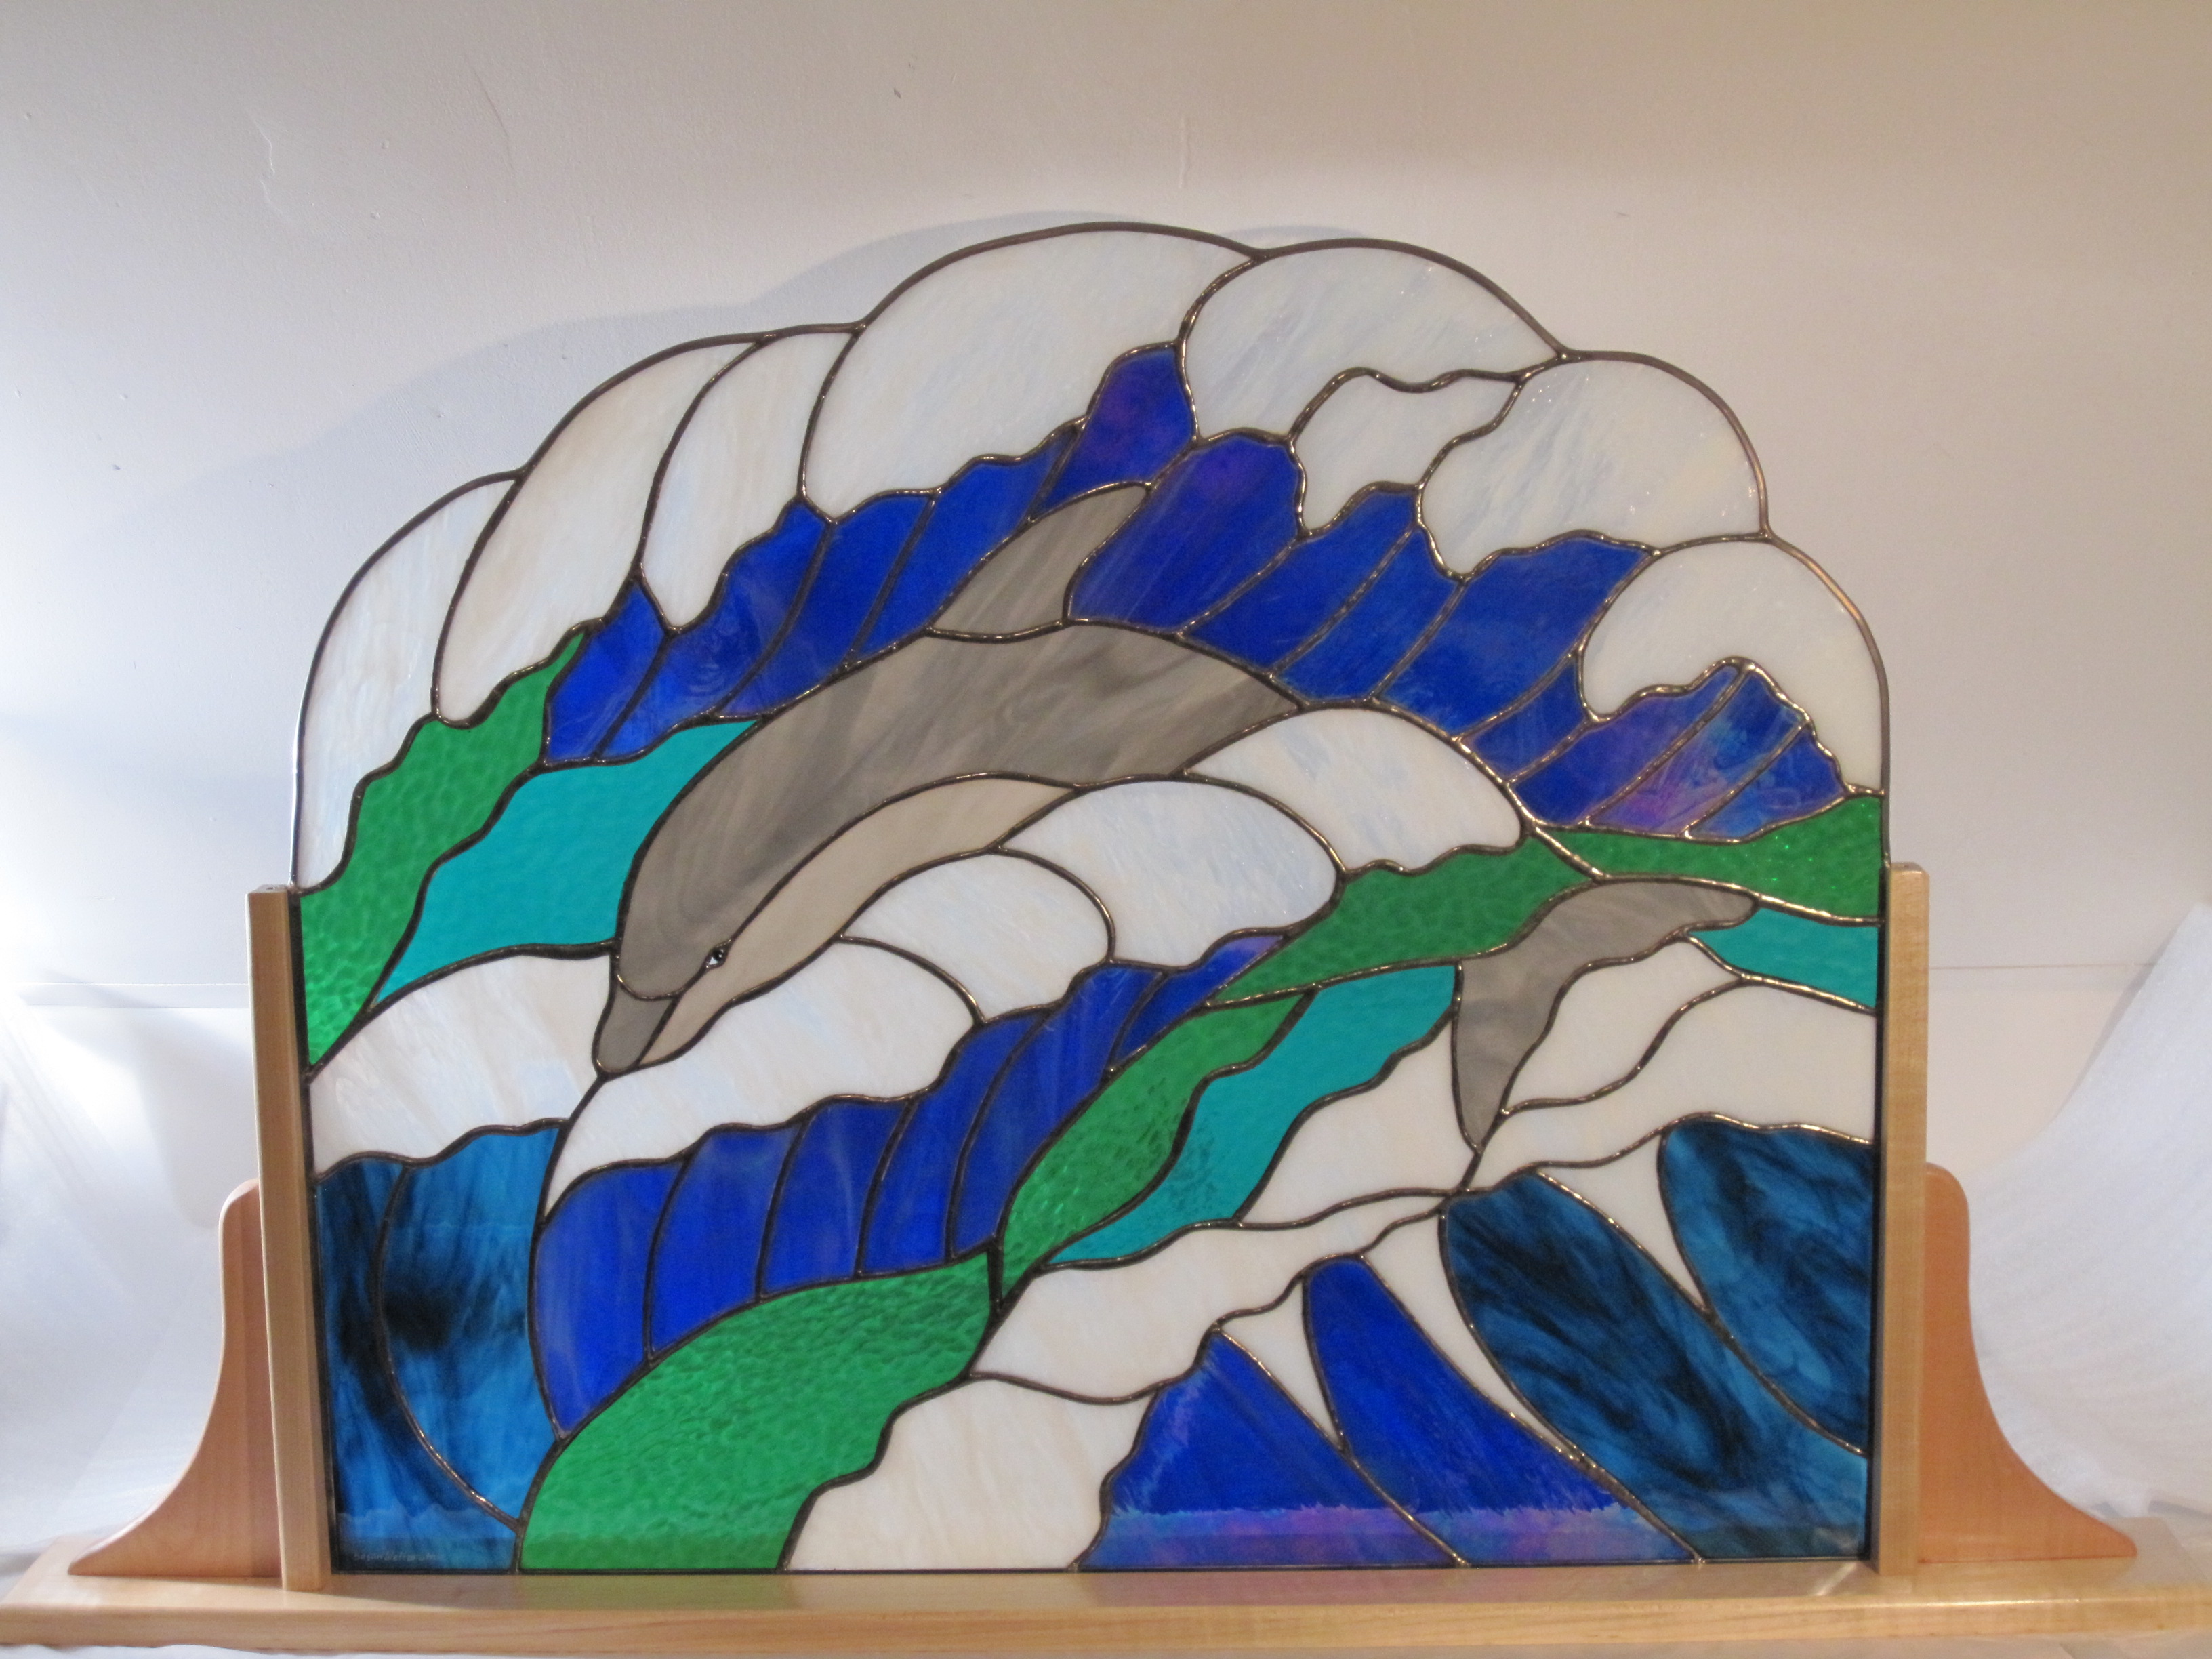
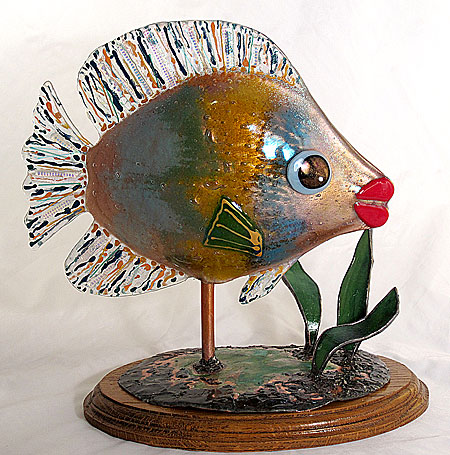
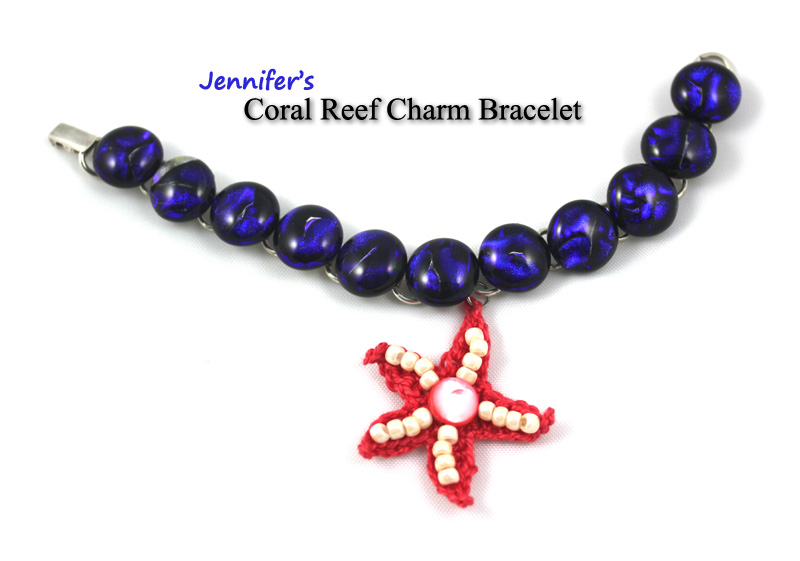
My theme is coral reefs, including the animals and plants that call them home.

Charm Boxes

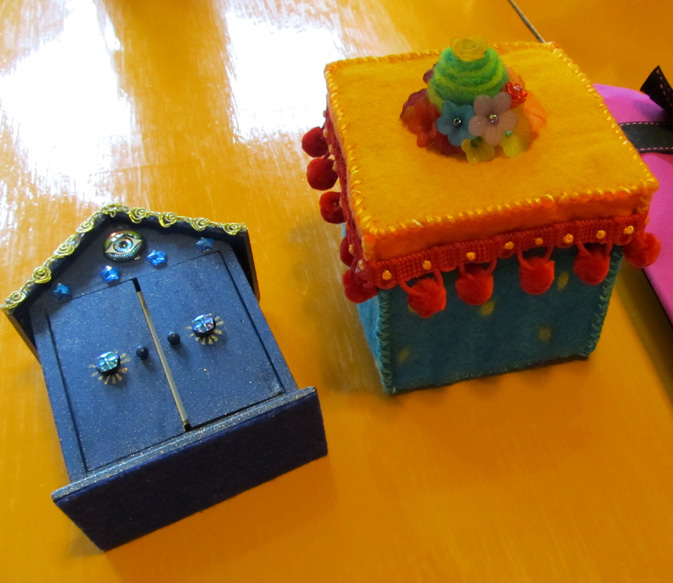
Sylvie’s box (left) for her “Eye Adore You” charm necklace and Annie’s box (right) for her Birds & Flowers charm necklace.

 We can also make a box or bag, inspired by our theme, for our jewelry piece to travel from person to person in.

Z Jennifer's Charm Box
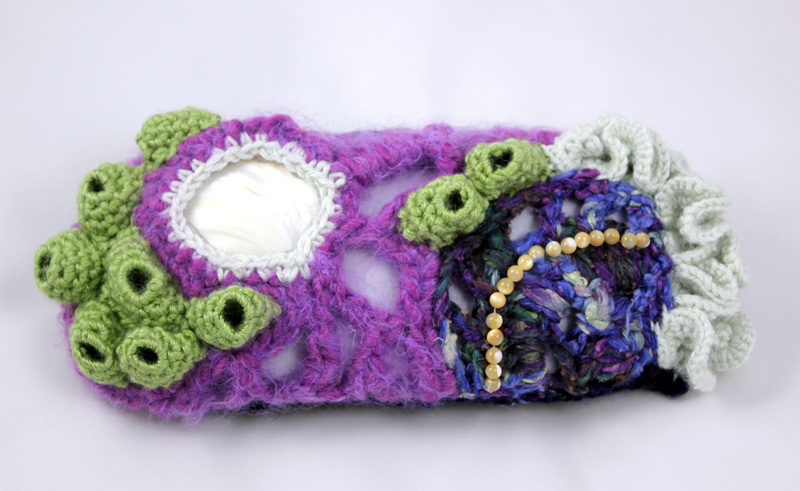
Sylvie and Annie made such nice boxes, I decided after the first meeting to try to make a box of my own. Inspired by the Smithsonian Crochet Coral Reef exhibit, I tried my hand at making a freeform crochet reef box. It was my first ever attempt at freeform crochet. You might guess, given my affinity for patterns, that this was a challenge for me, and it was at first. Eventually I was able to let loose and go wild. I’m not sure it’s a success, but it was sure fun to try.

A charm exchange is a great way to make fun things and make friends. You should start one too!

I have Erikia’s charm necklace next, so I’m off to crochet something dark and mysterious. Until next week… keep smiling, life’s a picnic. 🙂


12 Comments

Itty Bitty, Teeny Weeny Crochet

A recent invitation to participate in a charm exchange has brought me the opportunity to explore the wonderful world of miniature amigurumi. An exchange like this brings artists together to collaborate in the making of each other’s charm necklace or bracelet. Our group includes artists in a variety of mediums: ceramic, mixed media, felt, beads, metal, and found objects. And I get to contribute crochet to the mix! Each of us gets to pick a theme for our jewelry piece, and I chose coral reefs. Imagine all the colorful things we could do with that! But first I have to make a charm myself to get my bracelet started. What reef creature could I make?

crochet-picnic-basket1First things first, I’ve never crocheted anything this small. I think the smallest piece I’ve done is the picnic basket that is about 2” tall. Just to practice, I tried making an urchin, thinking it was a simple shape… but it was too simple and it just looked like a ball. After trying a few more sea creatures, I decided to make a starfish. First I attempted to convert a life-sized starfish pattern to this scale by using DMC floss and the smallest size hook I could find. But no matter what I tried I couldn’t get it small enough. It made me realize that miniature crochet has its own tricks and rules! I do have a lot to learn.

I needed extra-small materials and extra-small patterns. I went to my local craft store with all my crochet hooks in hand to try to complete my set of steel hooks. I love how inexpensive steel hooks are! For under $20 I was able to get all the hooks I needed, from size 00 to size 14. I was also able to find crochet thread and 100% Pearl Cotton Thread in Size 5. My friend Annie let me borrow her Size 8 thread to try. Now I feel sufficiently equipped for this challenge.

Itty Bitty Crocheted Critters by Erin ClarkMini Amigurumi  by Sara ScalesI also found some books about miniature crochet that are bound to help. Mini Amigurumi by Sara Scales includes patterns for a wide variety of cute little gems from birds to babies to fruits and vegetables. Some are as small as 1/2”! Itty Bitty Crocheted Critters by Erin Clark includes patterns for some really interesting creatures like a flamingo, gecko, and crocodile. I’ve seen works from fellow crocheters done from these patterns and I can’t wait to try them out too.

We’ll be making charms for this exchange and meeting every other month over the next year. It will be exciting to see if I can improve my skills over this time. And I can’t wait to see what everyone else makes too!

I’ll share with you more in the coming week about how the charm exchange works. Until then, here’s the crochet pattern for the starfish I made for my own bracelet. I’m wondering if any of you have tried miniature amigurumi. What’s the smallest thing you’ve ever crocheted?

Starfish Charm

Starfish Charm Crochet Pattern

(Inspired by the work of Julia Kolbaskina)

Continue reading


9 Comments

Thank You, Friends

Today’s blog post is dedicated to all of you who have taken the time to try out one of my patterns. I’m simply blown away by all the hard work you’ve done and all your imagination and creativity. I feel so honored and blessed that you stopped by the picnic and saw something you liked enough to try. You are all so talented!

Some of these photos were sent to me, but most were collected from over the Internet. If I missed yours, I’m really sorry. Please feel free to email photos of your work to squirrelpicnic{at}gmail{dot}com. I would love to see them and include them in a future post.

Thanks again. You all rock!

Thank You, Friends


22 Comments

Field Trip to Eyecatchers Stained Glass Studio

The Wave

Susan creates custom stained glass windows.

While I’m busy crocheting Zs this week for the Sleepyz Blanket, I thought you might like to see what Hodge, Podge, and Deca Podge (Podge’s mom) have been up to. They had a blast learning how stained glass art is created thanks to Susan Welteroth of Eyecatchers Glass Originals in Yorktown, Virginia.

Longtime readers may recognize that name because Susan is my mom. I consider myself to be a pretty lucky gal. Growing up, my mom taught me just about every craft under the sun. Some of my fondest memories are of summer days filled with arts and crafts projects like painting animals on rocks, weaving potholders, and learning to knit. And, of course, she also taught my brother and me the ins and outs of stained glass. In addition to the usual chores around the house, we “copper-foiled” for a weekly allowance. Don’t get me wrong, I loved it! I became a champion copper-foiler.

Susan makes fused glass fish. Love the big lips!

Of all her gift items, I love Susan’s fused glass fish the most. Those big lips are adorable!

Eyecatchers Glass Originals was founded in 1983 when Susan was commissioned to design windows for a home builder. Today she continues to design and create custom windows, in addition to stained glass gifts, awards, and fine art. Wedding invitations custom framed in stained glass with pressed wildflowers are one of her most popular gift items. She is also frequently commissioned to create awards for several of the military divisions stationed in Hampton Roads. Over the years, she’s returned to her fine art roots with works in warm glass and painting on glass as well.

I asked her to talk a little about what inspires her and what she enjoys most about her work.

“All my life I’ve enjoyed creating with my hands. Also, I enjoy a challenge, which has led me to working with glass; it’s always a challenge. I particularly enjoy depicting nature in glass.

“What pleases me most is the success I’ve had in matching a client’s requests and tastes to the design that I create in glass. This process seems to come easy for me. It gives me a lot of pleasure to add beauty to their lives.

“(I also have to admit that I could be a bit ‘addicted’ to soldering! It’s mesmerizing!!)”

Read on to see Susan get her soldering fix as she shows the squirrels how to make a stained glass acorn sun catcher!

Trip to Eyecatchers Stained Glass

Hodge, Podge, and Deca Podge pick out the design for their acorn sun catcher.

Continue reading


20 Comments

Pen Friends: Greetings from Grace W. in Florida!

Mail Call 1

Hello to Hodge, Podge, Fatimals, Eric, MEAP, Deca Podge, and everyone at the Picnic!

Liv and Andy (Note Andy's Speedo. He's a professional swimmer!)

Liv and Andy (Note Andy’s Speedo. He’s a professional swimmer!)

My name’s Andy and I live in Florida, and this is my girlfriend Liv. I’m a swimmer, and my dream is to be on the U.S.A. Animal Olympic Swim Team (yes, there is such a thing). This team is usually made up of aquatic animals. That’s why I want the squirrels to be represented. I want to show the world that squirrels can swim, too!

My tail is trimmed short because it helps me to swim faster. Grace says she’ll make me a shirt soon, and a towel that’s my size. I hope so, because it’s pretty hard to dry off on a towel as thick as my hand!

This is my message for Eric:
Don’t even think about it. Liv’s already taken!!!!!

Hodge and Podge, you would make great swimmers! If you’re ever in Florida, let me know, and we can get together for a swimming lesson! Grace has a giant casserole pan that she fills with water. It’s the perfect size to swim laps in :).

I have a problem that maybe you all could help me with. Grace and Liv taught me to crochet acorns, but they always come out smelling like chlorine (pool water) when I make them. How can I prevent that???

Sincerely,

Grace, Andy, and Liv! 🙂 🙂 🙂 Continue reading


10 Comments

Field Trip: Beading with Sylvie

Hodge and Podge and Beads

Hodge and Podge help me pick out beads for my necklace.

Earlier this month, Hodge and Podge and I went on a field trip to visit my friend Sylvie Abecassis who was kind enough to teach us how to make a rosary link necklace. Sylvie and I had attended the Rocky Mountain Bead Show last April, where I came upon the mother load of vintage Bakelite beads and buttons. I couldn’t help myself from buying as much as I could carry. A lot of the beads were rather large and I was having trouble visualizing what I would make from them. As much as I love big jewelry, I wasn’t really keen on looking like Wilma Flinstone either.

Sylvie had the perfect solution: rosary links. So I showed up with squirrel friends, cheesecake, and beads, and we set out to tackle my necklace. Sylvie, always the generous artist, gave me the flat yellow beads from her collection. They’re so pretty!

Rosary Wire Technique

Sylvie shows me how to wrap the wire.

After we had the beads picked out and arranged, Sylvie began to show me how to string them together using the rosary chain link method. The tools you need are jewelry wire, round-nose pliers, flat-nose pliers, and flush wire cutters. You start by cutting a piece of wire an inch or so longer than the length of your bead. About an inch from one end, fold the wire at a 90-degree angle. Using the round-nose pliers, curl the shorter end of the wire up and around to form a loop. Then you change your hand position so that you are grasping the loop with one pair of pliers, and with another pair, coil the end of the short length under and around the longer wire two or three times. Trim any excess as close as you can. Then you add your bead and repeat on the other side. The tricky part comes with your next loop: I kept forgetting to link the new loop to the loop on the bead I had just completed. I ended up with a lot of empty chains! I called them practice chains. I’ll leave the demonstration of this technique to the experts: here’s a fabulous tutorial by Kathy of Katalina Jewelry.

Hodge and Podge mind the beads while I work on my wire-wrapping skills.

Hodge and Podge mind the beads while I work on my wire-wrapping skills.

Unfortunately, using all of these beads together created a really heavy necklace, so I decided to make a rosary chain with round black glass beads for either side of the necklace. I used a single loop rosary link on these instead of the wrapped rosary link I used on the larger beads. Time will tell whether or not this is strong enough.

I ended up making a pretty substantial necklace, didn’t I? I reserve the right to revisit this project later, when I’ve become better at these techniques. I may take off some of the larger beads. Maybe I’ll add some of the smaller beads. Maybe I’ll just start over. Or maybe in time, I’ll decide that this necklace is perfect just the way it is. That seems to be one of the great things about this technique. If you want to change something later on, it’s as simple as clipping off the unfavorable portion and connecting a new bead. You don’t have to take apart an entire strand.

The finished necklace.

The finished necklace.

Do you ever pull out your old projects and redo parts of them as you get better at a skill?  I take it as a sign of growth to be able to go back to something and make it better. It’s all part of the learning process, and it’s one of the elements of crafting that I love most. The more that you create and the more that you practice, the better you get at it. Even if you mess up, it’s virtually impossible not to learn from the experience.

I encourage everyone to try different crafts now and then, and never shy away from learning new things. I wonder how I will use what I’ve learned through jewelry making in my crochet and knitting. I don’t know, but I can’t wait to find out!

Above all else, I feel very blessed to have great friends like Sylvie to teach me new skills and guide me along the way. Thanks, Sylvie, for a wonderful afternoon!