Squirrel Picnic

Handmade with Love and Stuff


19 Comments

The Sleepyz Blanket Crochet Pattern

The Sleepyz Blanket from Squirrel Picnic
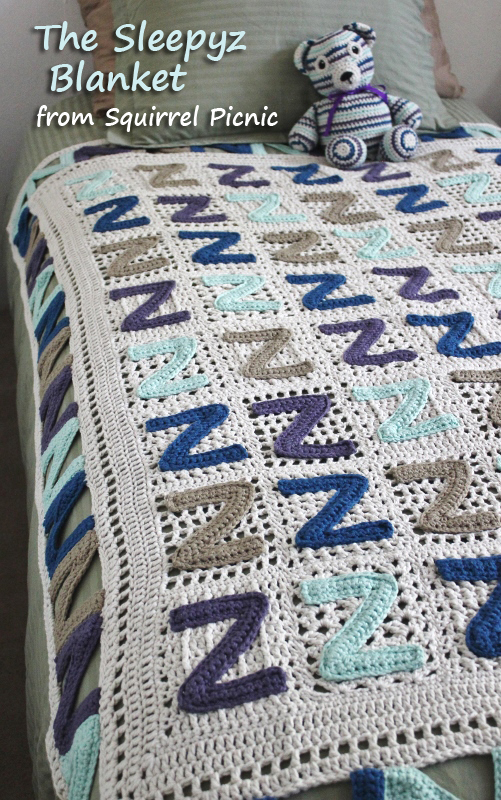
The Sleepyz Blanket is the very first of what I’d like to call my story patterns — patterns that help to tell a story in both the finished piece and its creation. What I found through this project is that the story behind the piece continues to entertain as you’re crocheting. Each step in the pattern contains little prompts that will delightfully remind you of the story.

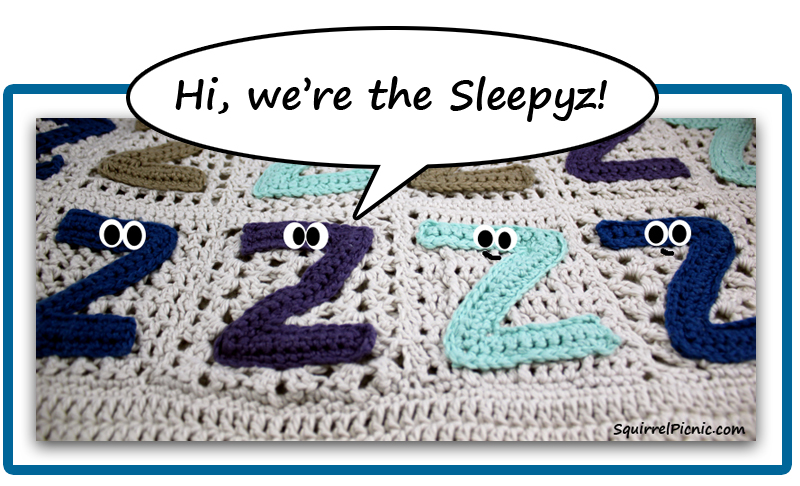
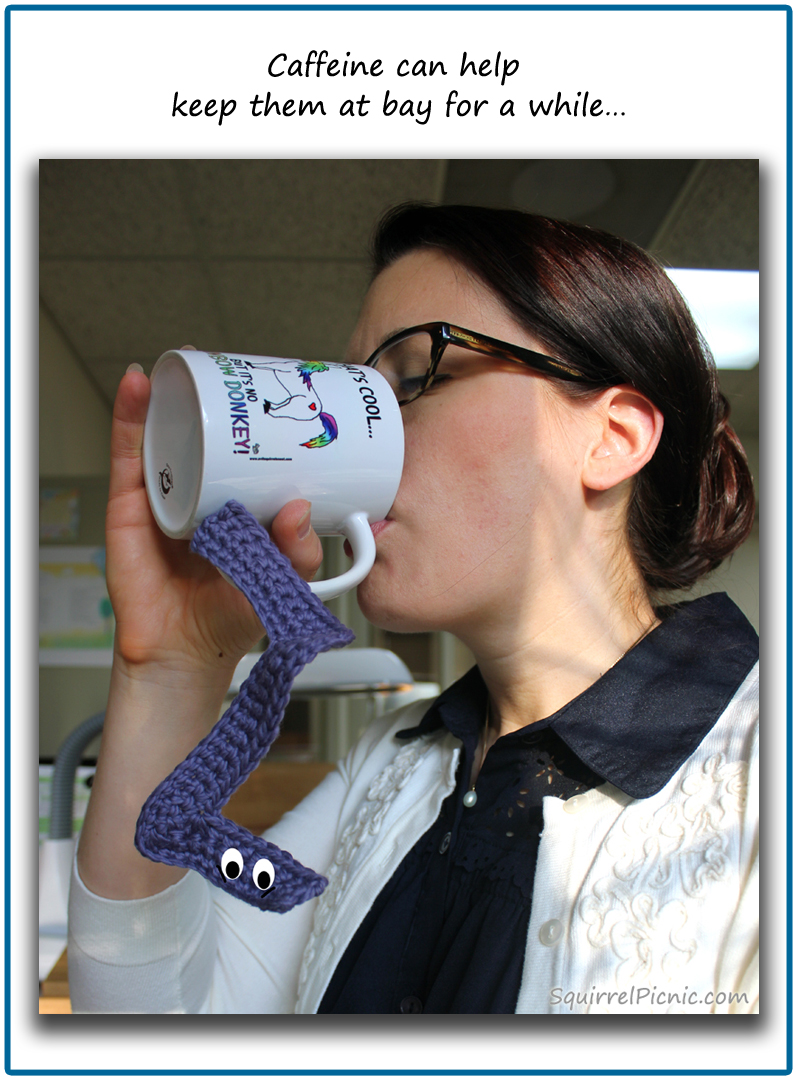
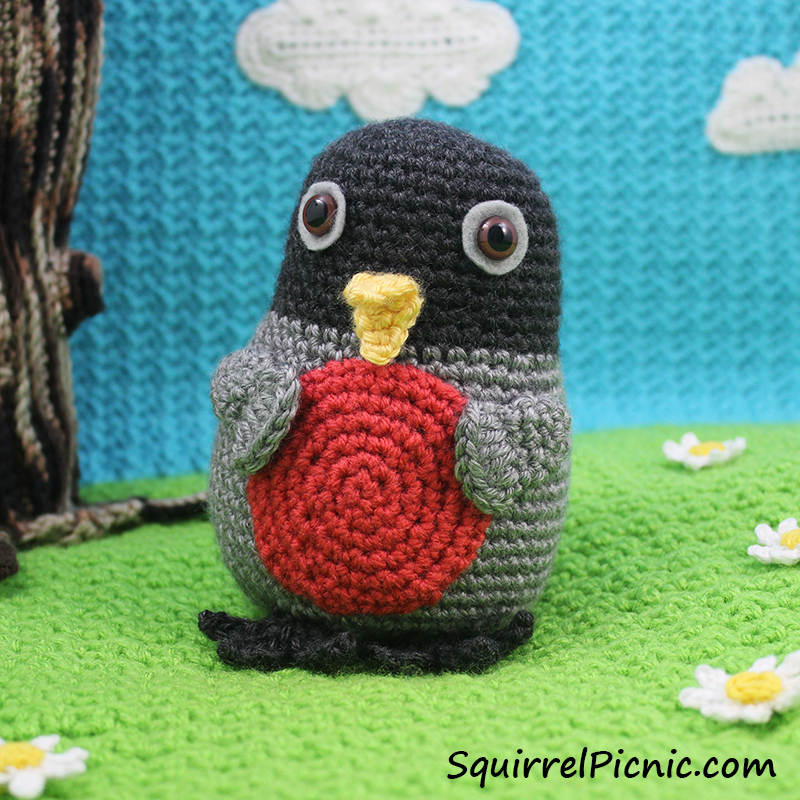
The story behind the Sleepyz Blanket, “All Tuckered Out,” is a creative take on why we get progressively sleepier as the day goes on. In this picture story, little creatures called Sleepyz climb up on you throughout the day with the intention of driving you back to bed.

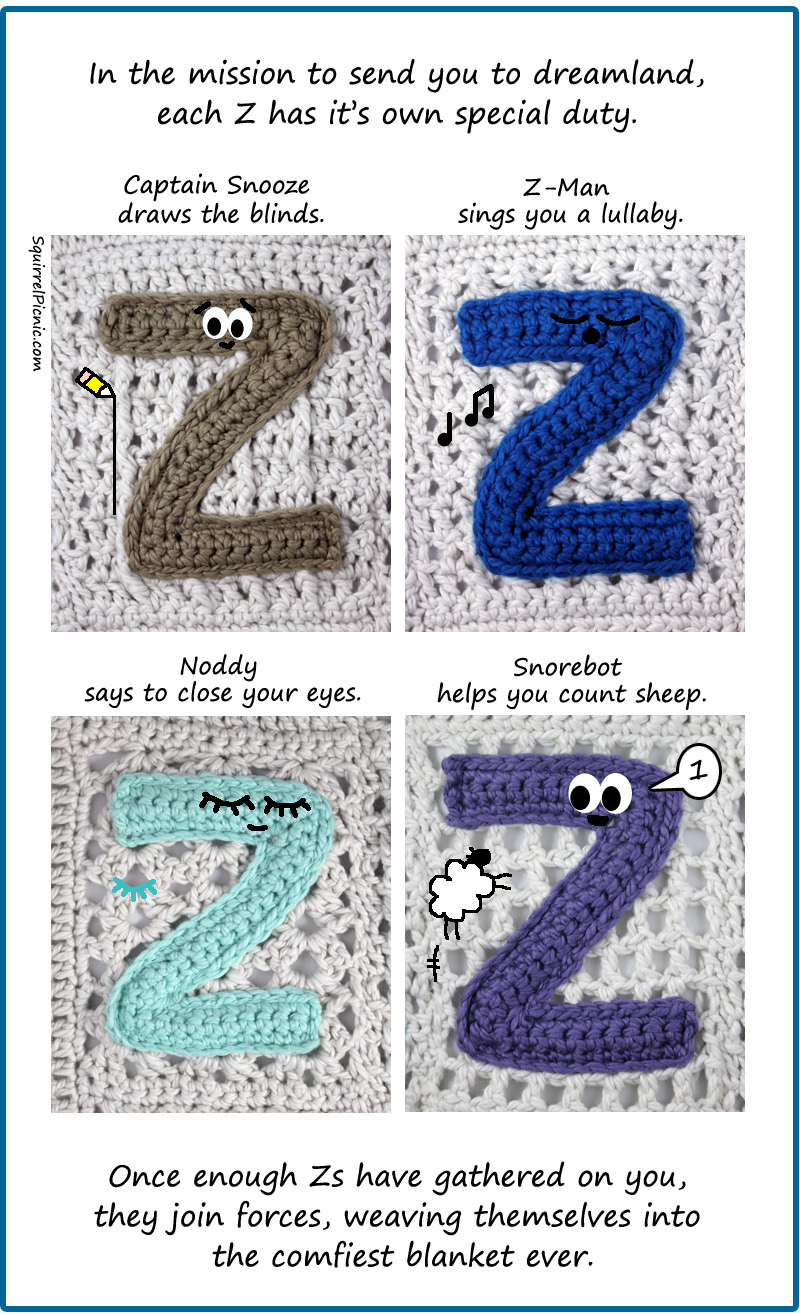
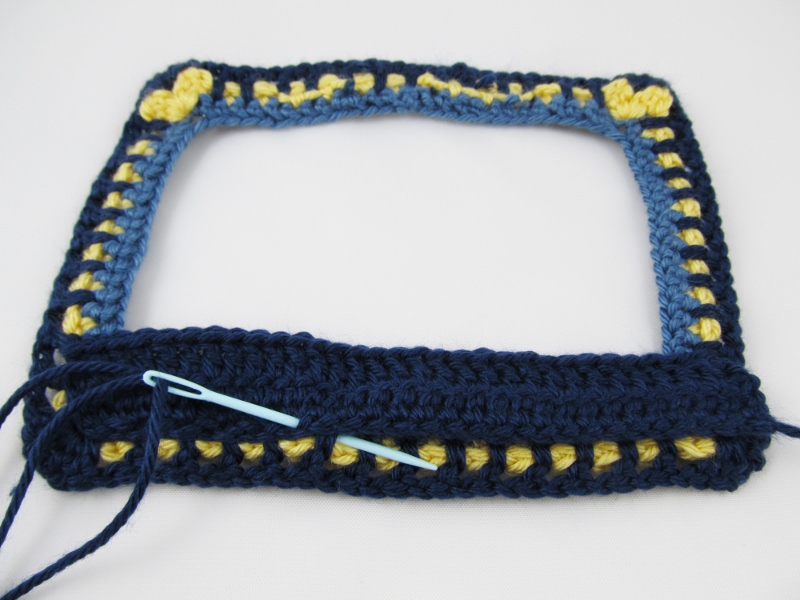
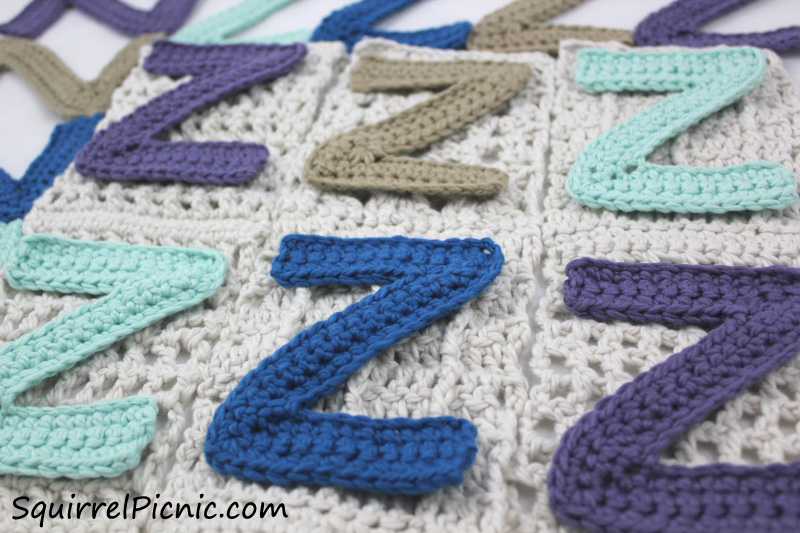
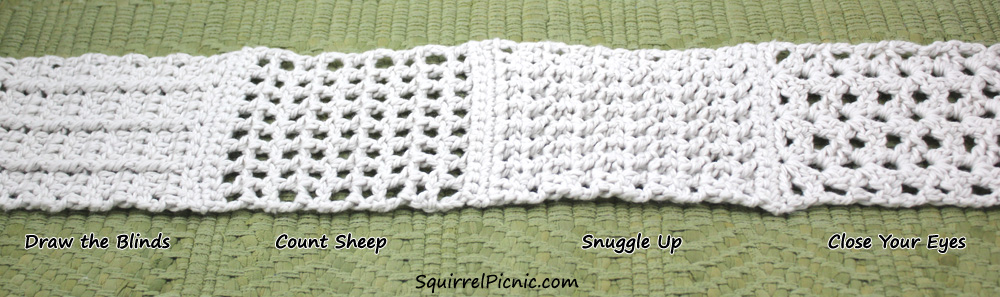
The blanket illustrates the picture story in several ways, first by having you crochet several dozen Zs, the mischief-makers in the tale. The next part of the pattern has you crocheting the blanket and sewing on the Zs, which represents how the Sleepyz join forces by weaving themselves into a blanket. Each stitch in the blanket even corresponds to one of the methods employed by the Sleepyz to send you to dreamland. The resulting super soft and cuddly blanket makes you want to curl up and go to sleep.

This Sleepyz Blanket project has been quite a journey. And I’m so thankful to everyone for following along and having patience as I tried out yarns and tinkered with ways to construct the Zs and join them. Thanks so much for all your support and advice! I hope you enjoyed this series and the finished blanket and story.

Other articles in this series:

“All Tuckered Out”
Joining Forces
Crocheting Zs Everywhere I Go
Playing with Yarn
Making Zs by Trial and Error
Big Decisions to Make
Introducing the Sleepyz Blanket!

The Sleepyz Blanket Crochet Pattern

Continue reading


19 Comments

Crochet Picture Frame: A Pattern for Father’s Day

Photo Frame Crochet Pattern by Squirrel Picnic

My dad playing the bugle! That’s me on drums.

My dad loves photography. There’s a wall in my parents’ house that is covered with all his photos from their various trips around the world. I thought I’d crochet a frame to go around a photo of us together when I was a kid.

I bet your dad would love a crochet framed photo of you both together too!

The key to this project is the photo frame itself. The clear acrylic frames I chose to use are inexpensive, versatile, and easy to load your picture into. Each comes with Velcro and a magnet on the back, so you can hang your finished piece on your cubicle wall, file cabinet, or even your fridge.

As for the crochet pattern, it’s so much easier than it looks! I’ve been reading up on intermeshing crochet patterns a bit lately. I got the inspiration for this one from The Complete Photo Guide to Crochet. Check it out for some really cute intermeshing patterns and ideas. I did my frame with a different color for every row, but I bet two contrasting colors would look great too!

Picture Frame Crochet Pattern

Difficulty rating 1
Finished size: 5 1/2″ by 7 1/2″

Materials

Worsted-weight yarn: try using two contrasting colors or a different color for each row.
Here are the yarns I used for this project:
* Caron Simply Soft in Country Blue, 6 oz [170 g] / 315 yds [288 m])
* Caron Simply Soft in Sunshine, 6 oz [170 g] / 315 yds [288 m])
* Caron Simply Soft in Dark Country Blue, 6 oz [170 g] / 315 yds [288 m])
G-6 (4.00 mm) crochet hook
Yarn needle
4” x 6” acrylic photo frame with Velcro and magnetic backing

Instructions

Photo Frame Front

Ch 89. Careful not to twist the chain, join with slst to 1st ch.

Rnd 1: For this rnd, feel free to crochet into only one loop of each chain (so much easier). Ch 1, sc in ea of next 12 ch, (sc, ch 2, sc) in next ch, sc in next 18 ch, (sc, ch 2, sc) in next ch, sc in next 25 ch, (sc, ch 2, sc) in next ch, sc in next 18 ch, (sc, ch 2, sc) in next ch, sc in next 12 ch, join with slst to 1st st.

Photo Frame Row 1

Rnd 2: Ch 4, sk 1st st, * (dc, ch 1, sk next st) rep to turning ch. (2 dc, ch 2, 2 dc) in turning ch. Rep from * to end of rnd. Join with slst in 3rd ch of beginning ch.

Rnd 2

Rnd 3: Ch 2, * (dc into next sc of Rnd 1 that had been skipped in Rnd 2, ch 1) rep to turning ch. (2 dc, ch 2, 2 dc) in turning ch. Rep from * to end of rnd. Join with slst in 1st st. FO and weave in ends.

Photo Frame Back

Ch 33.

Row 1: Dc in 4th ch from hook and in each ch across, turn.

Row 2: Ch 3, dc in ea dc across. FO, leaving a long tail for sewing.

Sew these Back pieces onto the back of the Photo Frame.

Sew on back

Tuck your frame into the pockets.

Insert photo frame

The magnet will hold your crochet frame tight to the fridge.

Photo Frame Crochet Pattern by Squirrel Picnic


10 Comments

The Sleepyz Blanket: Joining Forces

SleepyZsNow that I’ve crocheted a ton of Zs, it’s time to join them all together. You may remember from the original story that once the Sleepy Zs get a hold of you, they join forces to take you down (nap time!).

The idea is simple enough, but coming up with a method of joining all those Zs took me months to determine. You probably already know my problem… once again, I had to try things the hard way.

When my husband (the Ideas Man) and I came up with the concept for the Sleepyz Blanket, we had very different ideas in mind. While he said that in the construction of the final blanket it should be obvious that it is made out of Zs, I’ve held a totally different opinion: the Zs should go together to create a completely new design (that may not look like Zs at all). So for months I attempted to connect all these Zs with a join-as-you-go method that would only require two or three FOs. I eventually drew up a chart, decided on an arrangement, and started working on joining them, only to decide in the end that it was just too complicated. Also, the holes in between the Zs were far too big… even by crochet standards. I had to admit that the blanket that this would create would be flimsy and shapeless in the end. Here are some of the design concepts that I explored.

So it was back to the drawing board and time to consult the Ideas Man again. This time he elaborated on his vision of a blanket with Sleepyz sewn onto it like appliqués. “You’ve got to be kidding me?” I said. “I just spent months crocheting all these Zs and now I have to crochet a blanket for them to go on?!” It took me a while to warm up to this idea, but once I tried it out, I was convinced that it would look better than any of my other options.

Here’s the plan for the blanket. I came up with four very easy, but also very interesting double-crochet stitches. I’ll crochet long strips made up of blocks done in each of these stitches. Then I’ll sew the strips together and sew on the Zs as well. I might also add a border of Zs and another border in white. What do you think? Could this work?

Sleepyz Blocks

Best of all, this approach is still in keeping with the original story: the Sleepyz create a blanket in order to wrap you up and send you to dreamland. I’ve even named each of the double-crochet blocks so that I can write them into the story to show how they work together to make you drowsy.

It won’t be long now before it’s all done! I can’t wait to show you the comic that will illustrate the Sleepyz story too. I hope you’re looking forward to the exciting conclusion of this series as much as I am!

Other articles in this series:

Crocheting Zs Everywhere I Go

Playing with Yarn

Making Zs by Trial and Error

Big Decisions to Make

Introducing the Sleepyz Blanket


14 Comments

Roly-Poly Rosa Robin Crochet Pattern

Crochet Rosa Robin Pattern from Squirrel PicnicWe had one of our customary spring snowfalls this past week in Colorado. It melted quickly, leaving behind greener grass, which the robins enjoy plucking through in their search for worms. I love to watch them hop about. There’s something very comforting about seeing the robins return. Perhaps it means that the snows have finally passed and we can look forward to warmer weather.

I want to share a favorite poem of mine with you, written by Louisa May Alcott when she was just 8 years old. Its welcoming of spring and the robin is so dear. I hope you enjoy it too.

To the First Robin

Welcome, welcome, little stranger,
Fear no harm, and fear no danger;
We are glad to see you here,
For you sing “Sweet Spring is near.”

Now the white snow melts away;
Now the flowers blossom gay:
Come dear bird and build your nest,
For we love our robin best.

Celebrate spring with a robin of your own. Roly-Poly Rosa Robin is a dear little one with her charming expression and a plump belly (full of worms, I imagine). This easy crochet fatimal pattern will whip up quickly and delight the bird lover in your life.

Roly-Poly Rosa Robin Crochet Pattern

Continue reading


9 Comments

Thank You, Friends

Today’s blog post is dedicated to all of you who have taken the time to try out one of my patterns. I’m simply blown away by all the hard work you’ve done and all your imagination and creativity. I feel so honored and blessed that you stopped by the picnic and saw something you liked enough to try. You are all so talented!

Some of these photos were sent to me, but most were collected from over the Internet. If I missed yours, I’m really sorry. Please feel free to email photos of your work to squirrelpicnic{at}gmail{dot}com. I would love to see them and include them in a future post.

Thanks again. You all rock!

Thank You, Friends