Black skull scarf with pink flowers
Several years ago I made a few scarves incorporating my Sugar Candy Skull Motif pattern with flower motifs. I ended up with two scarf styles: one pairs black skulls with 3-D red or pink rose motifs, the other pairs white skulls with a colorful, lacy flower pattern.
Over the years, people have often asked me how to make these scarves and finally I think I am able to present a pattern of sorts. If you are interested in making a Sugar Candy Skull Scarf of your own, here I will provide links to the patterns you will need to make the motifs, instructions on how to arrange your motifs, and a video tutorial on how to join these motifs using a simple whip stitch.
For each scarf you will need to make 8 sugar candy skulls with my free pattern.
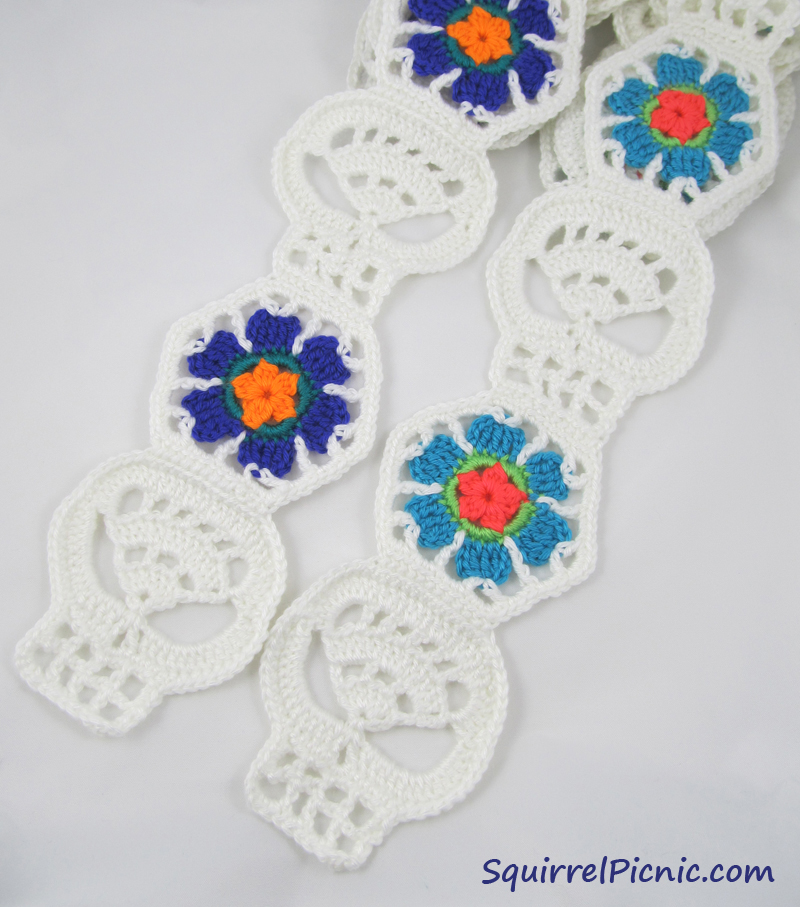
If you would like to make a Calavera Flower Scarf like the white one I made, click here to get the pattern for the Calavera Flower motif. For this scarf you will need to crochet 8 skulls and 6 flowers.
 If you would like to make a Rose Scarf like the black one I made, click here to visit Melinda Miller’s Ravelry page for the Lady’s Rose and download the free pattern. For this scarf you will also need to crochet 8 skulls and 6 flowers.
Once you have all your motifs crocheted, you will arrange them and sew them together.
If you would like for your skulls to be right-side up when the scarf is draped around your neck, sew them together as follows:
- Arrange 4 skull motifs and 3 flower motifs like this: skull, flower, skull, flower, skull, flower, skull.
- Repeat for the remaining 4 skulls and 3 flowers.
- Then, sew the top of the skull from the first length to the top of the skull from the second length so that these skulls are facing away from each other. This way the skulls will all be right-side up when draped around your neck.
Sewing the Scarves Together: A Video Tutorial
Sewing these scarves together can be tricky because the motifs you are joining are different shapes. Each motif has 10-12 stitches on each flat side, so this ensures that you will be able to pair up stitches and it also gives you some wiggle room in case you need to sew together extra stitches to achieve the look you want. If that didn’t make much sense, don’t worry. I’ve put together a video to walk you through the process. Enjoy!

October 9, 2016 at 11:29 am
So lovely! I love to watch you working on your tutorials!
October 10, 2016 at 5:23 am
Thanks, Tajana! You are the best!
October 9, 2016 at 12:45 pm
Looks fantastic
October 10, 2016 at 5:23 am
Thanks so much!