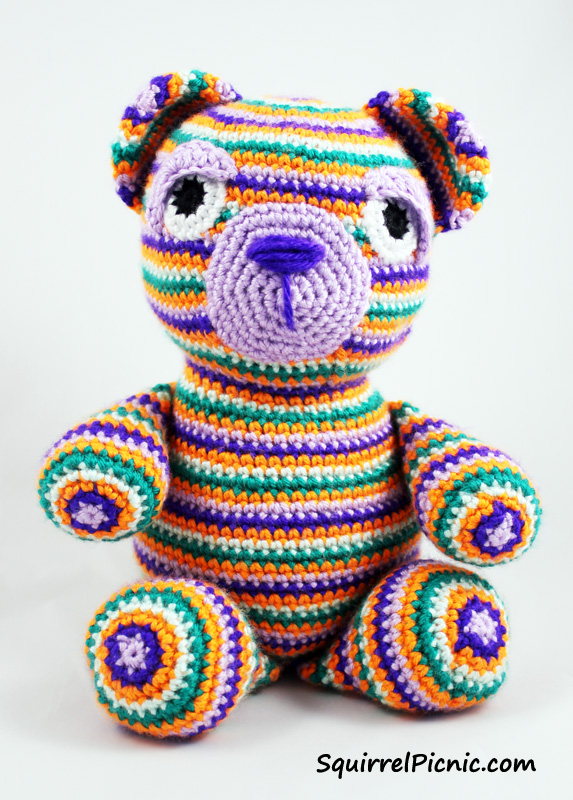
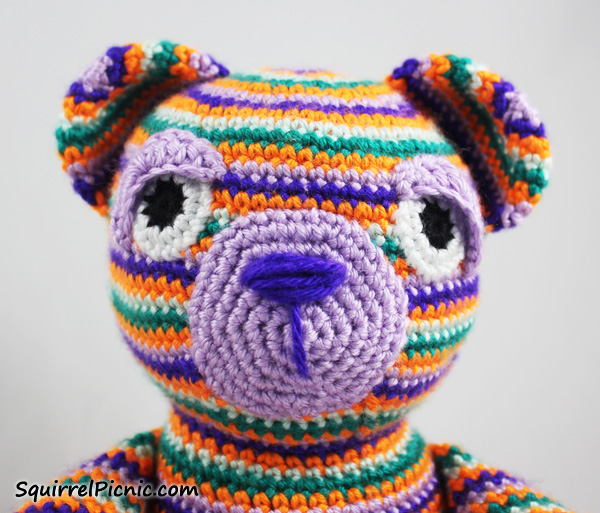
 Introducing Motley Bear! I made this bear for one of my dear friends who was donating her kidney to a relative. I wanted to provide her with a bear that exuded confidence while at the same time bringing a lot of colorful cheer while she was recovering. I think Mr. Motley pulls it off nicely.
This bear pattern is based on my original Sleepy Bear pattern, with one obvious difference — he’s all done up in stripes.
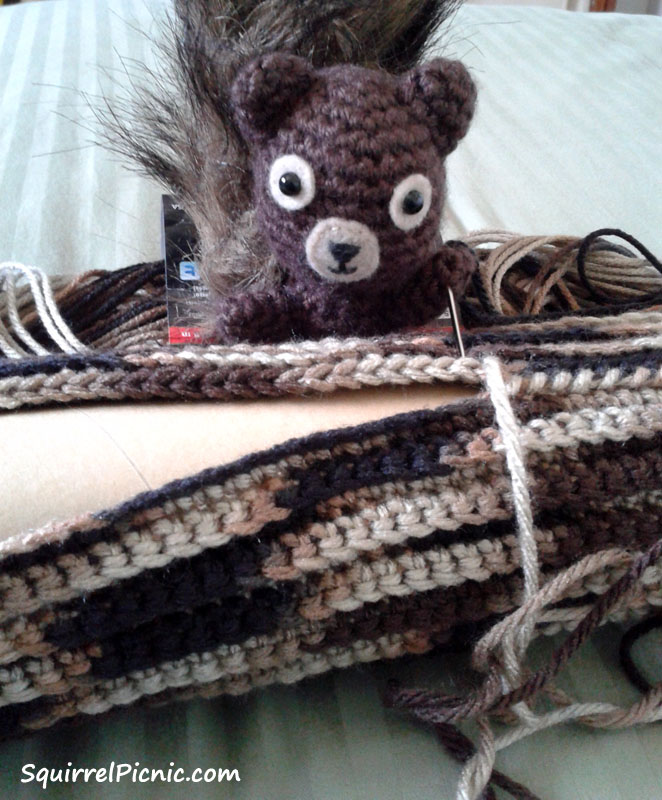
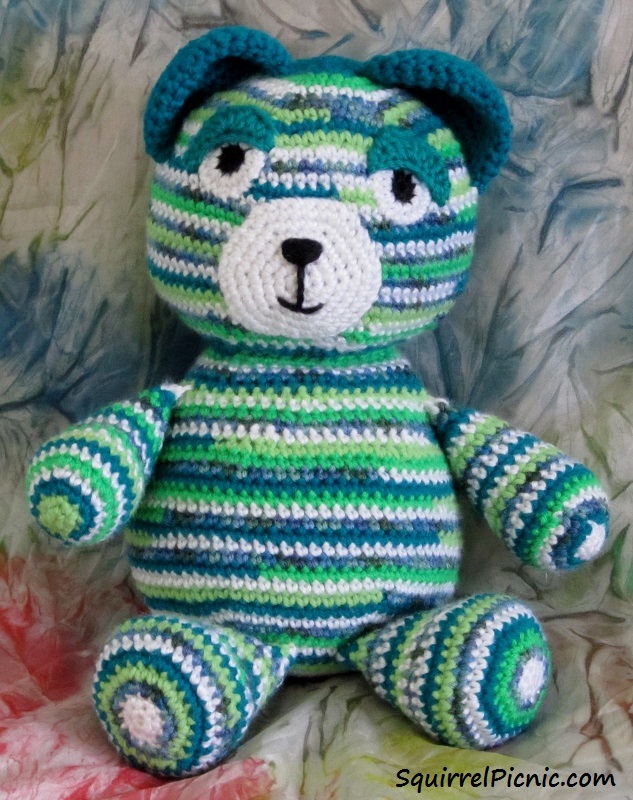
 A striped bear provides a great opportunity to use up some leftover yarn too. I made this green bear out of odds and ends of green yarn that I collected over the years. I even have another bear that I am crocheting as I go, adding a round at a time as I gather leftover yarn from other projects. If you start a stash-busting bear like I have, my biggest word of advice is to pin a card listing your place in the pattern to your bear each time you put him aside so you’ll know where you left off when you pick him up again.
When I work in stripes like this, I prefer to end each round by joining with a slst and then chaining 1 with the new color to start the next round. By pulling on the strand for the previous color, it creates almost perfect, non-jogging rounds. They aren’t entirely perfect though. You still end up with a noticeable seam that spirals down the back, but I always just make sure that this part is at the back when I sew on the arms and legs and face. I prefer this method because I am too lazy to fasten off one color and attach the new one in each round. If you have a different method for changing colors in a striping pattern, by all means use it… and please share it with me! I am always up for learning new techniques.
Here are some other techniques you might try:
June Gilbank of Planet June has some great video tutorials for an invisible join (the one I mentioned above that I am too lazy to do), a no-cut join, and a hybrid of the two.
Needle Noodles has a great photo tutorial for two slip-stitch methods of color changing.
Motley the Bear Crochet Pattern
Continue reading →
 Charm exchanges are a blast! I had never even heard of a charm exchange before Sylvie approached me to be a part of hers. And I’m so glad that she did. It introduced me to a whole new world: I got to try mini-crochet for the first time, expand my jewelry-making skills, and meet a bunch of really great artists whom I can now call my friends.
 This being the charm exchange finale, I thought we might accomplish two things: (1) show off our final jewelry pieces to the world and (2) answer all your questions and provide advice on how you can start an exchange of your own, because seriously, you really should try this! Continue reading


You must be logged in to post a comment.