Right paw red. Left foot green.
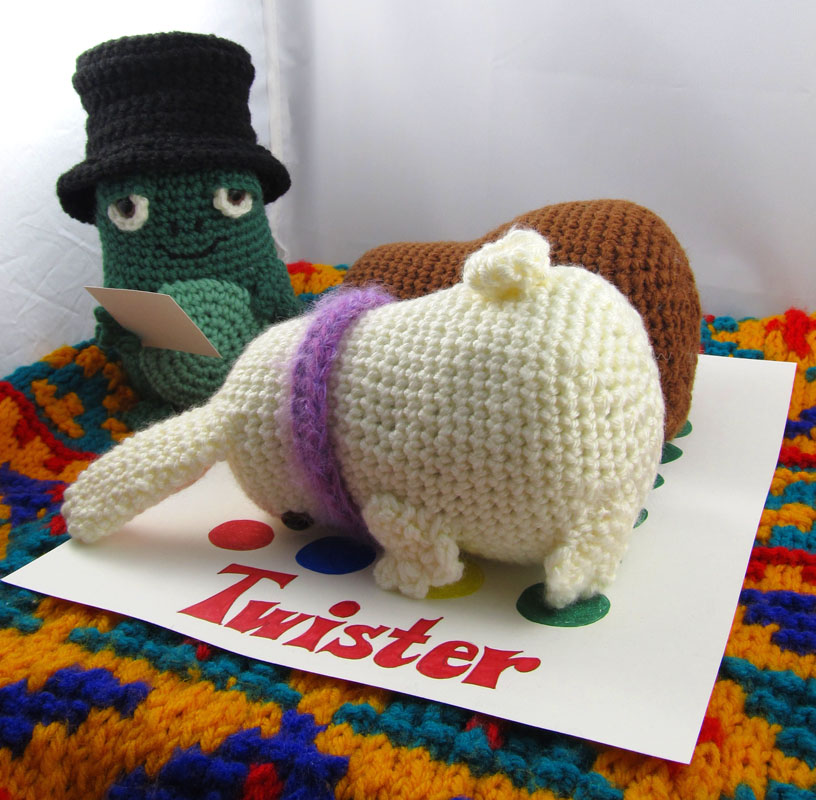
Right paw red. Left foot green.

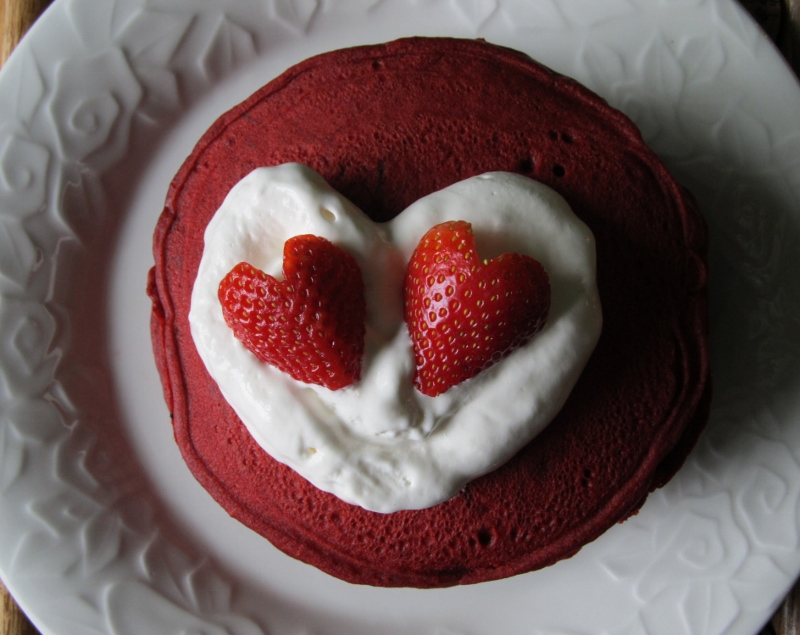
These red velvet pancakes are perfect for a Valentine’s Day breakfast in bed.
Makes 6 5-inch pancakes.
1 cup all-purpose flour
1 tablespoon sugar
2 teaspoons baking powder
¼ teaspoon salt
2 tablespoons Dutch process cocoa powder
1 beaten egg
1 cup milk
2 tablespoons vegetable oil
1 0.3-ounce bottle of red food coloring
1 teaspoon vanilla extract
Toppings: whipped cream and strawberries
Cream cheese drizzle: Beat 2 ounces of softened cream cheese with 1/2 teaspoon of vanilla until smooth. Gradually beat in 1/4 cup sifted powdered sugar. Beat in enough milk (about 3 tablespoons) to reach drizzling consistency.
Strawberry sauce: Blend 3 cups fresh or thawed frozen strawberries in a food processor. In a medium saucepan, stir together 1/3 cup of sugar and 1 teaspoon cornstarch. Cook over medium heat, stirring continuously, until thickened. Cool to room temperature.

Podge: “My doctor told me I should be exercising for sixty minutes a day. How hard do you think it would be to knit on a treadmill?”

It feels like summer here in Denver, and I’m feeling the urge to get out and explore. Last night I went to my first drawing class in ten years. Today I went with some friends to the Postscript exhibit at the Museum of Contemporary Art. And tomorrow my husband and I are going to really take advantage of the warm weather and go hiking. I mean really, how often can you go hiking in January? You have to seize these moments while they last. So get out there. Try something new and make your own adventure.

My ink sketch from last night’s class at PlatteForum. It was an abstract drawing class led by contemporary artist Homake Ikeda.

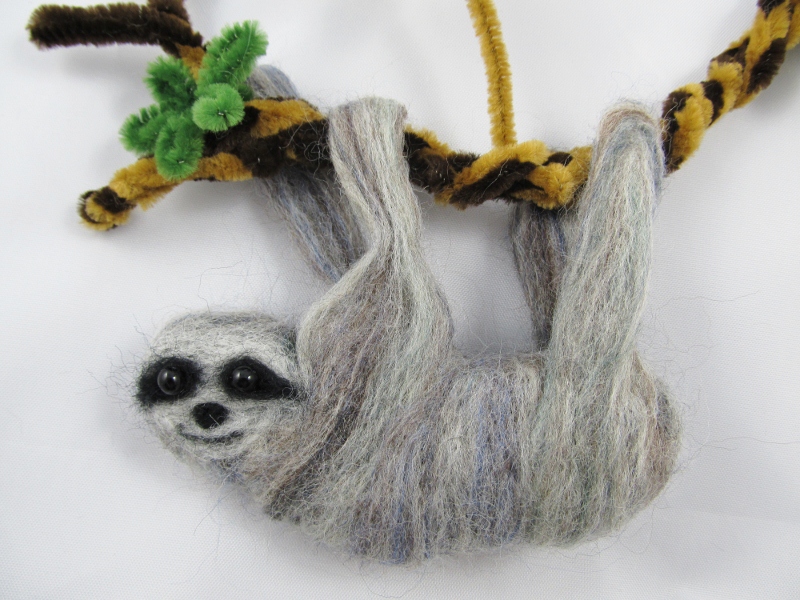
Thanks go out to Alicia Dollieslager for challenging me to make a needle-felted sloth. I had never needle felted before and that made this challenge even more exciting. I learned that needle felting is pretty fun and simple enough that anyone could do it, but because the needles are very sharp, it might not be suitable for young children. I love how Jane Davis puts it in her book Felting: the Complete Guide. She says, “Unfortunately, when starting out in needle felting it is almost inevitable that you will stab yourself with those sharp needles at least once, so have first aid supplies on hand and keep your tetanus shot up to date.” I guess I should feel pretty lucky that I completed this project unscathed.
The basic idea of felting is that when you move your needle in and out of the wool, barbs on the shaft of the needle grab the fibers and tangle them together to create felt. On the subject of needles, the package I purchased came with four types: a 38-gauge star-point needle for felting large areas, a 36-gauge triangle-point needle for fast felting, a 38-gauge triangle-point needle for attaching one item to another, and a 40-gauge triangle-point needle for detail felting and smoothing the surface. After trying them all out, I ended up using the 38-gauge needles for everything except the details on the face and the surface, for which I used the 40-gauge needle.
A foam pad is used as a work surface, both to protect your fingers and to help form the wool into the shape you desire. I started by poking the wool fairly deep to ensure that the center of the figure was felted. Then I switched to the 40-gauge needle to felt the surface. It’s amazing how quickly the wool begins to take shape and how forgiving this medium is.
Use my instructions to make a felted sloth of your own! Continue reading

Want to know what pattern I used to create Hodge and Podge? Curious what books I turn to when I’m dreaming up a new crochet or knitting project? Visit my new Favorite Resources page at Squirrel Picnic to find out.


You must be logged in to post a comment.