Squirrel Picnic

Handmade with Love and Stuff


14 Comments

The Big Acorn Race Update: We’ve Got a Cover!

This has been an exciting month! It’s also been extraordinarily busy. (Isn’t it funny how the two always seem to go hand in hand?) I promise to write a separate post about designing and creating all the new patterns, working with pattern testers, choosing fonts, and hashing out what will go in the techniques section. But for now I just really want to share with you something near and dear to my heart, something I’ve dreamed of for over two years now… we have a cover for Squirrel Picnic’s very first story and pattern book!The Big Acorn Race by Jennifer Olivarez
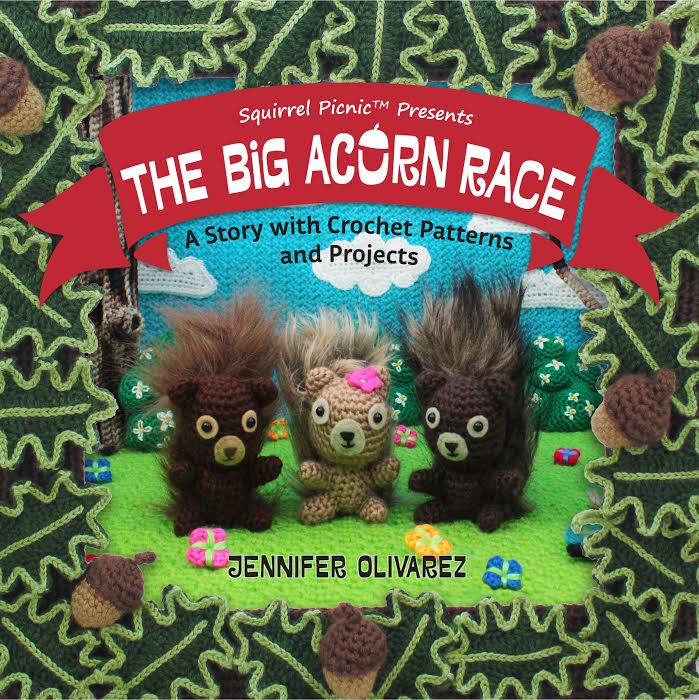
Big love and thanks go out to Sylvie Abecassis for designing the graphics and working her magic on my photos. I am always amazed by the talent she possesses. She has a big heart, a wealth of design knowledge and skill, and a generous and caring spirit. I can’t thank her enough for this beautiful gift.

Now that I have a cover, expect to see it everywhere! Speaking of which, I’m working on a website for the book where you will be able to find news and updates and any interactive features I’m able to create. That all may be a little ways down the road, but I’m excited about this next step in the adventure. Thanks as always to every one of you. I hope you are enjoying this journey. I’m sure happy to have you along for the ride.


24 Comments

Let’s Doodle Stitch!

Doodle Stitch BearI hope you enjoyed the tutorial last Friday on how to use satin stitch embroidery to give your amigurumi some spectacular looking eyes. I had a lot of fun stitching it, and to tell you the truth, I didn’t stop with the face. In this post I’ll tell you more about how stitch-crazy I went with this bear, and I’d like to also address all of you who asked me about where you can go to get lessons in embroidery. Continue reading


22 Comments

How to Add Faces to Your Amigurumi: Satin Stitch Embroidery

Satin Stitch Amigurumi Face Tutorial by Squirrel PicnicI love the look  of satin stitch embroidery, but I don’t use it very often for my amigurumi because, I have to warn you, it does take longer to do than any of the methods I have shown you so far. It also takes a lot of focus, because you have to repeat the same stitch over and over again until an area is filled in. You will probably notice in this tutorial that by the time I got to the white part of the eyes, I had gotten a lot less picky about the straightness of my stitches. Looking back, I wish I would have taken a break halfway through or put the project aside for a day or so. Then I would have been able to come back to it fresh: fresh eyes, fresh mind. In the least, I hope you might learn from my mistake. If you find yourself growing frustrated or impatient, feel free to take a break. You certainly have my permission.

That aside, I think you will be pleased with the results you achieve by using satin stitch embroidery to add details to the faces on your amigurumi. I always think it looks very professional, as this is the technique most often used by large toy companies to manufacture stuffed animals for young kids. Satin stitch embroidery is a great choice for toys that will be used by children of all ages, because you don’t need to worry about any small parts that might present a choking hazard. While the big companies use machines to do all the work, I will show you how to do it by hand. After all, it’s the time and love that you put into it that makes a hand-embroidered stuffed animal so special.

Let’s begin! Continue reading