You may find it interesting to know that I don’t spend my days playing with yarn. As much as I would love to do that, I need a full-time job to support my yarn habit. I work in the editorial department of a greeting card company and do most of my knitting and crocheting on my two-hour round trip commute. And don’t worry, although I once saw a driver knitting behind the wheel, I’ve never tried it. I’d rather take the bus.
Anyone who’s traveled with a yarn project can tell you the importance of having a good kit to hold your project and supplies. Whether you’re commuting by bus like I am or you’re packing for a summer vacation, here are some articles to help you get organized so you can take your skills on the road, and read on to find out about the kit I finally chose.
Rebecca of Jordana Paige reminds us how to pack yarn projects for air travel.
Amy Palmer of Knitting Daily helps us choose which projects to pack.
Cheryl from Sew Can Do offers this easy tutorial to make your own drawstring tote.
Grommets help keep your yarn tidy in these bags from Top Shelf Totes.
Or you could always make a mobile knitting hat like Kim Thomson.
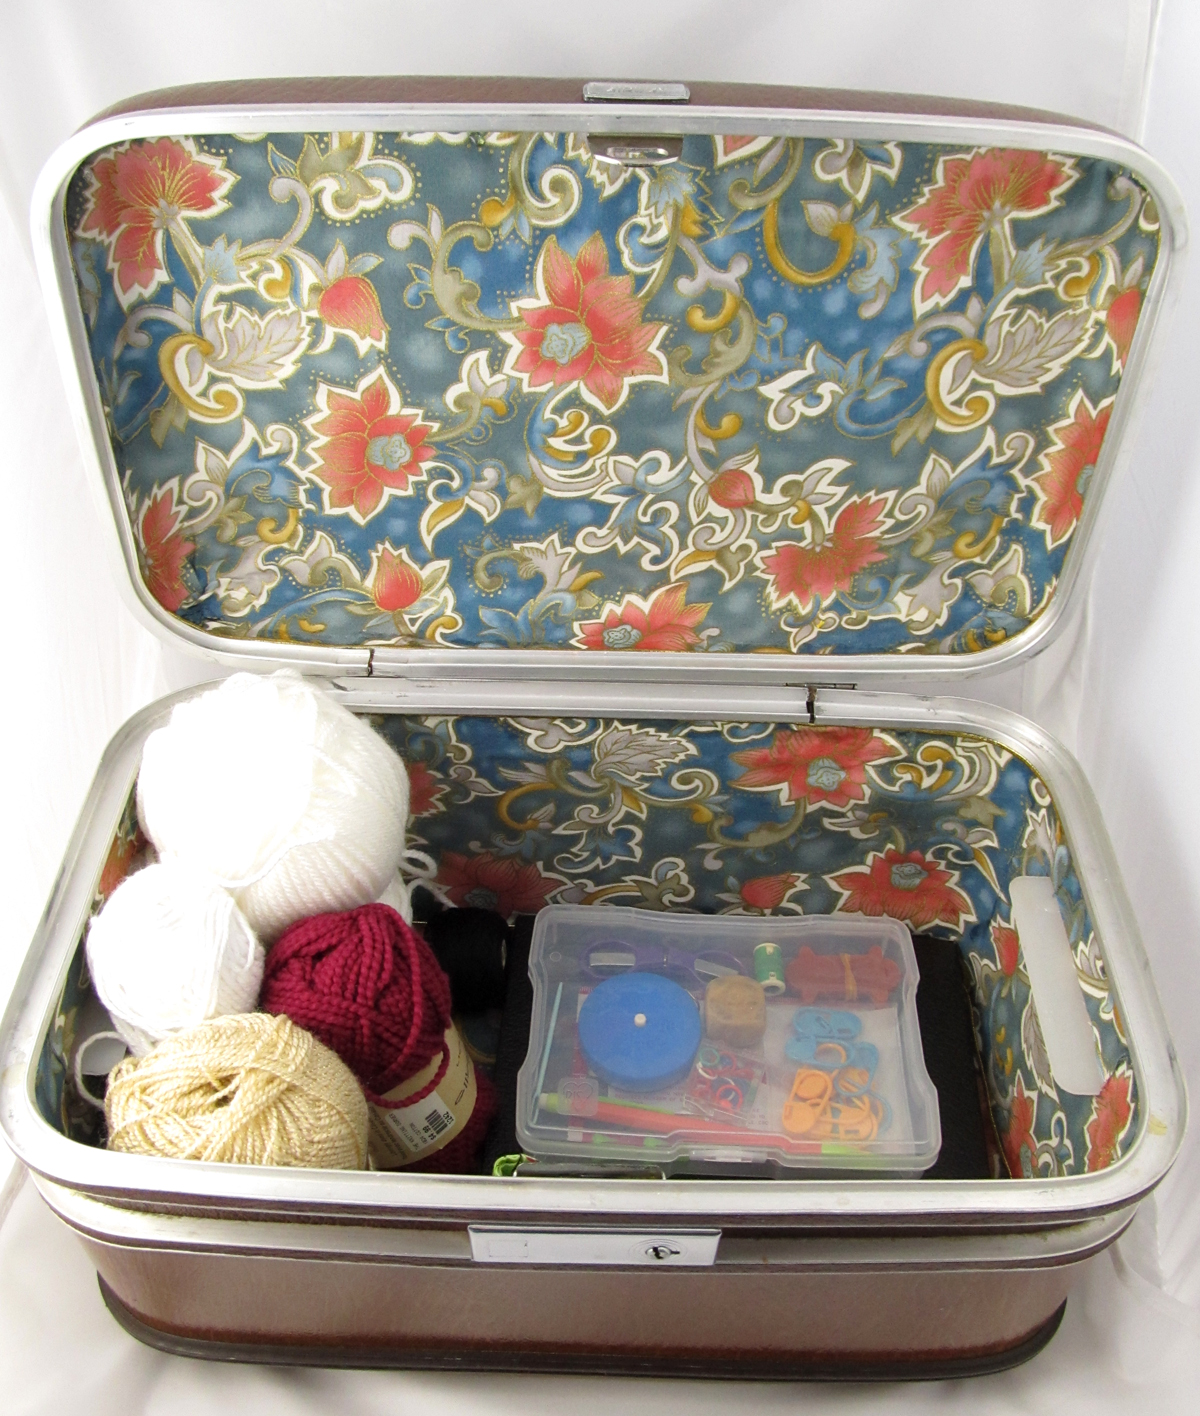
Most of all, it’s important to choose a kit that will complement how you travel and the type and number of projects you want to take with you. Here’s what I think makes the perfect kit for me: (1) It has to be big enough to hold my sketchbook, tool case, and a whole, almost finished sweater, (2) small enough that it can fit on my lap or under the seat if needed, (3) cute enough to carry with me every day regardless of the weather, and (4) rugged enough to last a long time. And the one case I found that meets my stringent criteria… the 1960s train case.
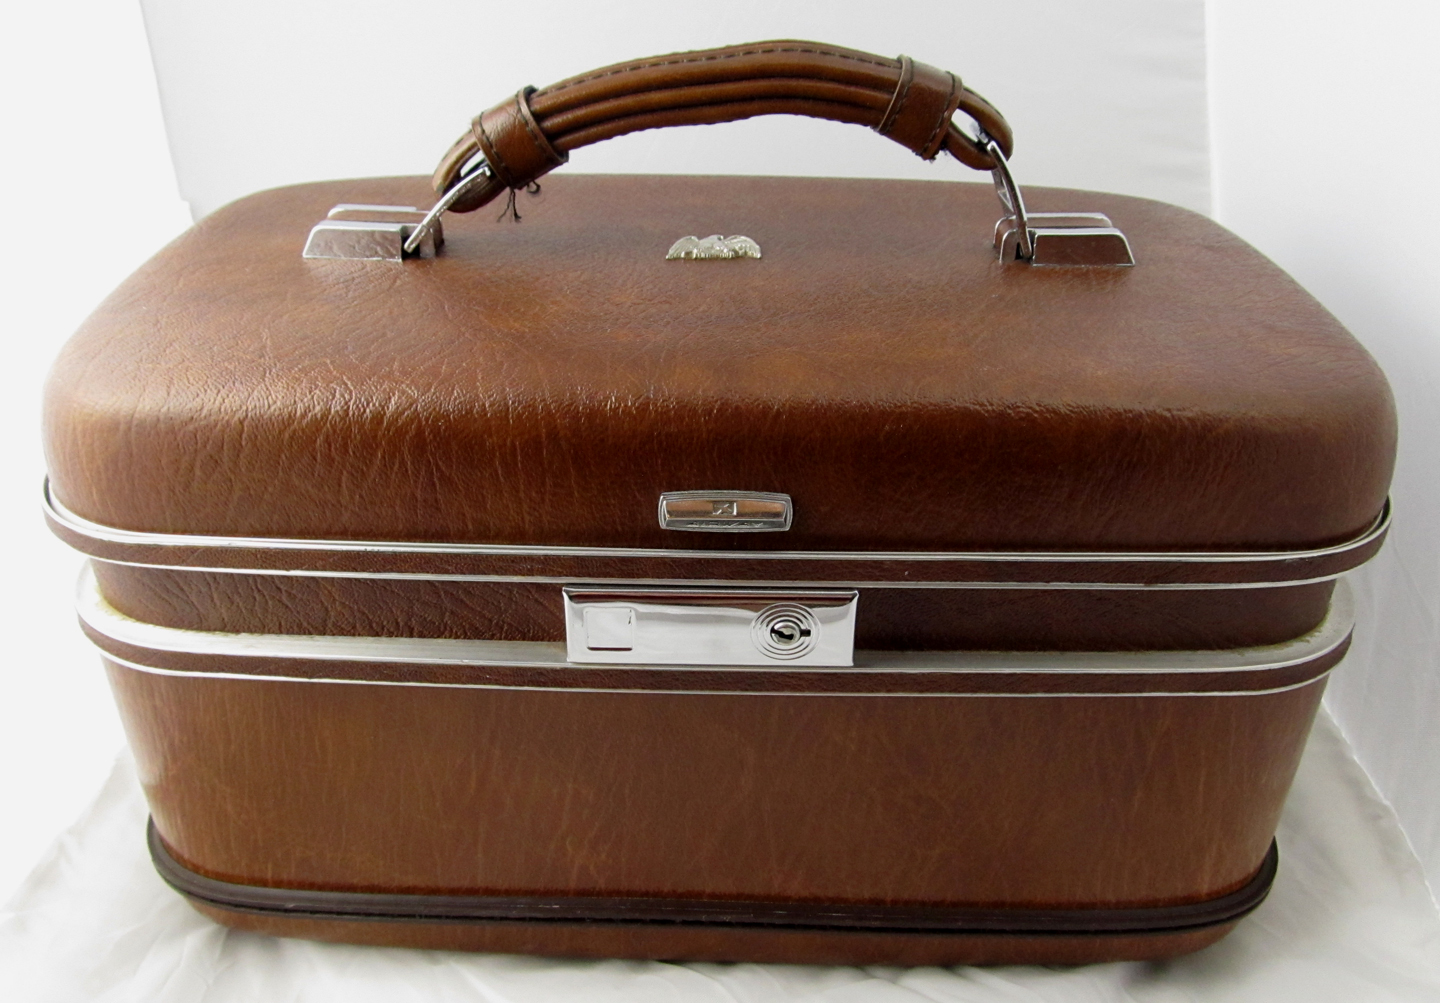
I got this one on Etsy. It was in great condition. Even the lining was unsoiled, but it just wasn’t me.
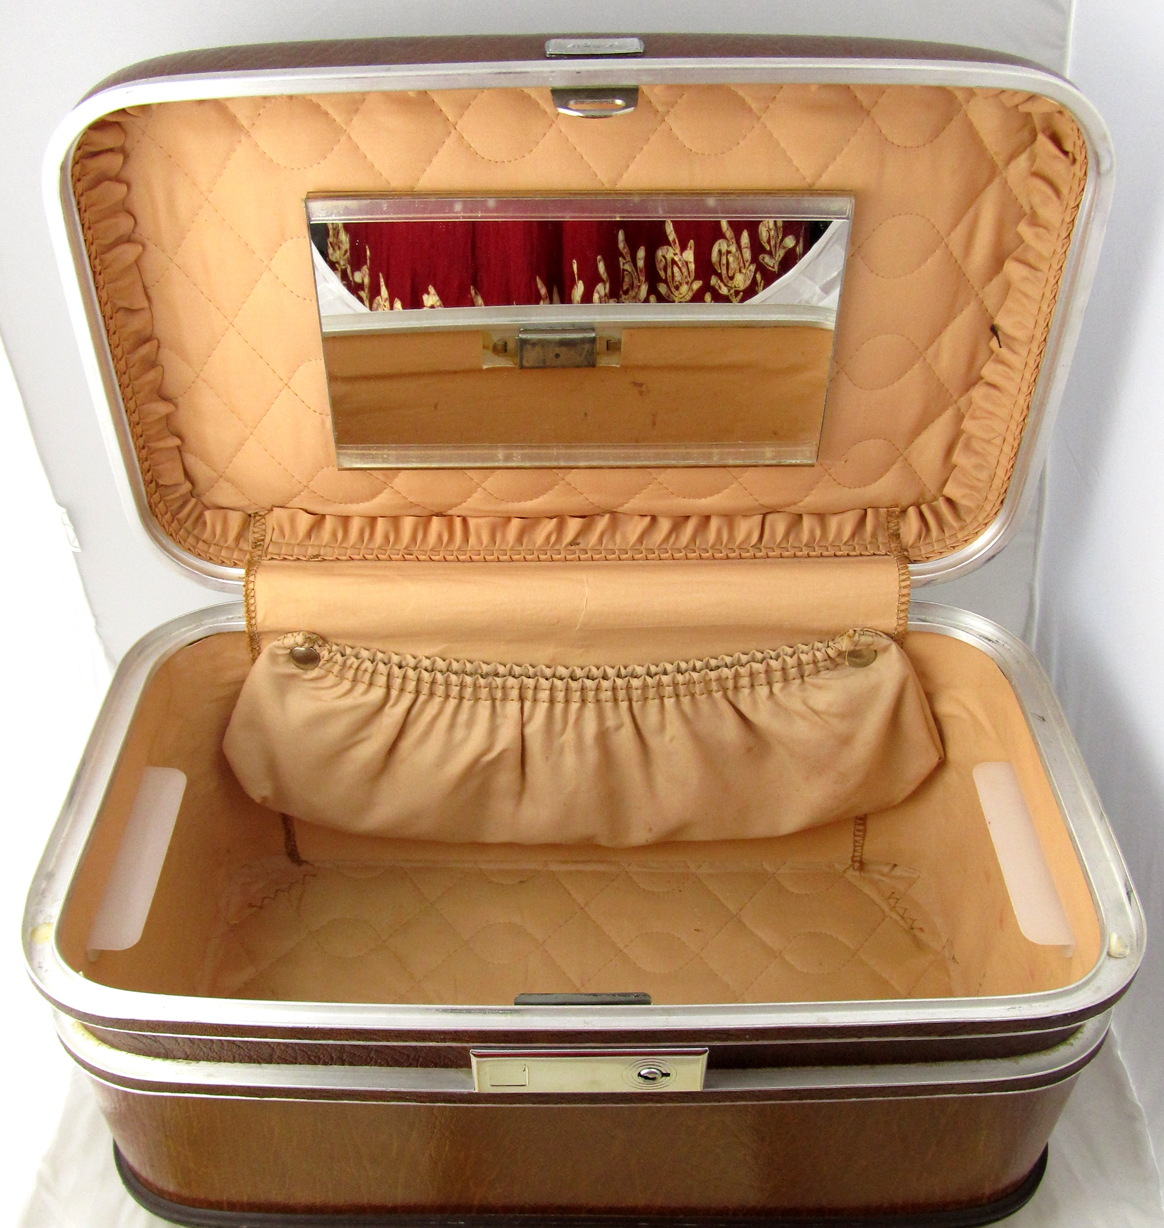
So I ripped it all out.
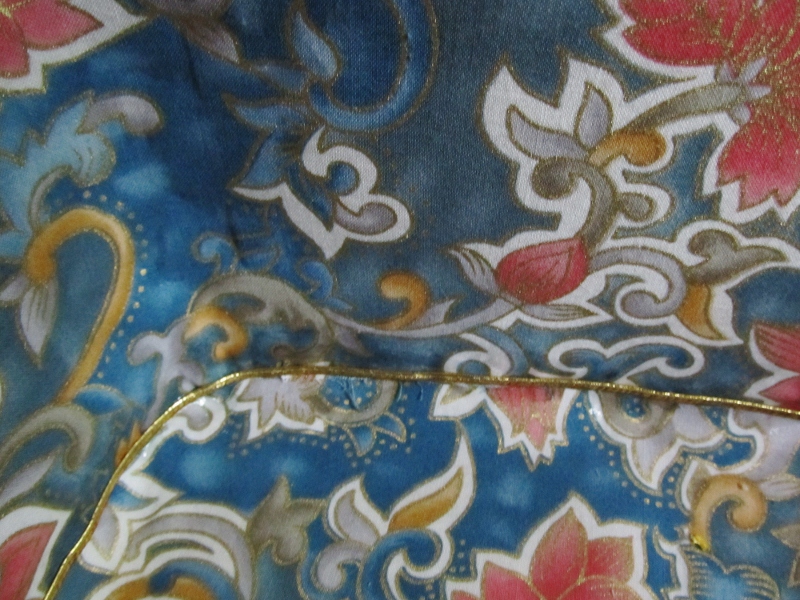
 And decided to put in my own lining. My mom gave me this fabric from her stash.

Relining the case really wasn’t that hard, especially with Hodge and Podge to help.

After measuring the inside, I cut the fabric to size and glued it in place with Aleen’s Fast Grab Tacky Glue.
Hodge and Podge helped me cover the seams with gold braid and Aleene’s Fabric Fusion. Just kidding, that stuff was a mess. It would’ve taken me forever to clean it off their paws! They just watched and offered moral support.

Then I got down to organizing all my goodies: crochet hook and dpn organizer, toolbox, measuring tape, floss, pencil and eraser, and sketchbook (how about that squirrel sticker?).
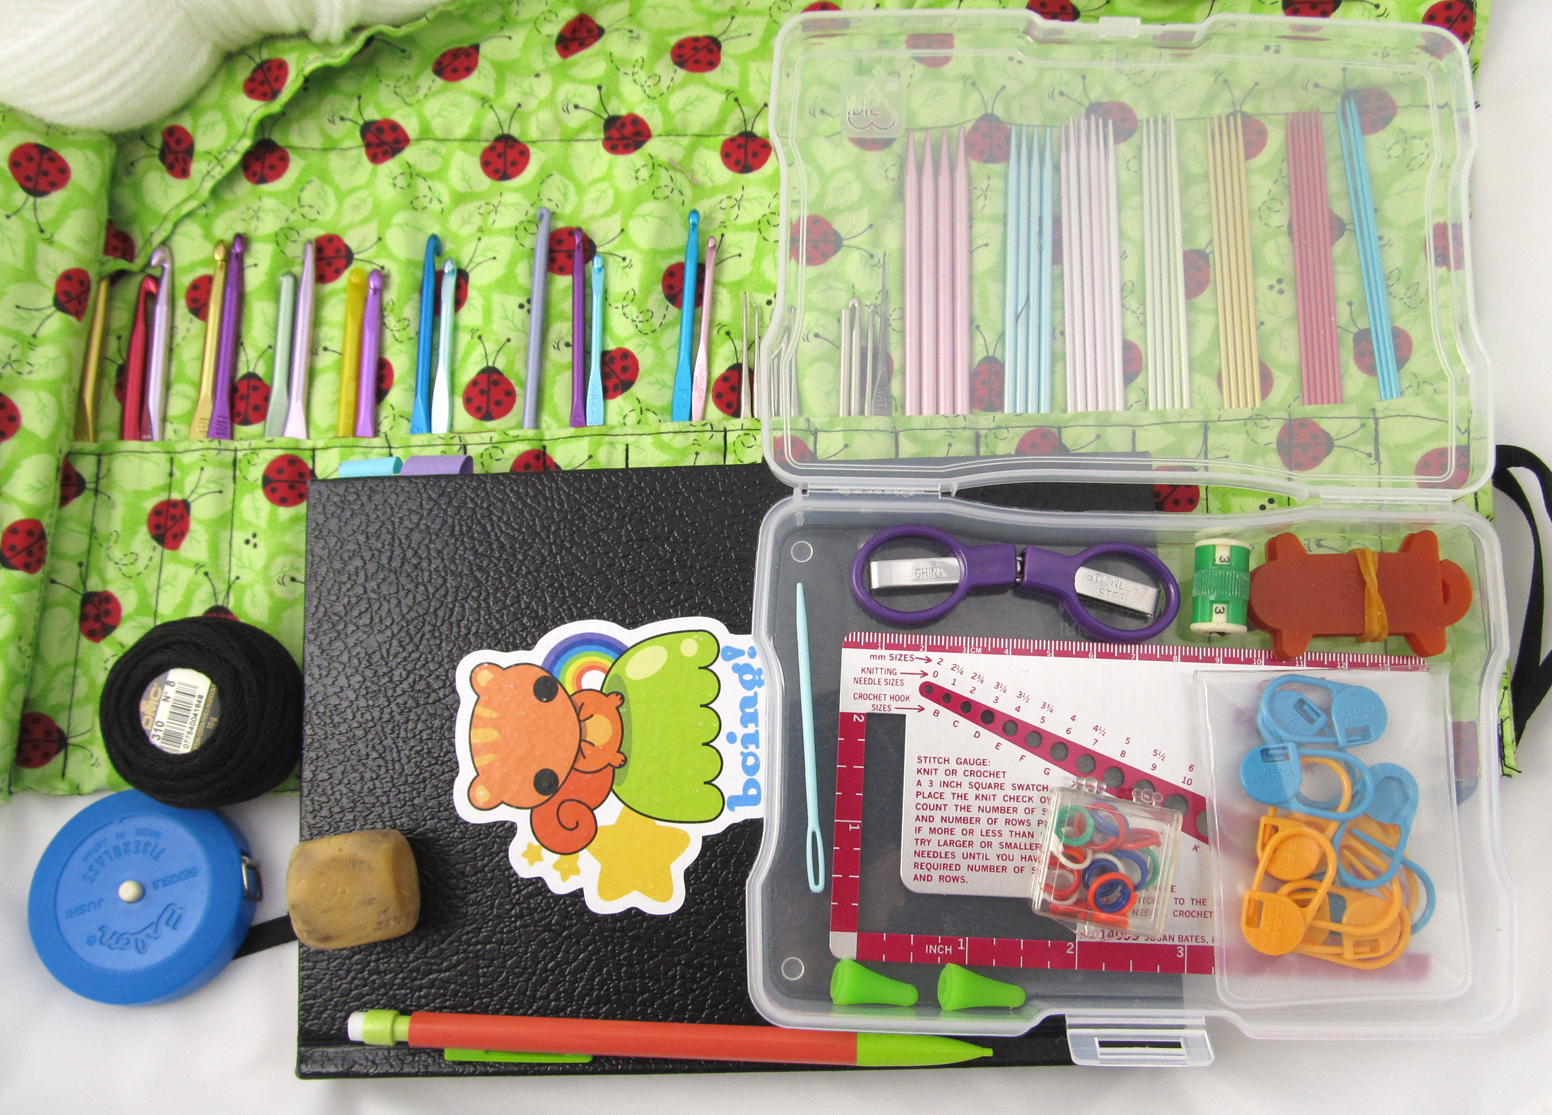
What’s in my toolbox? Clockwise: collapsable scissors, my grandma’s stitch counter, yarn bobbins, big place markers, little place markers, needle point protectors, metal gauge, and tapestry needle.
 Time to pack it all up!
 Am I forgetting something? Oh, my project!
 Something’s still not right. What else am I forgetting? My trusty sidekicks, of course!

Time to go!


July 6, 2013 at 6:59 am
Very awesome!!!!! Love it. Now, will you PLEASE find a solution to keep the cat out of it, when I mistakingly leave it open. I am going to write a blog on yarn tangles next, since I thanks to my cat became an expert.
July 6, 2013 at 7:05 am
Thanks, Beate! I look forward to your article on yarn tangles. I always seem to run into the biggest tangles at the worst possible times.
July 6, 2013 at 2:15 pm
Great job! I love how it is perfectly tailored to your tastes and your needs. Brilliant! 🙂
July 7, 2013 at 10:55 am
Thanks, Hetterbell!
July 7, 2013 at 7:10 am
I love ideas for getting organized. I actually have an old suitcase, I want to make it into a travel kit for going to quilt retreats, so it can hold lots of stuff, but not be a mess when everything is in it. I got to the part of tearing out the old lining, but then got a little intimidated, so now it’s in time out! I wish I had Hodge & Podge to give me some moral support… I like the gold braid around the seams. I think I will practice a little with that glue before my actual project.
Thanks!
July 7, 2013 at 10:54 am
Hi Pam! Best of luck with your quilt project suitcase. I liked using the Fabric Fusion for the braid because it takes a while to dry so you can fiddle with the trim until you’re happy with the placement. And best of all, it dries clear. I’d love to see your suitcase when it’s done. Wishing you lots of fun with your project!