The springerle is an anise-flavored, eggshell-white cookie that is said to have originated from German-speaking parts of Europe. Typically baked for the holidays, this cookie is best known for its beautiful embossed designs.
I have many fond memories of Christmasses spent with family, the adults relishing the springerles my mother had baked while the kids nibbled at less exotic treats. We kids all considered the springerle to be a stuffy, grownup cookie. “An acquired taste,” my mother would say. I remember how at these holiday gatherings the adult conversation would always turn to a debate over the best way to eat the springerles. Some would claim that they are best when they’re less than a week old and still soft. Others would swear that you should never eat them until at least two weeks had passed, until they are rock hard and require dipping in tea or soaking in rum in order to eat them without breaking a tooth. I didn’t care for them as a child, but the first time I tried one as an adult, I was hooked. Anyone who loves the flavor of licorice will love this cookie too. Continue reading →
Soon after starting this blog, I realized that it would be worthwhile to invest in a photography system to give photographs of my creations a more professional look. While visiting my parents last October, I was working on the Toddler Turkey Hat, and my mom allowed me to use her EZ Cube, essentially a light tent, to photograph my process shots. I was amazed at how the photographs came out, especially since I only had my camera phone at the time. Continue reading →
I want to live in Paperland. It’s the only place in the world where you can see rainbows at night, where there are never any traffic accidents and it can snow nonstop but never collect on the road.
This animated wallpaper app offers tons of customizable options, from themes to weather to the number of birds in the sky. With Paperland Pro you can even opt for a Christmas theme where all the trees are decorated with lights, and Santa and his reindeer regularly fly by. It offers a moment of serenity every time you turn on your phone.
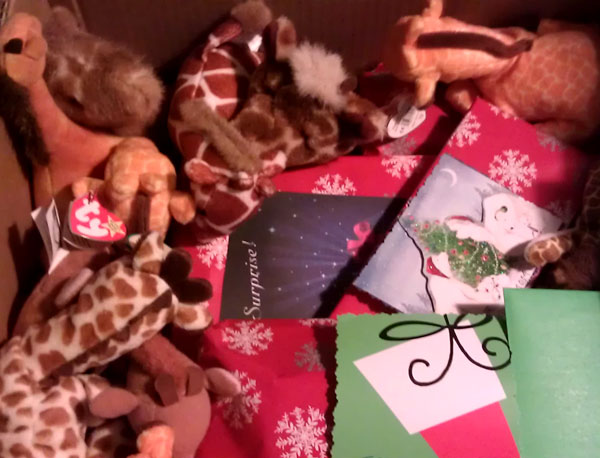
When sending out Christmas packages to your grown children this year, instead of using bubble wrap, use their old stuffed animals. As a friend of mine mentioned, it’s an eco-friendly way to tell your children, “It’s time for you to get your junk out of my house. Mom wants a craft room!”
I’m not entirely certain that this wreath is a winner. This might be an example of one of those situations where you try to re-create something you’ve seen only for it to morph into something entirely unexpected.
I’ve seen several rosette wreaths over the past few years and it seems like all of them have been made with slightly different techniques and styles. I was feeling pretty confident that I could easily create my own with my own unique spin.
But once I hung it on the door, I had to scratch my head and wonder. I had wanted my wreath to have a lot of texture, so I cut the strips with pinking shears, but now I looked at it and thought, Is the texture too busy? I also hadn’t been particularly careful about making the strips even because I thought the variety might be appealing, but now I wondered, Does it just look sloppy?
Even though I’m not overly thrilled with this creation, it will hang on our door throughout this season nevertheless. I feel like it says to visitors, “Welcome. Come on in. Relax and be yourself. We don’t expect perfection here!” And you know, I have a feeling that’s a pretty worthwhile sentiment for me to keep in the coming month.
Materials
7 ¾” x 1 ¾” x ¾” Styrofoam wreath form
1 yard of 1 ½” wide red satin ribbon
2 12″ x 18″ pieces of green craft felt
4″ of red craft felt (72″ wide), divided into four pieces each 4″ x 18″
7″ of green craft felt (72″ wide), divided into four pieces each 7″ x 18″
Sewing pins
Tacky glue for attaching fabric to fabric
Hot glue
Pinking shears
Scissors
Trace the Styrofoam wreath form onto each 12″ x 18″ piece of green felt. On one piece, cut along both the inner and outer circle lines, set aside.
Cut the other piece into a circle that is about 4″ larger than the wreath form, using the outer circle line you traced as a guide. Fold this circle in half and clip a hole in the center. Open the circle back up. Cut eight lines out from the center hole that you clipped to about 1/4″ from the inner circle line. Cut from the outer edge of the green felt to the outer circle line to form eight equal parts on the outside too.
Place the Styrofoam wreath form in the center of this circle. Pull up on a triangle of felt from the inner circle and lay it flat on the back of the Styrofoam. Pull up a piece from the outer circle and lay it on top of the triangle piece. Pin through both pieces into the Styrofoam. Repeat all the way around the wreath, making sure that all the Styrofoam on the front and sides is covered.
Hot glue the green felt circle with the hole in the center to the back of the wreath form to cover it.
Wrap the ribbon around the wreath and hot glue it to the wreath form.
Cut the red felt into 1″ strips, alternately using scissors and pinking shears, so that one side of each piece is jagged and one side is straight. You will have 16 strips of red felt.
Repeat with the green felt. Then take each strip of green felt and cut it in half so that each strip is now 9″ long. You will have 56 strips of green felt.
Roll up all the strips of red and green felt and secure each end with tacky glue.
Attach the flat side of each rosette to the wreath form using the hot glue, alternating placement of red and green rosettes. Depending on how tight you make them, you may end up with a few leftover rosettes.
Hang wreath from your door knocker or wreath holder by tying the ribbon in a bow. Finish the bow’s ends with the pinking shears.
 The springerle is an anise-flavored, eggshell-white cookie that is said to have originated from German-speaking parts of Europe. Typically baked for the holidays, this cookie is best known for its beautiful embossed designs.


You must be logged in to post a comment.