Squirrel Picnic

Handmade with Love and Stuff


17 Comments

2014: It’s a Good Plan

A sneak peak at the next Make It! Challenge. What is it? I'm not telling.

A sneak peak at the next Make It! Challenge. What is it?

Last year was an amazing first year for Squirrel Picnic, and I have you all to thank. I hope that I can continue to provide fun and interesting patterns for you and that the gang will have plenty of adventures to go on. To be honest, though, 2013 was draining on both my bank account and my personal life. I fell in love hard with Squirrel Picnic, much to my husband’s chagrin. Every moment that I wasn’t at my full-time job, I was working on the blog. I’ve learned that there’s nothing wrong with being passionate about the activities you love, but time spent with friends and family is very important too. So my big goal for 2014 is to create more balance in my life. That being said, you know me. I’ve already got big plans in the works for Squirrel Picnic… I just might have to work on them under the cover of night (don’t tell my husband). So in addition to that big one I already mentioned, here are my goals for 2014.  

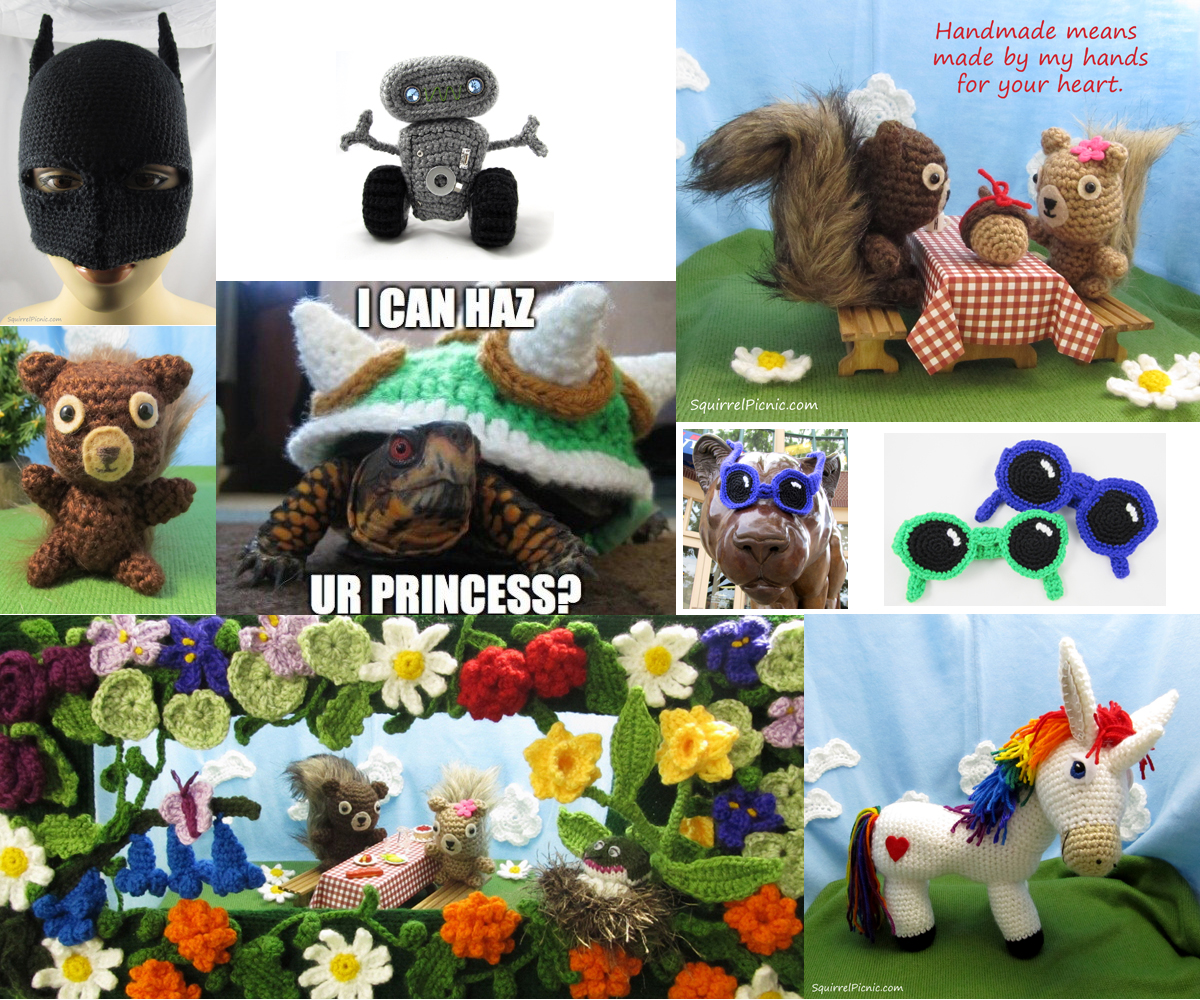
  1. Tackle five Make It! Challenges. Congratulations to this year’s recipients: Shelby, Daniel, Becky, Brooke, and Diana!
  2. Publish more Squirrel Picnic comics: oh, the adventures we have in store!
  3. Publish free crochet patterns for each of the fatimals: starting with Mayor Snack Frog in the next month or so.
  4. Join the Counterfeit Crochet project: this looks like so much fun!
  5. Learn more knitting techniques with the intent of eventually offering more free knitting patterns here.
  6. Publish stories featuring your handiwork! If you’ve crocheted a Squirrel Picnic character using one of my patterns, I’d love to feature it on the blog. For more information, see the submissions section of my About page.
  7. Recuperate some of the costs of maintaining this blog. I spent way too much money on yarn last year… you don’t even know. So I’ve been pondering the financial aspect of blogging lately. I’ve decided not to sell ad space just yet, not until I can have complete control over what companies and products are advertized. (I know you don’t want to see that stupid belly fat ad here, and I won’t let that happen.) But I still need to make enough to support my blogging habit, so the plan is to stock my Etsy shop with squirrelly stuff and try to get some of my patterns published in magazines. I’m not expecting much, but it’s worth a try. Do you have any ideas? If you’re a blogger, what do you do to support your blog?
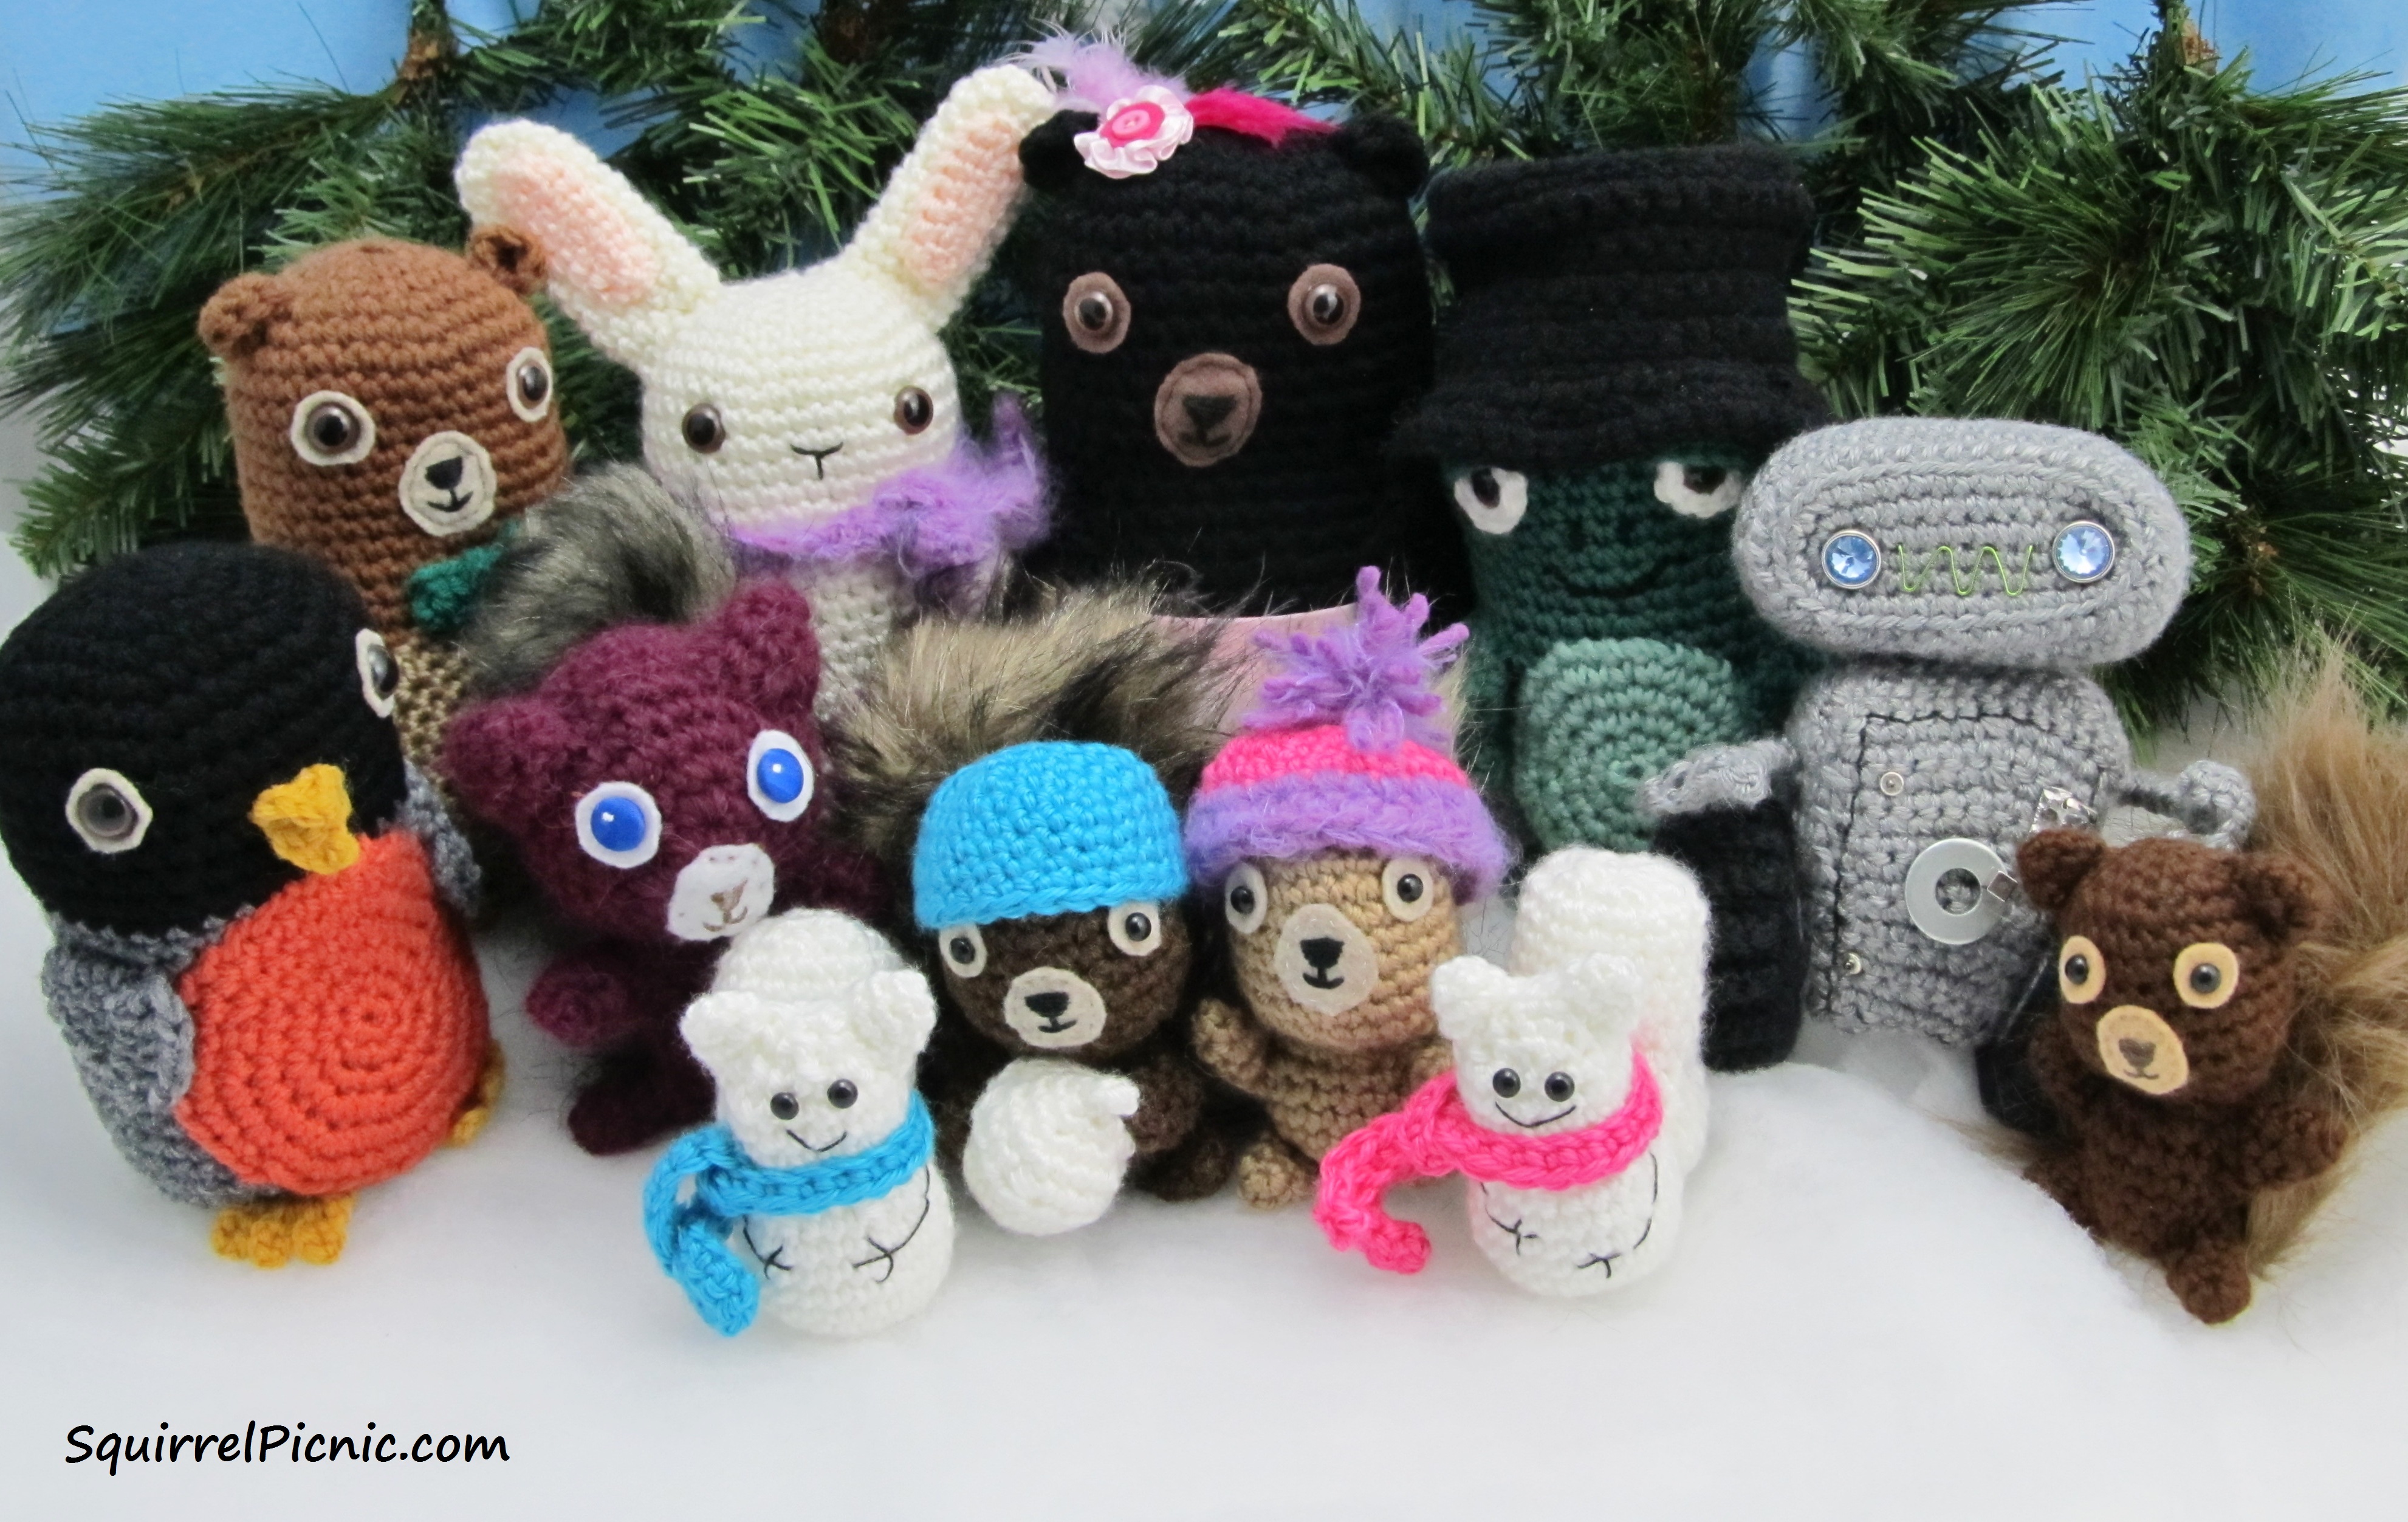
  8. Show you more of what happens behind the scenes: how I put together the comics, how I create my patterns, and reviews of the fiber arts books and fellow bloggers that have taught and inspired me.


Wow! That seems like a lot. I better get started! What are your goals for 2014?


15 Comments

New Winter Banner: Snowsquirrels and Snowacorns

Winter 2014 by Squirrel PicnicIt seems like it’s snowing all across the U.S. this weekend, so I thought what better way to pass the time indoors than to crochet some snowsquirrels and snowacorns like those on our new winter banner. Read on to discover how you can make snowsquirrels and snowacorns out of yarn (in case you’re just not in the mood to make them out of snow).

P.S. It’s been brought to my attention that the New Year’s video didn’t show up in the email last Wednesday, which is a shame because it really is rather cute. If you’d like to see how Hodge and Podge and the fatimals rang in 2014, you can view the short film on the website. Sorry about that.

Snowsquirrels

To make snowsquirrels, use this snowman pattern by The Dapper Toad. To make a snowman into a snowsquirrel you’ll need a tail and ears too.

For the tail, make another snowman but replace “Rows 11-13: sc around” with “Rows 11-15: sc around.” Then continue pattern as written. Stuff lightly. As you’re stuffing the tail, rework the shape by flattening the bottom and rounding the top.  Sew the tail to the back of your snowsquirrel.

Make 2 ears from my squirrel pattern and attach to the top of the snowsquirrel’s head.

I also used The Dapper Toad’s pattern for the snowsquirrels’ scarves.

Snowacorn

To make snowacorns, use white worsted-weight yarn and my pattern for acorns.

Hats for Your Squirrel Friends

To make hats for your squirrel friends, follow my pattern for a squirrel head, Rows 1-8. Use a slightly larger hook: size H-8 (5.00 mm) or I-9 (5.50 mm) should do.


14 Comments

Happy New Year!

What a wild night Hodge and Podge and the fatimals had. The video tells all! Hope your celebration was a success too. Happy New Year, everyone!

Learn more about the Squirrel Picnic cast here.


9 Comments

The Most Fun We Had at the Picnic in 2013

The year can’t end without taking a look at all the fun we had in 2013.
Wow! I can’t believe that our smiles didn’t explode!

2103 Year in Review

You challenged me to make a lot of interesting things in 2013. Two of my favorites were the Batman mask for Justin and the Bowser Sweater for Myrtle. The Bowser Sweater even went viral in June, landing Myrtle his very own Cheezburger meme. I also had the honor of bringing Rainbow Donkey (from Bill Brown’s Evil Squirrel’s Nest) into the 3-dimensional world. The Make It! Challenge series will continue in 2014… and it will be fantastic.

We added two new characters to the Squirrel Picnic cast: Eric, the diabolical scientist who’s seeking to bioengineer the largest acorn on the planet and his cute and cuddly robot sidekick MEAP… who would much rather be at the picnic than in the lab.

And I’ll never forget putting croshades on all the statues on Pearl Street in Boulder. What fun!

Champagne Pattern by Squirrel PicnicI can’t wait to tell you about the crochet wildness I’m already dreaming up for the new year, but we’ve still got a few days left in 2013, so let’s send it out with a bang first. Will you be showing off your crocheted M. and Mme. Champagne tomorrow night? I’ll be taking mine with me and taking lots of pictures too. Don’t forget to share your photos on our Facebook page or on Twitter @SquirrelPicnic.

All my best to you!

Jennifer


16 Comments

Monsieur and Madame Champagne Crochet Pattern

Make amigurumi champagne flutes for your New Year’s gala! Monsieur and Madame Champagne famously bring the party with them wherever they go. Displayed on the T.V., bar, or buffet table, they are sure to liven up your New Year’s festivities.

We’d love to see photos of them at your event. Post your champagne amis on Instagram with the tag #squirrelpicnic and we’ll share them with everyone on January 1.

Monsieur and Madame Champagne Crochet Pattern by Squirrel Picnic

Monsieur and Madame Champagne Crochet Pattern

Difficulty rating 2

Finished size: 8″ tall

Materials:

22 yards of worsted-weight yarn in cream (Caron Simply Soft in Off White: 6 oz., 315 yds)
28 yards of worsted-weight yarn in gold (Caron Simply Soft in Autumn Maize: 6 oz., 315 yds)
G-6 (4.00 mm) crochet hook
Cardboard
Pencil
Scissors
Tapestry needle
Polyester Fiberfill
Black embroidery floss
Black safety eyes
Beads and thread for necklace (optional)
Felt for bow tie (optional)

Gauge:

6 sc = 1″
5 rnds = 1″

Instructions:

Top of Champagne

With gold, ch 2

Rnd 1: 6 sc in 2nd ch from hook.

Rnd 2: 2 sc in ea sc around. Slst in 1st sc to join. (12)

Rnd 3: Ch 1, * sc, inc, rep from * 5 more times. Slst in 1st sc to join. (18)

Rnd 4: Ch 1, * 2 sc, inc, rep from * 5 more times. Slst in 1st sc to join. (24)

FO, leaving long tail for sewing.

Base (make 2)

With cream, ch 2

Rnd 1: 6 sc in 2nd ch from hook.

Rnd 2: 2 sc in ea sc around. Slst in 1st sc to join. (12)

Rnd 3: Ch 1, * sc, inc, rep from * 5 more times. Slst in 1st sc to join. (18)

Rnd 4: Ch 1, * 2 sc, inc, rep from * 5 more times. Slst in 1st sc to join. (24)

Rnd 5: Ch 1, * 3 sc, inc, rep from * 5 more times. Slst in 1st sc to join. (30)

Rnd 6: Ch 1, * 4 sc, inc, rep from * 5 more times. Slst in 1st sc to join. (36)

FO, leaving a long tail on one of the Base circles for sewing.

Lay one of the Base circles on top of the cardboard and trace around it. Cut out circle along traced line. You may need to trim it a little smaller.

Sandwich the cardboard circle between the two Base circles (RS facing out) and sew the two Base circles together using the long tail from one of them.

Stem

Rnd 1: Pull up a loop in Rnd 3 of the Base. Ch 1. Continue to pull up loops and sc in ea st of Rnd 3. Do not join with slst. (18)

Make sure you are going clockwise around the Base.

Note: This first step can be rather tricky. An alternative would be to ch 18 and join with a slst into a ring. Then continue with the pattern, but sew the bottom of the Stem to the Base before stuffing.

Rnd 2: Sc in ea sc around. (18)

Rnd 3: *Dec, rep from * 8 more times (9)

Rnds 4: Sc in ea st around. (9)

Rep rnd 4 until Stem measures 3″ tall from start of Stem.

Do not FO. Stuff the Stem firmly and continue with Bowl.

Bowl

Rnd 5: * Inc, rep from * 8 more times. (18)

Switch to gold.

Rnd 6: * 2 sc, inc, rep from * 5 more times. (24)

Rnd 7: * 3 sc, inc, rep from * 5 more times. (30)

Rnd 8: Sc in ea sc around.

Rep rnd 8 until gold part of Bowl measures 2″.

Rnd 9: * 4 sc, dec, rep from * 4 more times (24).

Rep rnd 8 until gold part of Bowl measures 3 1/2″.

FO.

Attach eyes and embroider mouth.

Stuff lightly and sew Top of Champagne onto top of Bowl.

Note: If you’re feeling adventurous, you could skip sewing the Top to the Bowl and sc the two together instead. I had success doing this after pinning them together.

Switch to cream.

Pull up a loop in top of Bowl along the edge (through both the last round of Top and through the top loop of Bowl), ch 1.

Rnds 7-10. Sc in each st around. (24)

FO, and weave in ends.

This pattern is now available in Dutch! Thanks to Mootje Krootje for getting the pattern translated.
Click here for the pattern pdf in Dutch:
Meneer en Mevrouw Champagne – Jennifer Olivarez