

All Tuckered Out


Something to Smile About
Thank you for sharing:

Crochet Picture Frame: A Pattern for Father’s Day

My dad playing the bugle! That’s me on drums.
My dad loves photography. There’s a wall in my parents’ house that is covered with all his photos from their various trips around the world. I thought I’d crochet a frame to go around a photo of us together when I was a kid.
I bet your dad would love a crochet framed photo of you both together too!
The key to this project is the photo frame itself. The clear acrylic frames I chose to use are inexpensive, versatile, and easy to load your picture into. Each comes with Velcro and a magnet on the back, so you can hang your finished piece on your cubicle wall, file cabinet, or even your fridge.
As for the crochet pattern, it’s so much easier than it looks! I’ve been reading up on intermeshing crochet patterns a bit lately. I got the inspiration for this one from The Complete Photo Guide to Crochet. Check it out for some really cute intermeshing patterns and ideas. I did my frame with a different color for every row, but I bet two contrasting colors would look great too!
Picture Frame Crochet Pattern

Finished size: 5 1/2″ by 7 1/2″
Materials
Worsted-weight yarn: try using two contrasting colors or a different color for each row.
Here are the yarns I used for this project:
* Caron Simply Soft in Country Blue, 6 oz [170 g] / 315 yds [288 m])
* Caron Simply Soft in Sunshine, 6 oz [170 g] / 315 yds [288 m])
* Caron Simply Soft in Dark Country Blue, 6 oz [170 g] / 315 yds [288 m])
G-6 (4.00 mm) crochet hook
Yarn needle
4” x 6” acrylic photo frame with Velcro and magnetic backing
Instructions
Photo Frame Front
Ch 89. Careful not to twist the chain, join with slst to 1st ch.
Rnd 1: For this rnd, feel free to crochet into only one loop of each chain (so much easier). Ch 1, sc in ea of next 12 ch, (sc, ch 2, sc) in next ch, sc in next 18 ch, (sc, ch 2, sc) in next ch, sc in next 25 ch, (sc, ch 2, sc) in next ch, sc in next 18 ch, (sc, ch 2, sc) in next ch, sc in next 12 ch, join with slst to 1st st.

Rnd 2: Ch 4, sk 1st st, * (dc, ch 1, sk next st) rep to turning ch. (2 dc, ch 2, 2 dc) in turning ch. Rep from * to end of rnd. Join with slst in 3rd ch of beginning ch.

Rnd 3: Ch 2, * (dc into next sc of Rnd 1 that had been skipped in Rnd 2, ch 1) rep to turning ch. (2 dc, ch 2, 2 dc) in turning ch. Rep from * to end of rnd. Join with slst in 1st st. FO and weave in ends.
-

- Insert hook into Rnd 1 sc that was skipped in Rnd 2.
-

- With working yarn at the back, yo and pull through.
-

- Finished stitch will look like this.
Photo Frame Back
Ch 33.
Row 1: Dc in 4th ch from hook and in each ch across, turn.
Row 2: Ch 3, dc in ea dc across. FO, leaving a long tail for sewing.
Sew these Back pieces onto the back of the Photo Frame.
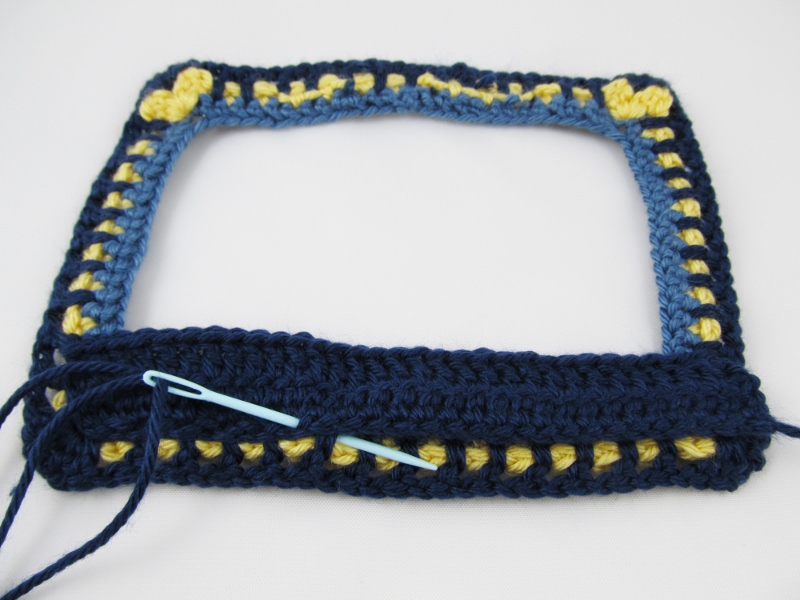
Tuck your frame into the pockets.

The magnet will hold your crochet frame tight to the fridge.
Thank you for sharing:

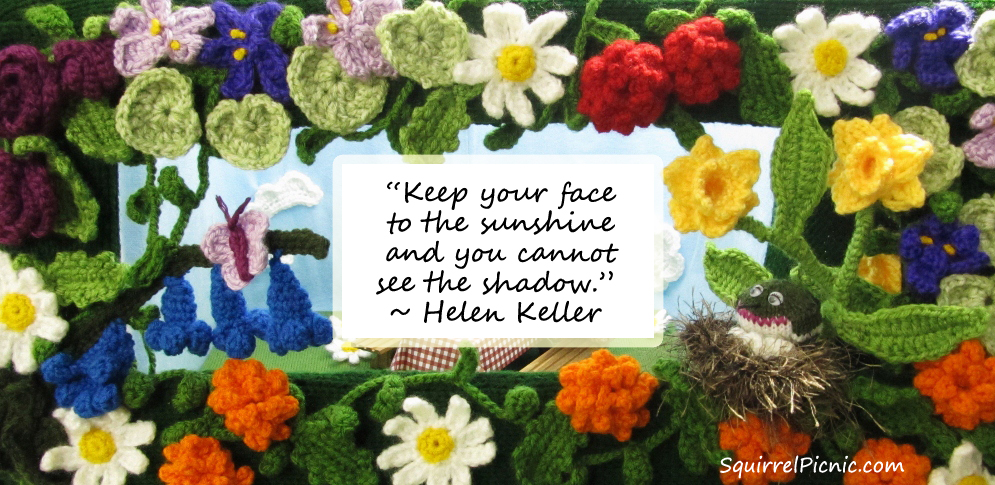
Something to Smile About
Thank you for sharing:

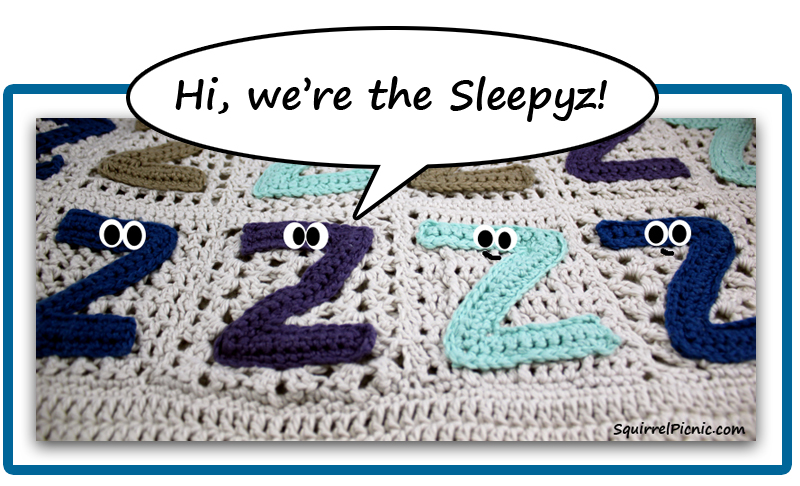
The Sleepyz Blanket: Joining Forces
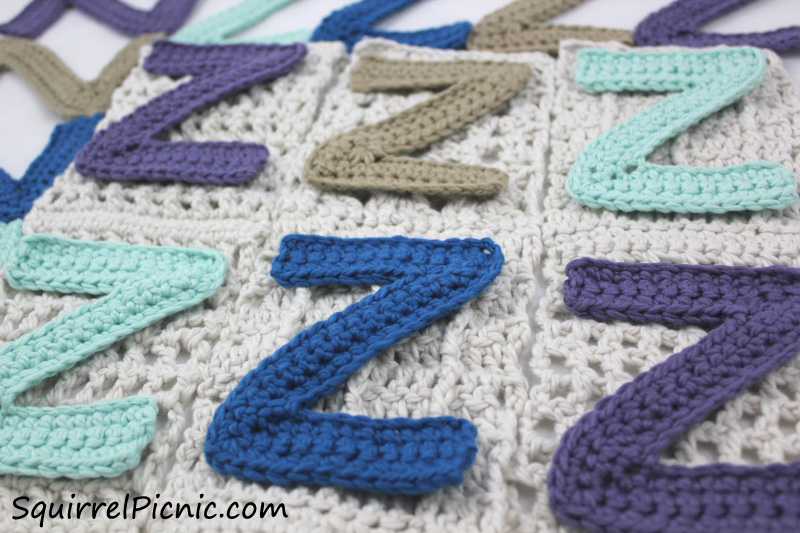 Now that I’ve crocheted a ton of Zs, it’s time to join them all together. You may remember from the original story that once the Sleepy Zs get a hold of you, they join forces to take you down (nap time!).
The idea is simple enough, but coming up with a method of joining all those Zs took me months to determine. You probably already know my problem… once again, I had to try things the hard way.
When my husband (the Ideas Man) and I came up with the concept for the Sleepyz Blanket, we had very different ideas in mind. While he said that in the construction of the final blanket it should be obvious that it is made out of Zs, I’ve held a totally different opinion: the Zs should go together to create a completely new design (that may not look like Zs at all). So for months I attempted to connect all these Zs with a join-as-you-go method that would only require two or three FOs. I eventually drew up a chart, decided on an arrangement, and started working on joining them, only to decide in the end that it was just too complicated. Also, the holes in between the Zs were far too big… even by crochet standards. I had to admit that the blanket that this would create would be flimsy and shapeless in the end. Here are some of the design concepts that I explored.

Join-as-you-go.

Staggered Zs.

Block layout.
So it was back to the drawing board and time to consult the Ideas Man again. This time he elaborated on his vision of a blanket with Sleepyz sewn onto it like appliqués. “You’ve got to be kidding me?” I said. “I just spent months crocheting all these Zs and now I have to crochet a blanket for them to go on?!” It took me a while to warm up to this idea, but once I tried it out, I was convinced that it would look better than any of my other options.
Here’s the plan for the blanket. I came up with four very easy, but also very interesting double-crochet stitches. I’ll crochet long strips made up of blocks done in each of these stitches. Then I’ll sew the strips together and sew on the Zs as well. I might also add a border of Zs and another border in white. What do you think? Could this work?
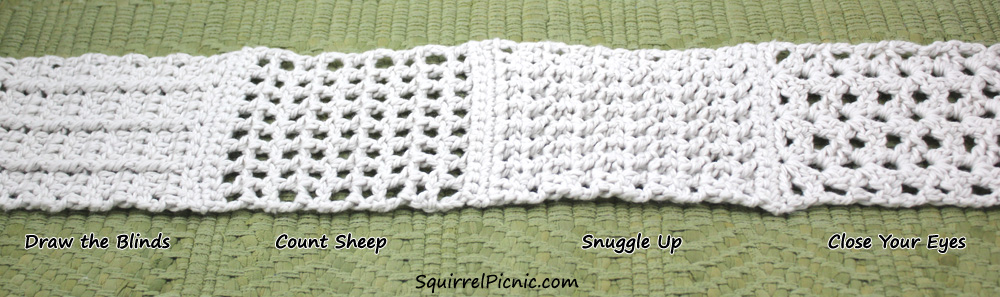
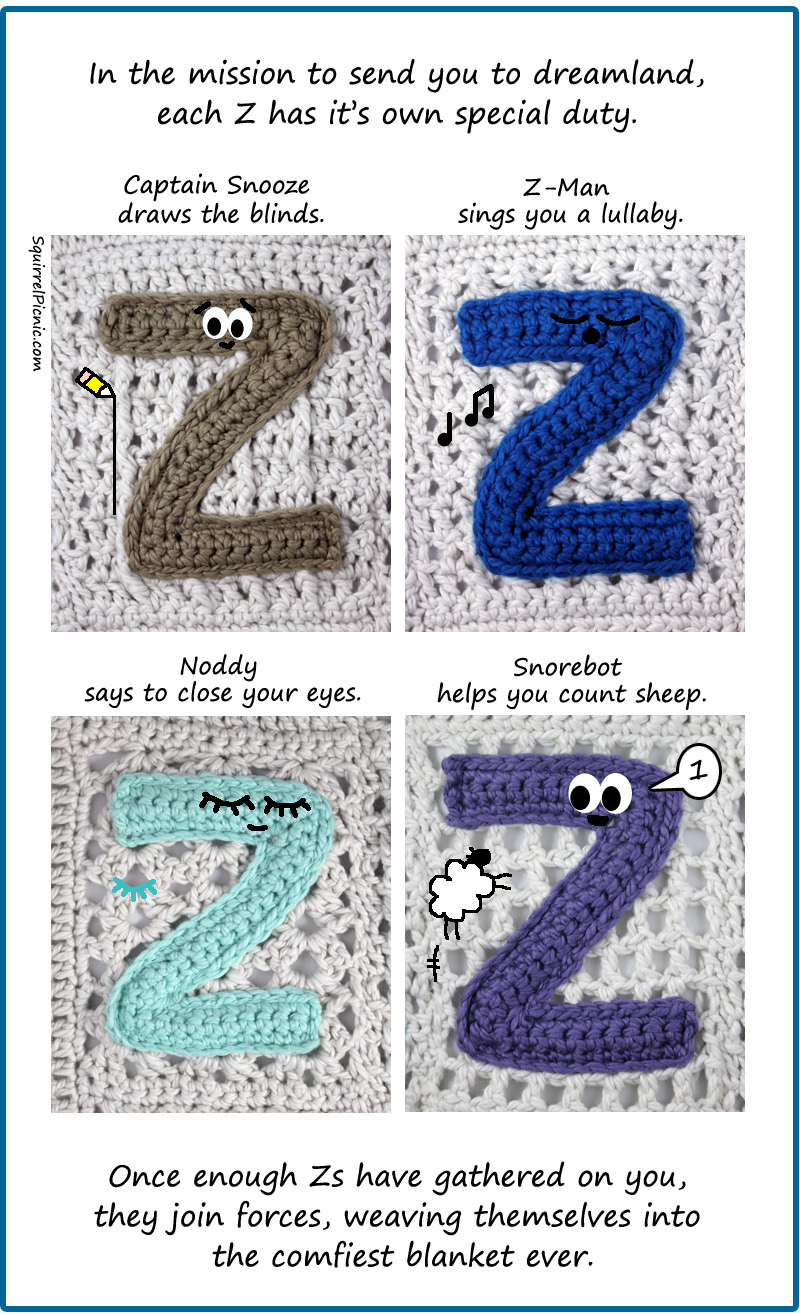
Best of all, this approach is still in keeping with the original story: the Sleepyz create a blanket in order to wrap you up and send you to dreamland. I’ve even named each of the double-crochet blocks so that I can write them into the story to show how they work together to make you drowsy.
It won’t be long now before it’s all done! I can’t wait to show you the comic that will illustrate the Sleepyz story too. I hope you’re looking forward to the exciting conclusion of this series as much as I am!
Other articles in this series:
Introducing the Sleepyz Blanket


You must be logged in to post a comment.